
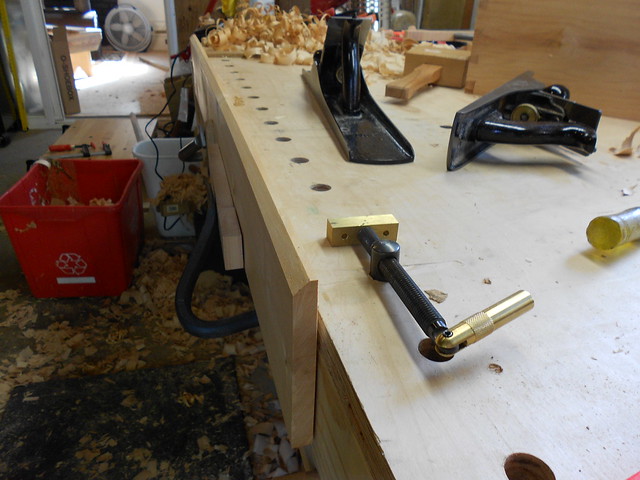
Not shown is the planing, jointing, and glueing up of the planel for the bottom. I had almost forgotten about that, since I was thinking about getting the molding put on. The bottom goes on first though, so that will be next time. While the glue was setting, I did get started on the molding. I've learned its much simpler to plane molding while the board is as wide as possible, so here it is in progress:

And here it is about done. It is just a simple 45-degree chamfer, but I think its simpleness complements the basic nature of the box as a whole. I might made one with a slightly more complex molding profile later on:
The board was then marked for a 1 1/2" tall strip of molding:
Which was then ripped off and planed to the line:

It was a challenge to cut the miters, but it seems like it will go together ok:

Next time, the bottom will be put on, the molding attached, and perhaps starting on the interior partition.
I am puzzled by one thing, but perhaps it will become clear in time. I would rather do the partition first, as the operations on the inside of the box will be awkward with the molding attached. I can easily use another piece of the molding stock to level it, but I really wonder why Thomas (and then Chris) did the molding first.
looking good
ReplyDeleteThanks for checking it out, Badger! I have high hopes for the 2nd one, this one was a real learning experience!
ReplyDelete