For the non-woodworkers who read this (and be patient, woodworkers, because there are many of them and we want them to understand our craft as much as possible), drawboring involves running a peg through a mortise-and-tenon joint. However, the holes are just barely offset out of alignment, so that the peg will pull the joint together as it is pounded through. If the join was perfect to begin with, the peg will actually flex a tiny bit and snake through the offset holes.
The actual creation of the joints is simple; simply drill through the cheeks of the receiving board:

One should properly use a block inside the mortise to avoid tearout but I was living dangerously. There was not really any splintering to speak of, but you should not do what I do.
The joint is then dry-fit:
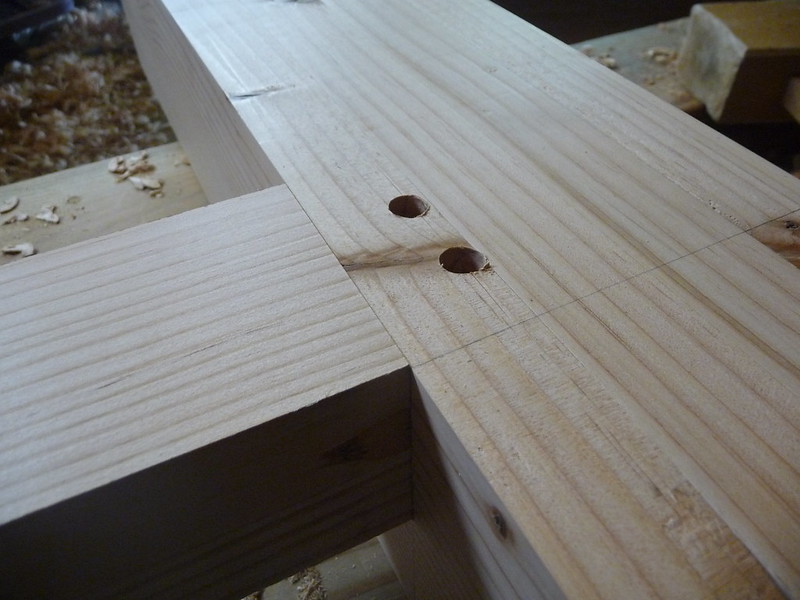
In the above, the receiving piece has the holes bored, but the inserted piece does not. One could just insert the tenon and then drill through it all at once, but that is not quite drawboring.
I used a punch like this to mark the hole, but you could just use the tip of a brad-point drill bit (the same one you drilled the holes with)
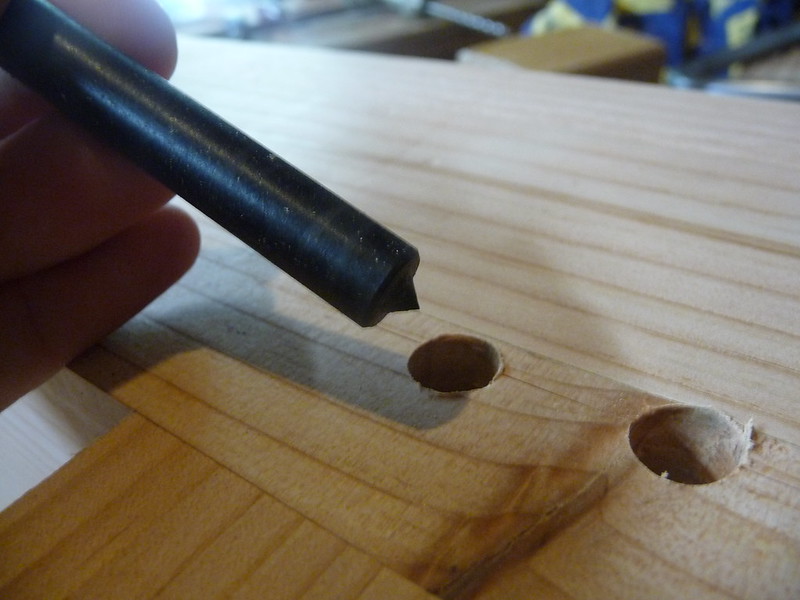
I did not photograph it, but this leaves a tiny spot in the center of the hole. Then, and this is the fun and fascinating part, make another mark a tiny bit (variable, but about 1/16" is what I used) closer to the cheek. Drill this, and then when the joint is re-assembled, the peg will pull the joint together with all its might.
The above process is rather straightforward, magical, and effective. The real trick, at least for me, is making the pins!
The typical explanations are pretty simple: rive (split) a bit of dry oak, and then ease the corners off this stick, and simply pound it through a set of holes in a metal plate of decreasing size.
Easier said than done.
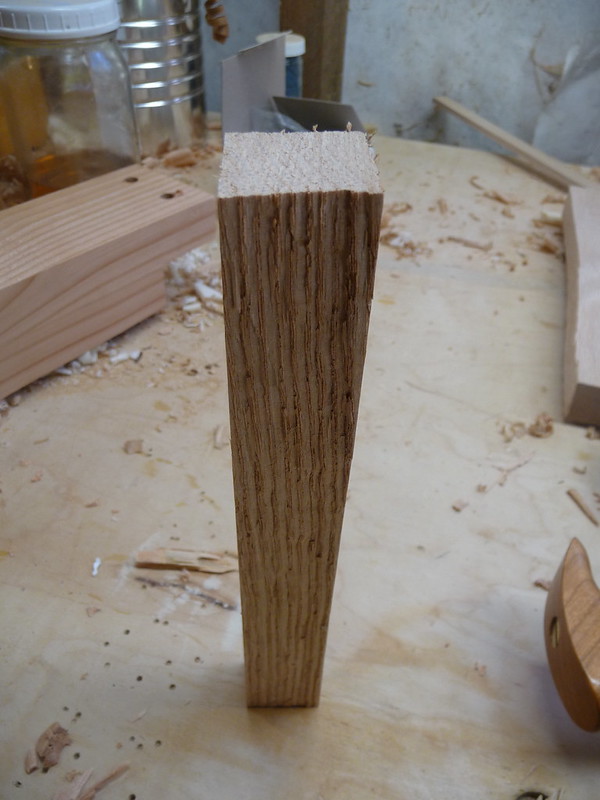
Here is a donor block ready to go:
I set a little knife in the middle of it and whack it with a hammer:
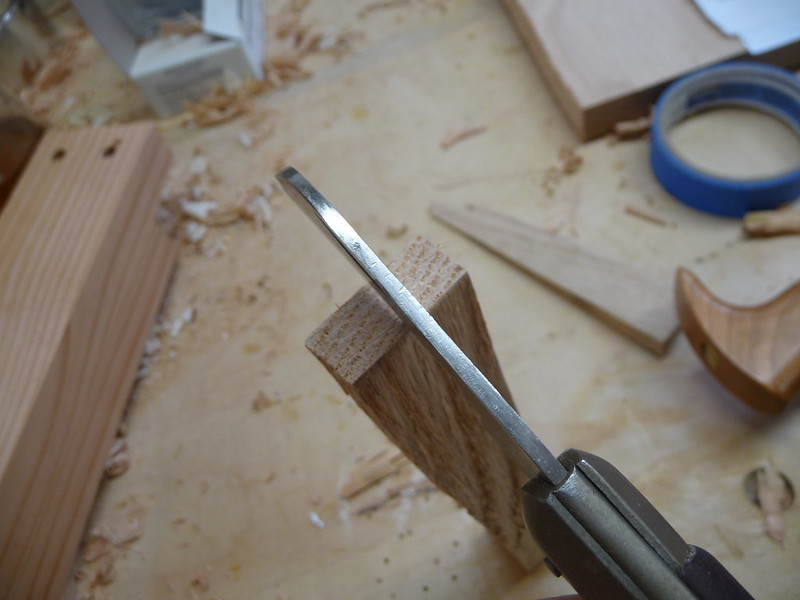
And keep whacking it:
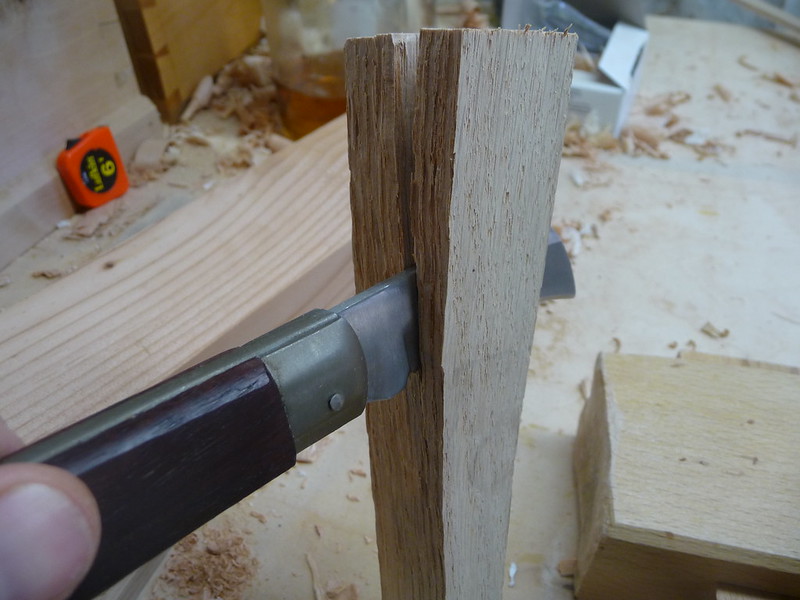
The trick here is to let the wood split where it wants. You should have started with a straight-grained piece. Did I forget to mention that?
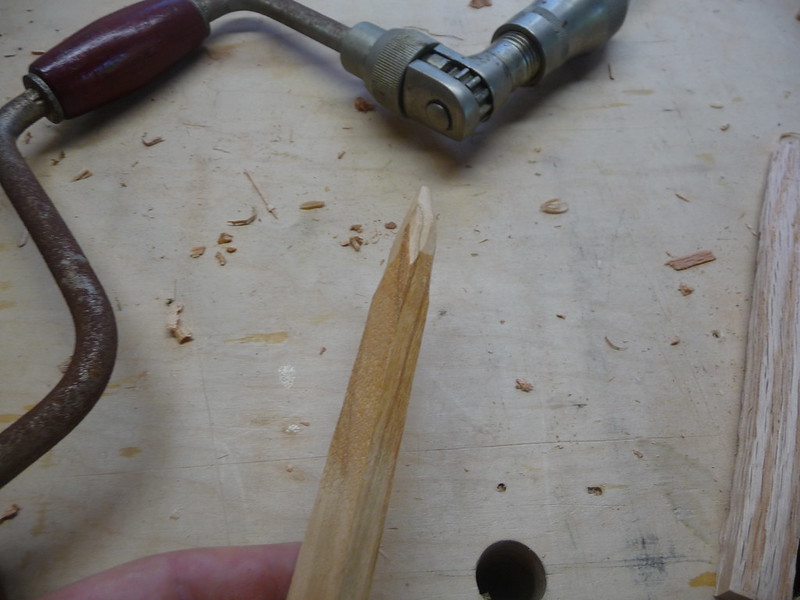
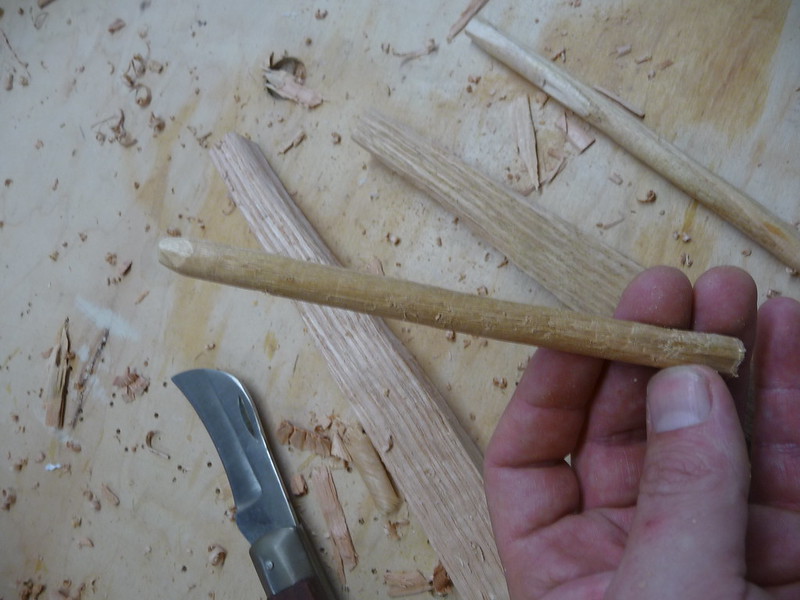
Repeat until you have a small-enough little stick. It can be bendy or twisty or ugly. Sharpen the tip a bit, kindof like a pencil:
Then pound it through your plate. I am using a commercially-available one here since I didn't have the confidence to make one. I wouldn't hesitate to make one now, after seeing how brutally simple it actually is. Just drill some holes in a piece of steel, really. In fact, I will be making a new one soon since I don't think this one is granular enough. The crazy yellow residue you see is because I was playing with pegs made of ipe wood. The above photos are oak and cherry. Oak is supposedly the ideal since it is flexible enough to snake around the offset but strong enough to survive this tortuous process.
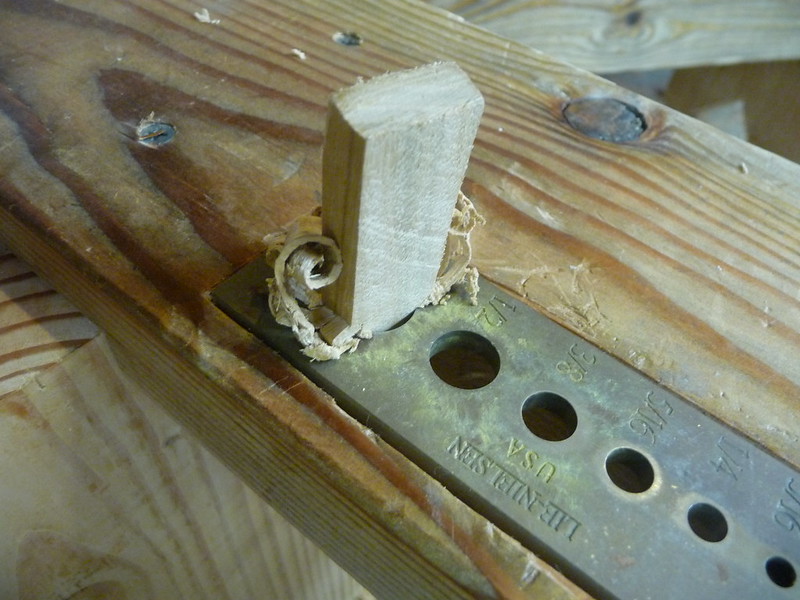
Once the peg is driven through, repeat in the next smaller hole until you are done. I use a lot of wax on each step, and chamfer the edges with a knife and keep whittling it a bit. It is easier to whittle than to pound, at least for me.
Eventually, you get your peg:
Making the pegs is simple, kindof, but not easy. It is a lot of pounding. It is pretty unpleasant work. Unlike most hand tool operations I have been experimenting worth, this one is loud and involves obvious danger. Of course saws and chisels are also capable of great harm, but force is generally not required to wield those tools. Force involves a lack of control, and lack of control is scary with any tool. This process takes a lot of force. Little taps with a hammer will get you nowhere. I wore eye protection and after a couple pegs I even used ear protection. I've already destroyed much of my hearing with loud electric guitars and want to keep what is left. Plus, hammering on these things just sounds nasty.
There is most likely some technique to learn, as I had several pegs explode on me. You cannot really sharpen a dowel plate, so that is not the issue. It is most likely wood selection. Some of my pegs went smoothly and came out nicely. Others seemed great and then collapsed at the last minute. They almost always went through the 5/8 and 1/2" holes just fine, but the step down to 3/8" from there was just too big a jump for a peg so dainty. I would be tempted to just stick with 1/2" for something like a workbench as a result, but I could use the experience since most furniture would want even smaller dowels.
I also played with using hardware store "oak" dowels to start with, and just reduce them in width. Oak is in quotes because I don't doubt that is the species, but it is not at all the same quality as lumberyard oak. These things would exlode almost immediately. I was not able to get a single dowel from that stash. This most likely varies from region to region; I have heard others have great success with this type of wood.
Some other oak I used had about a 50% success rate, and with cherry I got about 75%. Ipe came out at perhaps 90%, but I am not sure it is flexible enough for this role. The ipe dowels are really nice though! They seem very handy for other construction uses, but it is not a wood I want to do much with. They would be very good for vampire hunting or booby-trap manufacture as the resulting dowels are heavy, hard, and nicely polished without effort.
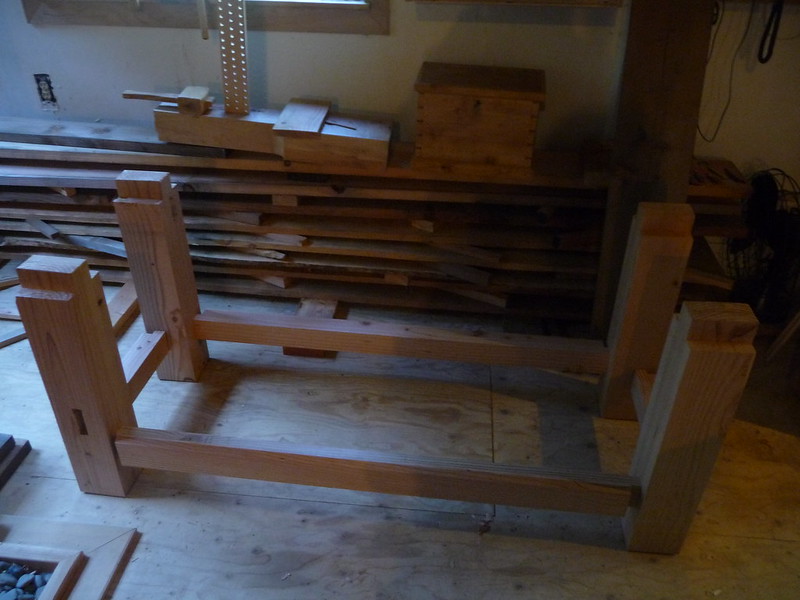
I'll have more on the actual assembly soon, after another quick bout of travel. For those who have made it this far and have no idea what I am building, here is the base of the workbench loosely put together. These drawbored joints occur on 2 faces of each leg, so that there are 16 in all. The legs will also be drawbored to the top of the bench: