Thursday, March 29, 2012

Notes From the Compost Bin

After attending the By Hand and By Eye workshop at the Port Townsend School of Woodworking  and Preservation Trades, my mind was left ablaze by the concepts we explored. I had also just read a call for submissions for the End Grain column in Popular Woodworking magazine. With about 8 hours to kill on the drive home, I mentally composed a devastatingly spectacular essay, so I was quite eager to get home and type it out. The guidelines had a strict word-count limitation, and as expected my rough draft was about 3x as long as it should have been. Over a few days, I kept revisiting, rewording it, and trimming everything I could. Many of my terrible puns were sacrificed, leaving very little actual marrow, but you can still get the gist of my silly concept from my entry. The winners were announced today, and I was not one of them (no surprise at all upon re-reading my submission). Big congratulations to the winners, and I am still glad to have participated as an exercise in editing and writing. If you can stomach some extremely cheesy writing, you are welcome to read my rejected submission below:

When You Can't Play With Wood, Play With Your Food!


If you are a passionate amateur woodworker like me, you may find yourself wanting to build your skills while unable to be in the shop. I've devised a quick solution for practicing your sense of design. It requires only some cheap items you probably have in your home already.  


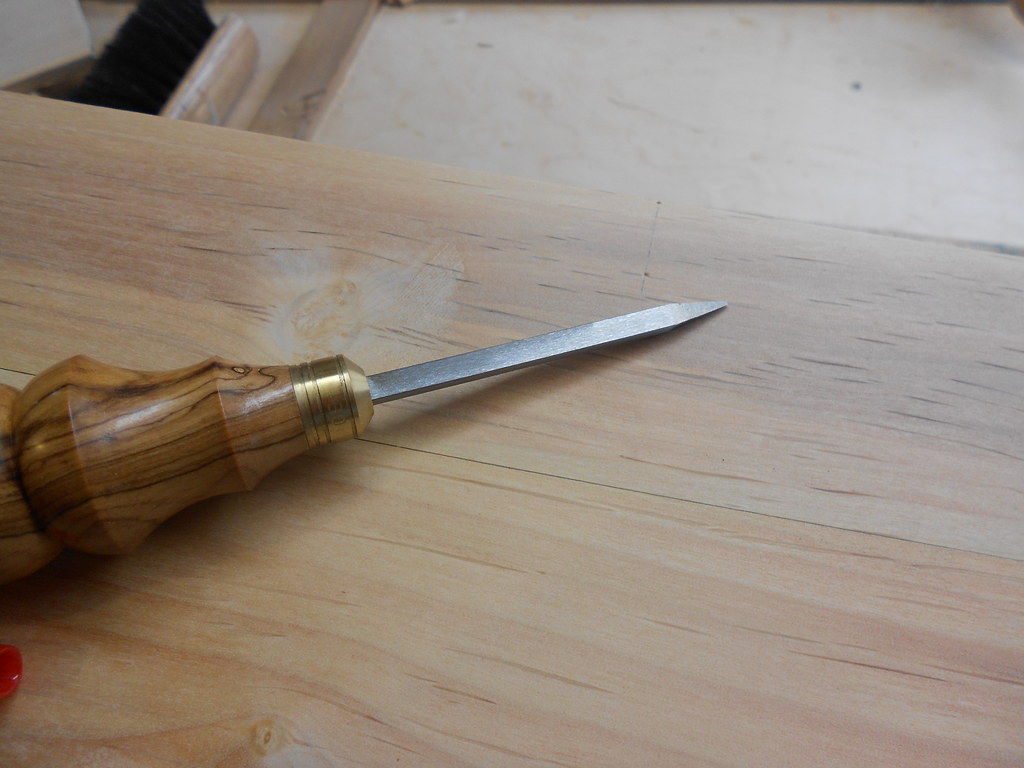
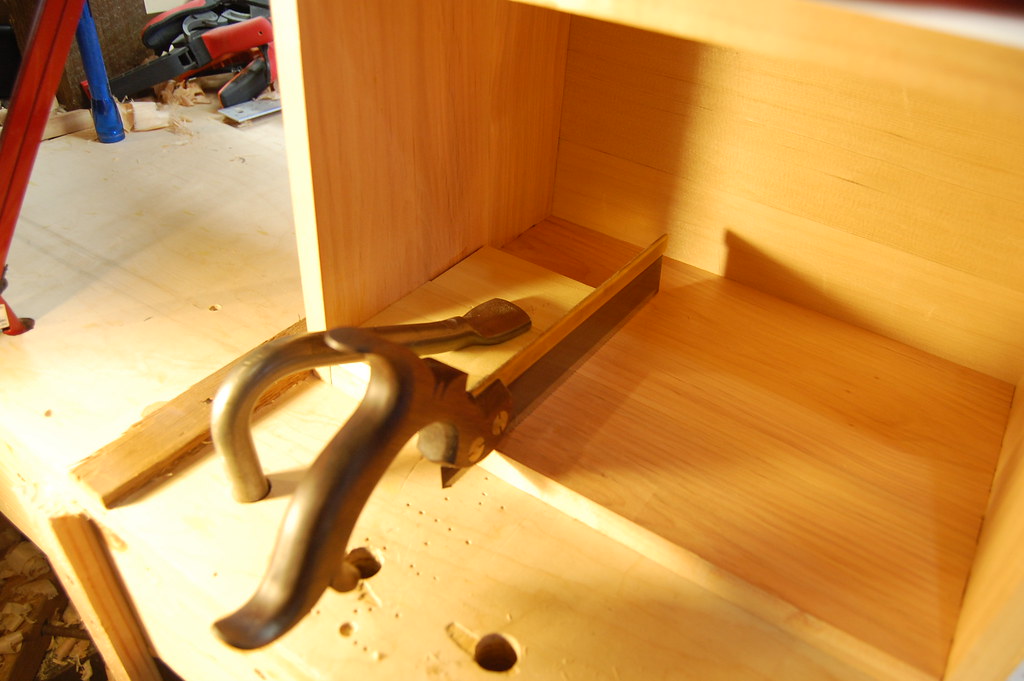
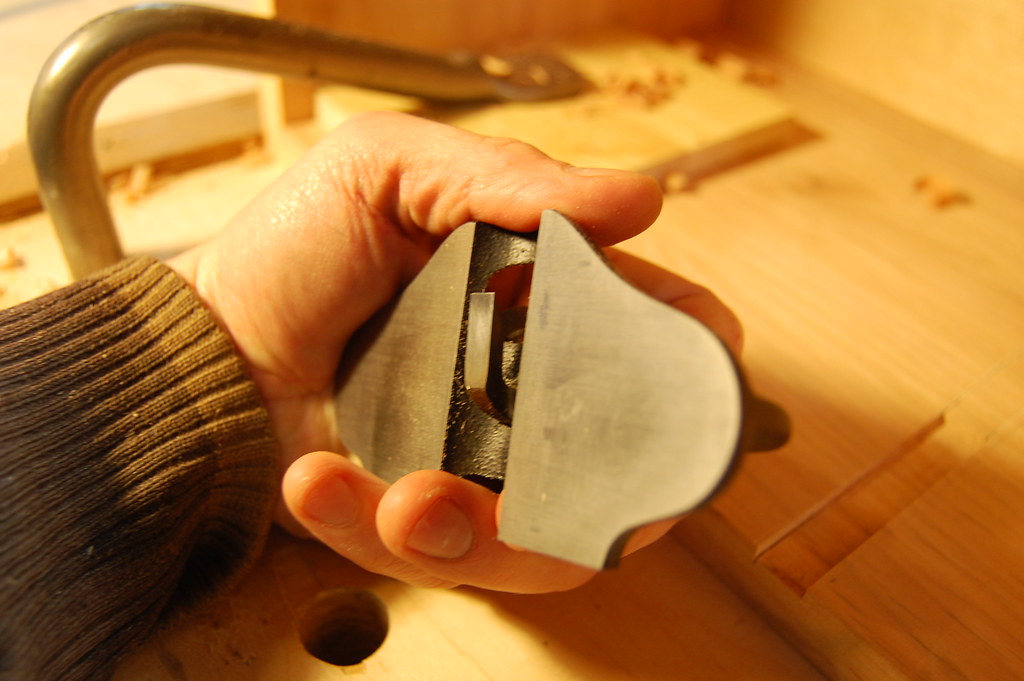
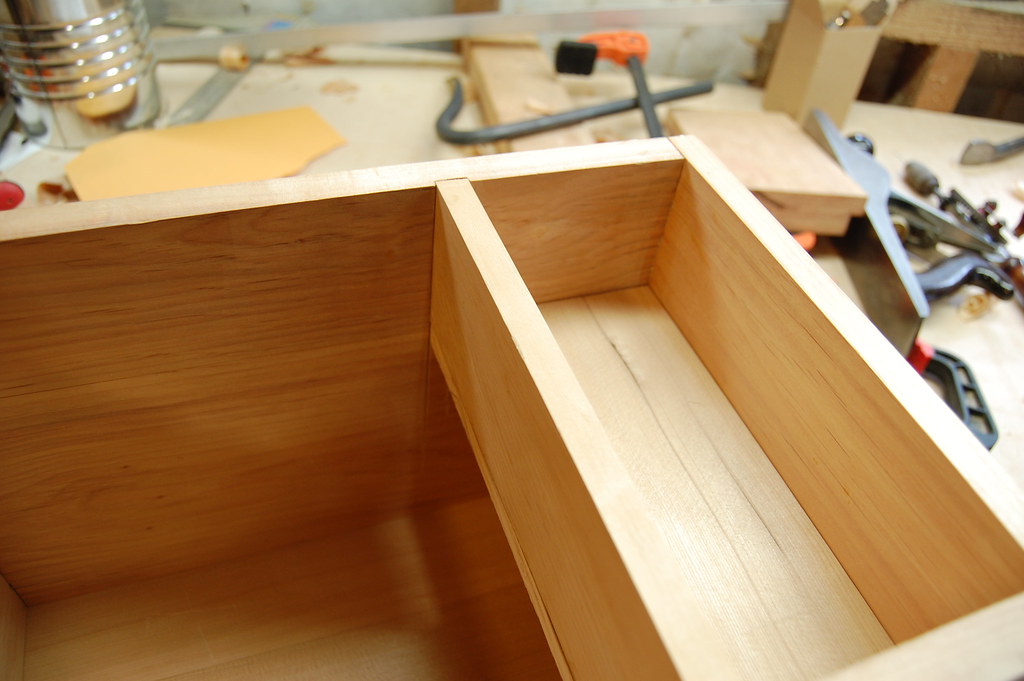
You'll need a workbench (a small cuttingboard), a simple saw of some sort (serrated, pocket, or even a butter knife), and a pair of clean dividers.  You will also need some sheet materials readily available in all areas.


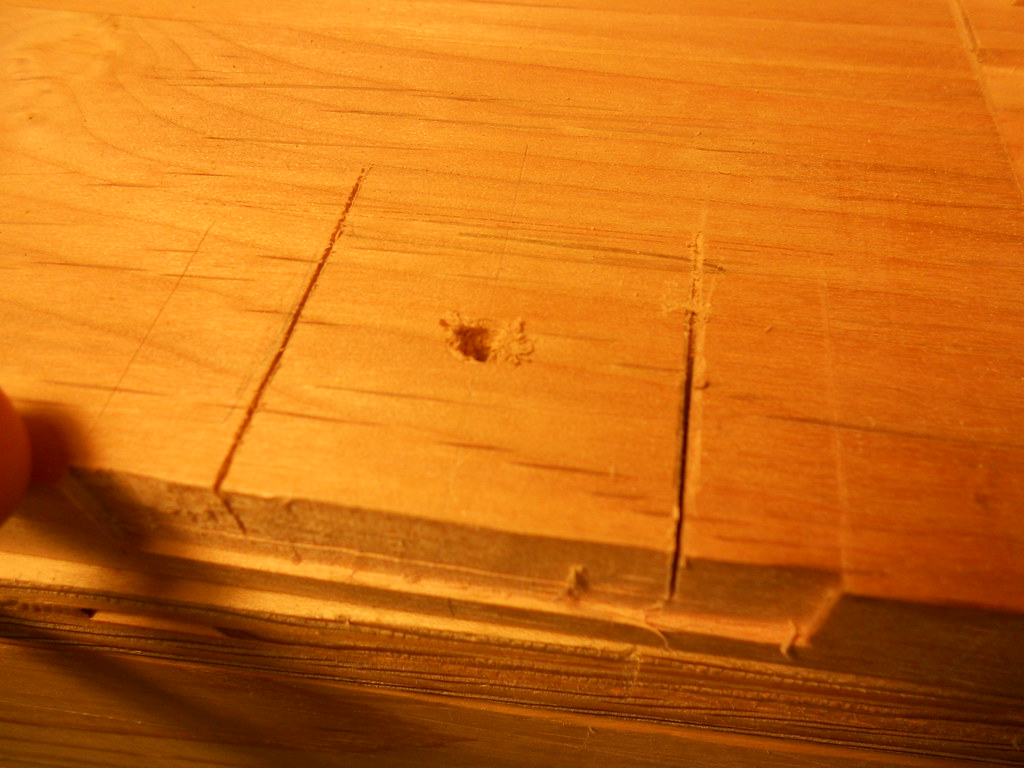
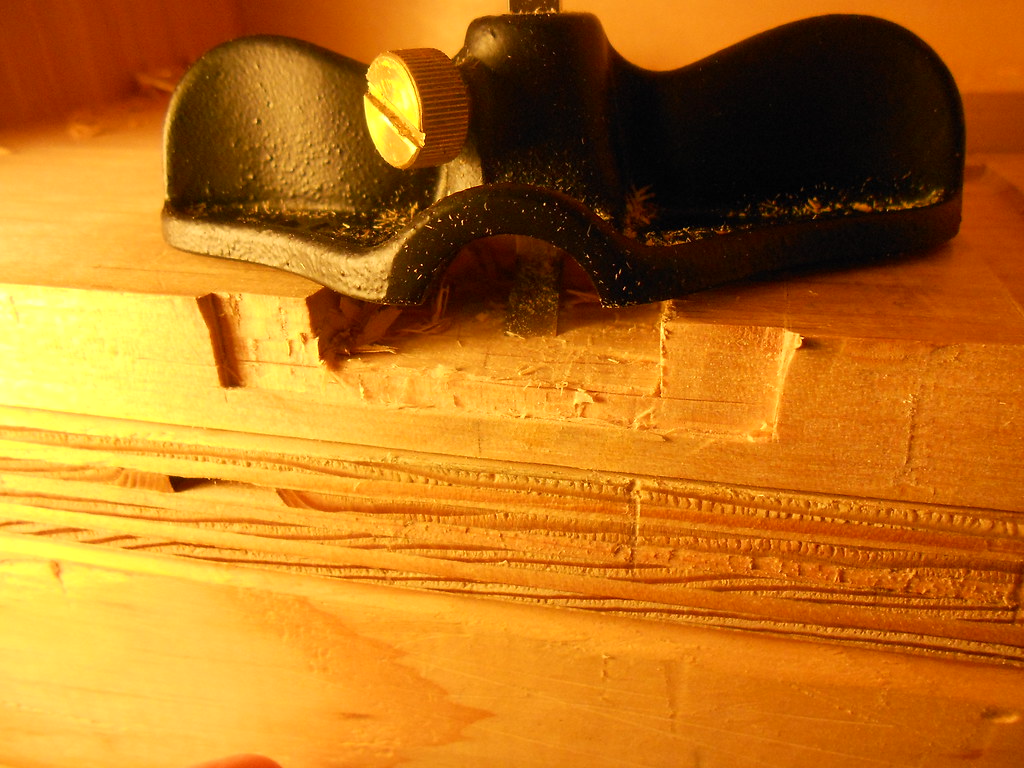
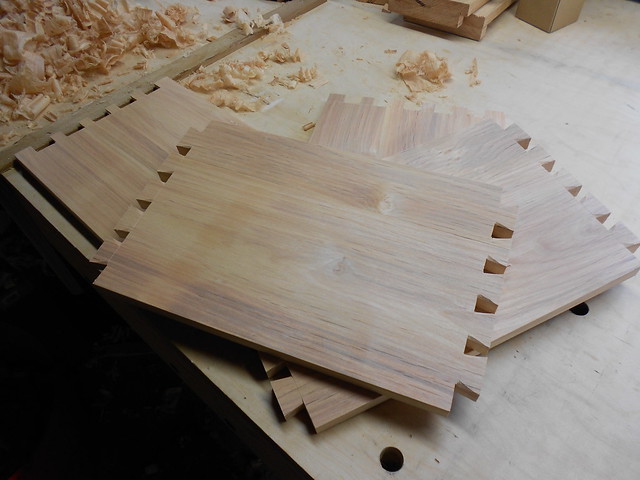
As far as the sheet goods go, as with lumber I always suggest seeking something local.  Avoid dense exotics which can lead to tearout, such as crumbly stuff from the Parma region of Italy.  You also want to avoid materials that are too soft such as those from France.  Definitely avoid man-made aerosol products, with unknown effects on the environment and your own health. You may also consider "kiln-dried" materials, sold in "loaves" pre-sliced like veneer.  These will most likely need to be squared before use though.  Pay attention to grain, I prefer "8-grain".


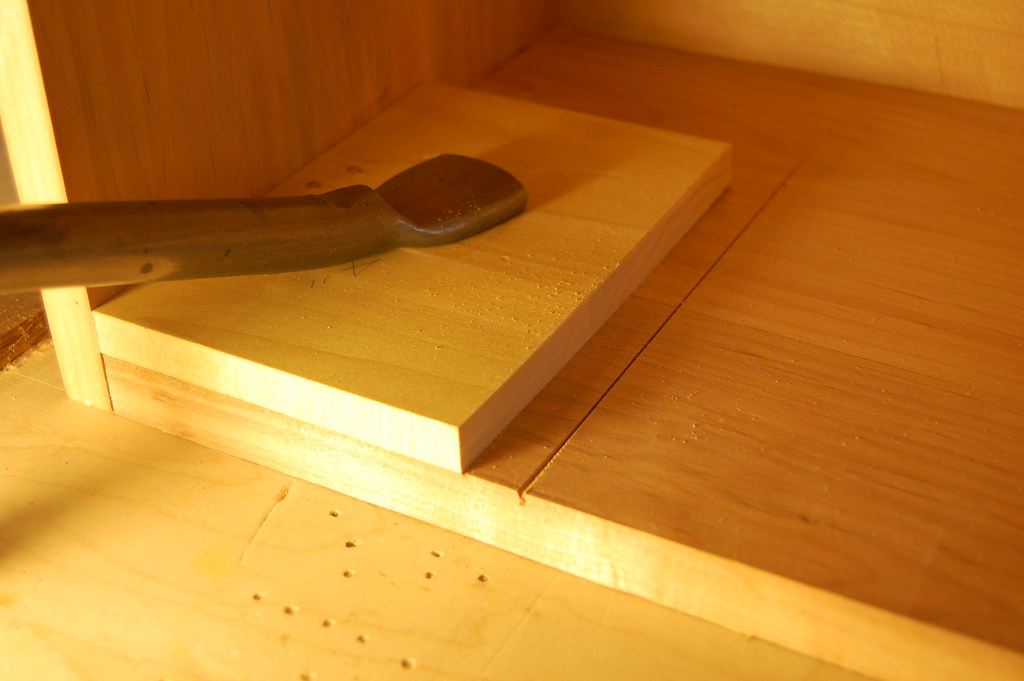
Ready?  Place a single sheet onto your bench, and use your knife to cut it perfectly in half.  One side will undoubtedly be a little larger than the other.  Both pieces may now be moved into the scrap bin or saved for a later project. Repeat if needed until you are confident spotting 1:2 by eye.


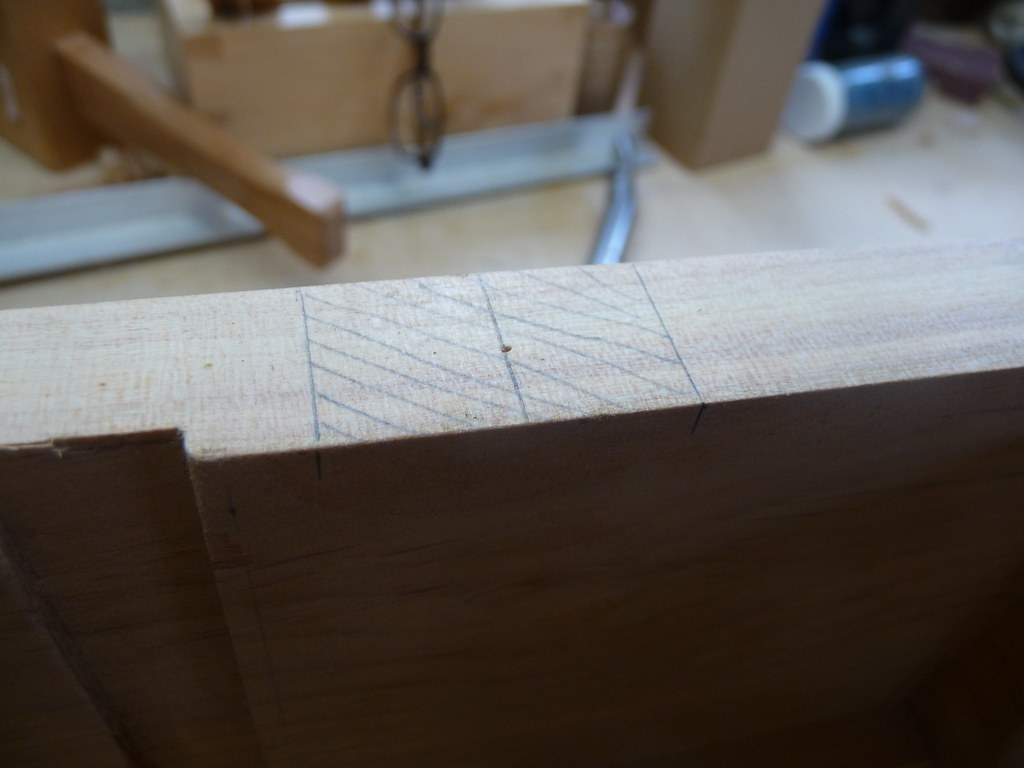
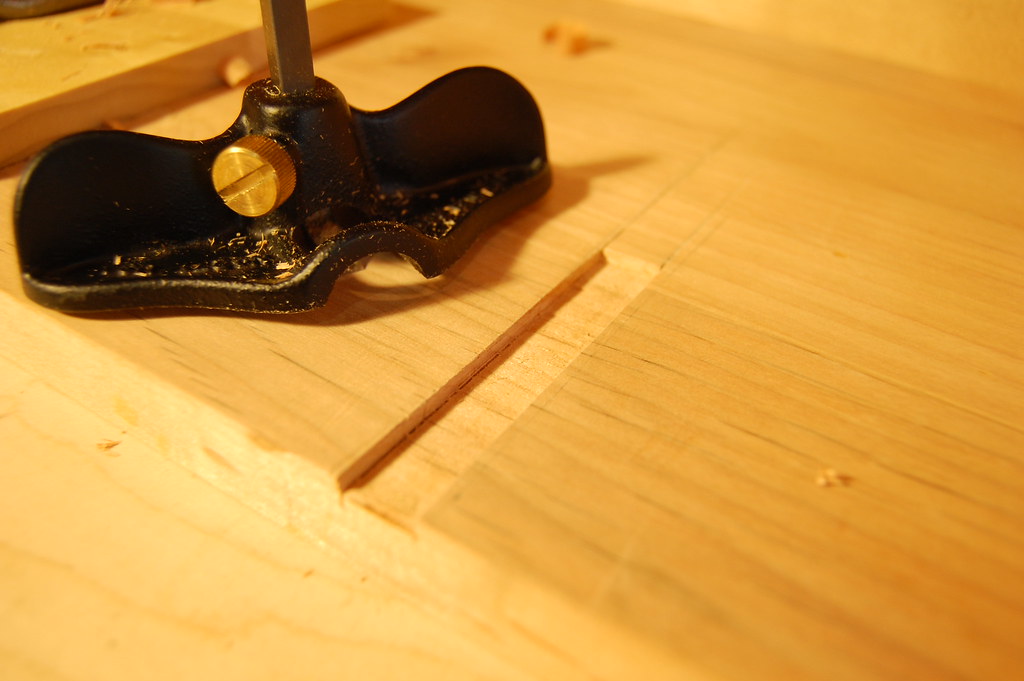
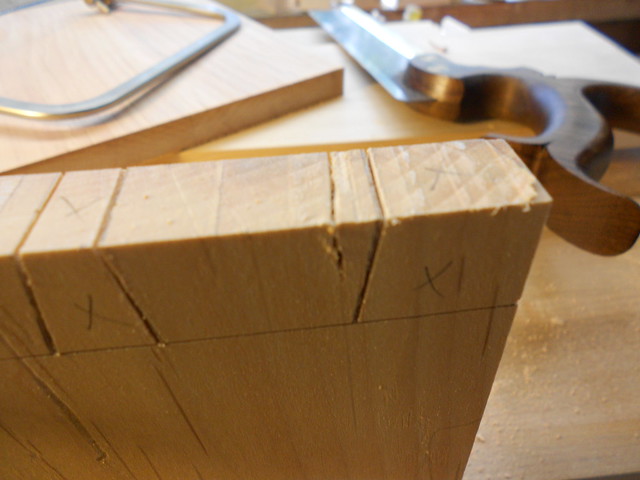
Now an exploration of classic proportions:  For this you will need two identical square sheets.  Cut one in half, as above, and place one of the half-pieces next to the other, forming a "square and a half", or 2:3 ratio. This is a classic shape for a table top or dresser.  Study this form, devouring its essence and integrating it into yourself.  Another challenge:  With a new piece, attempt the same exercise as the first one but cut a 2:3 rectangle. Verify your work by setting your dividers so that it will take 2 steps to traverse one edge, and it should then take 3 steps on the adjacent edge.  Try 1:5 and any other whole-number ratio you would like.   


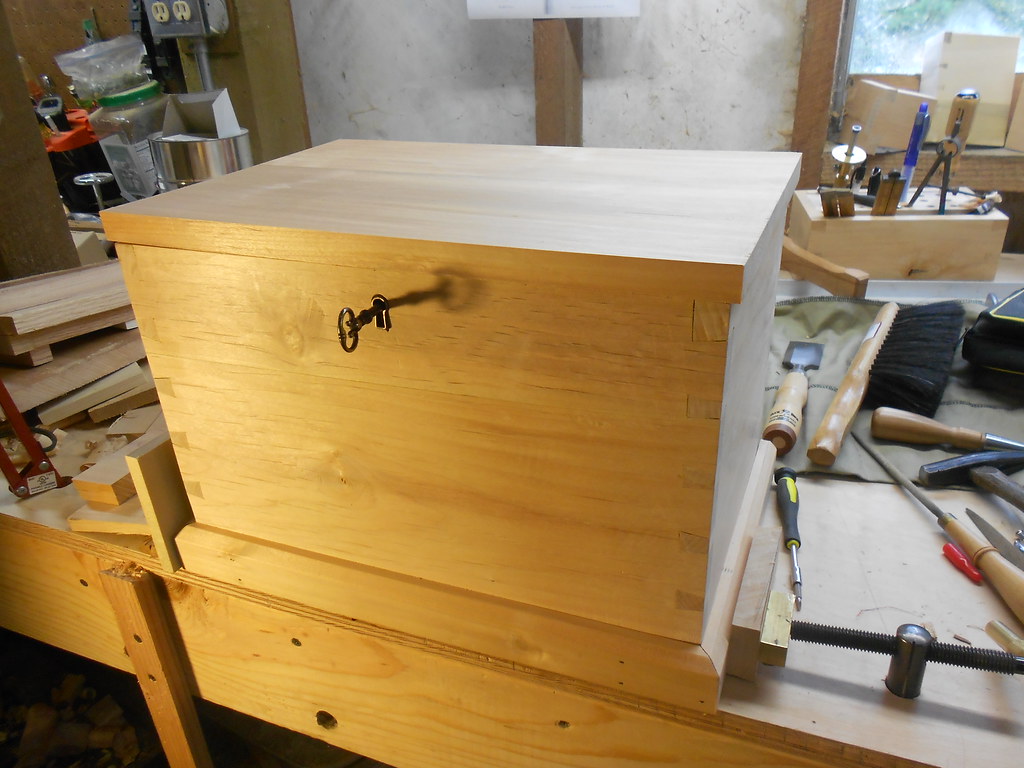
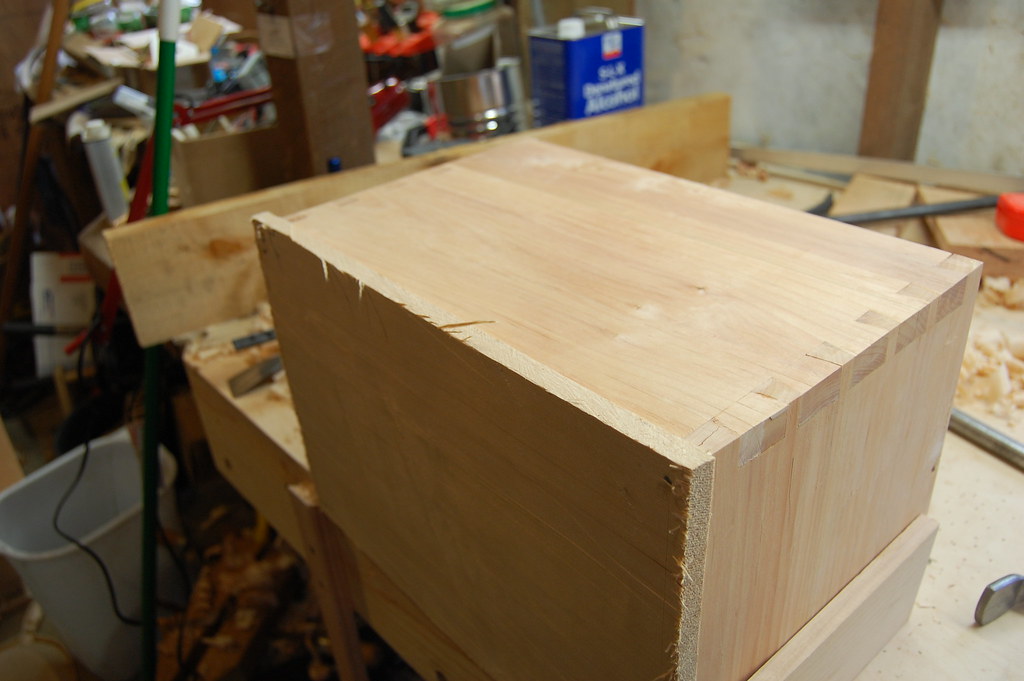
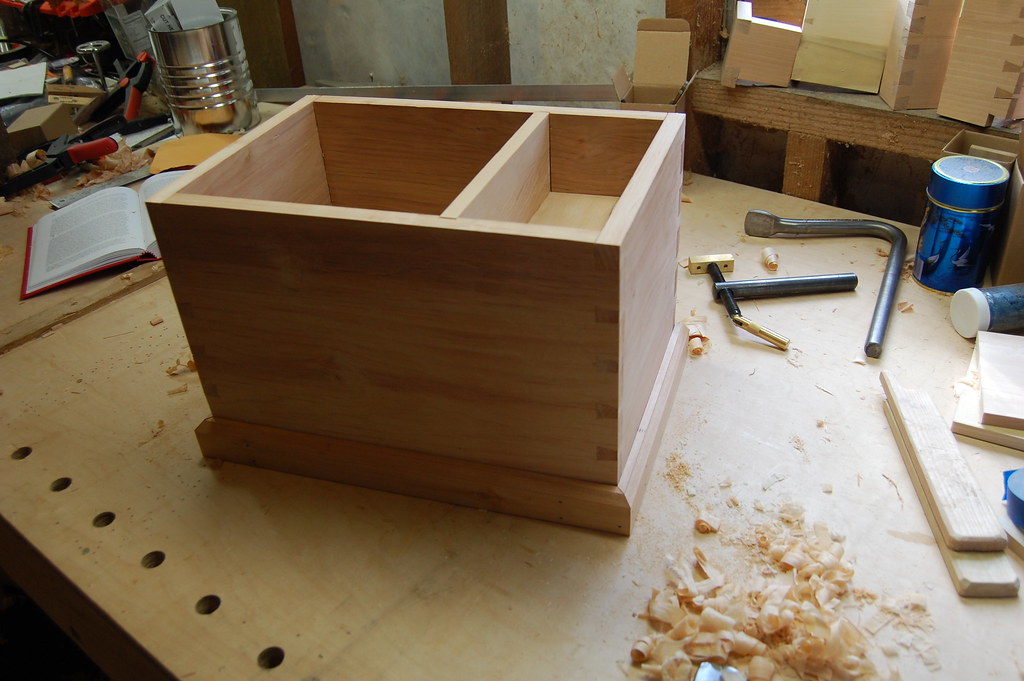
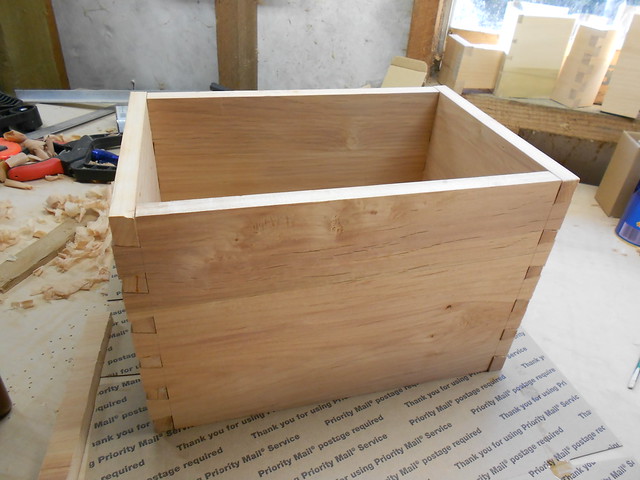
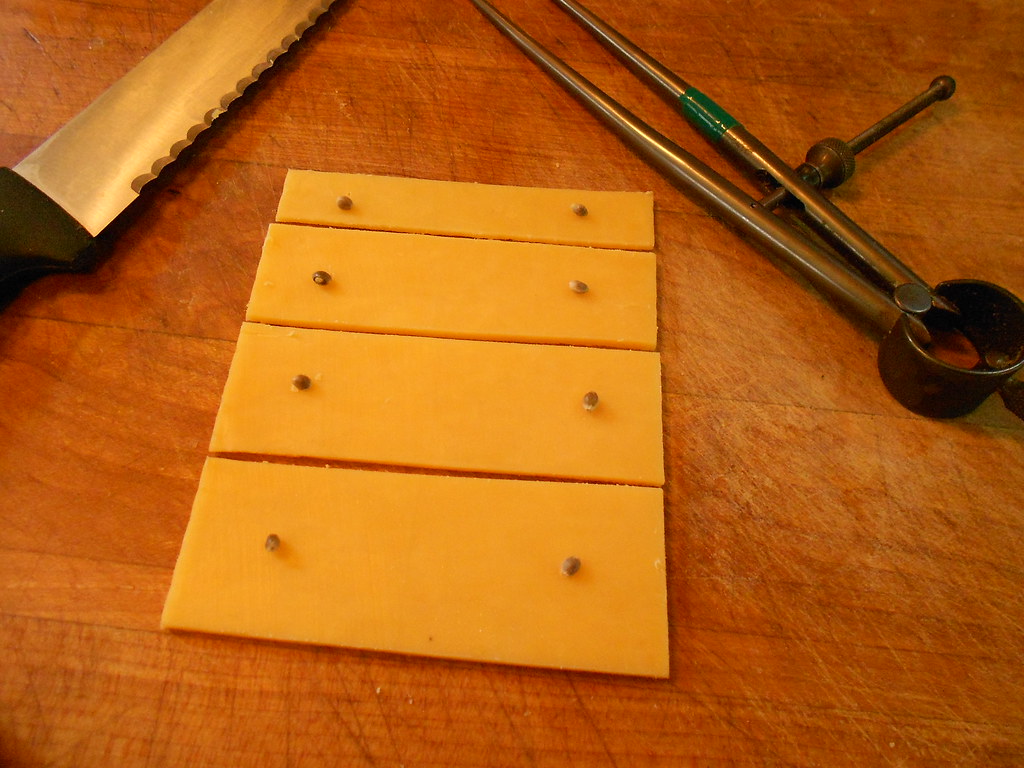
With your new eye for proportion and handtool skills sharpened, its time to design a masterpiece.  Again create a 2:3 rectangle, oriented vertically.  Set the dividers so that it takes 2 steps to get across the long (tall) edge, and put a small prick on the edge of both sides at the first step.  Connect the dots with your knife, and you will have 1/2 of the slice cut free at the bottom.  Repeat this on the top (larger) slice, again, resetting the dividers to 1/2 each time.  Repeat once more, and you will have 4 different, and diminishing, sizes leaving you with a scale model of a chest of drawers, each harmoniously related to the other. Locate the pulls by stepping in 1/5th from either side on each drawer.  Consider contrasting color and flavor, such as cheddar/roasted pepper. Continue to experiment, if you have the stomach, by laminating materials for all kinds of wonderful results. Repeat often with various ratios (1:3, 5:7, 3:8) to hone your eye for proportion.


A passionate woodworker is always hungry for practice in developing design skills, and so I do hope that this has given you a little food for thought.


Friday, March 23, 2012

[Schoolbox] Unscrewed

"Hardware not included"


Its difficult to imagine how to word this phrase more clearly, and yet I still overlooked it when obtaining the strap hinges for the school box. I had bought (different) hinges from the same vendor before, and screws were included. I suppose this is a partial explanation. Nonetheless, I lack appropriate hardware for these hinges, and so progress was slight. I have some steel screws soaking in vinegar to see if an antique-enough finish can be obtained; results are looking promising. I was able to mark and mortise the hinge locations, and bend them into shape. Once the screws are properly aged, the box can finally go together and have the molding applied to the lid.


Hinges were placed by finding the center of the box with dividers, and then halving those halves. You can see the dot left by the dividers above. The hinge itself was then used to mark the width of the mortise. Once again, no rulers. By Hand and By Eye rules!


With the mortise let into the top edge of the box, a temporary screw holds it in place, and the hinge is marked for bending.


The hinge is held in a metal vise and tapped with a hammer until the required 90-degree bend is obtained.


This was sadly where work had to stop for the day, both because of the lack of appropriate screws and also because of some freakish spring weather which has directly affected our spring-fed water supply. Its beautiful out there, but the weight of wind and snow upon the forest trees has left our forest home looking like a battle zone. More soon!


Saturday, March 17, 2012

17th Century Techniques in Today's World


Recently I mentioned a new book about 17th Century New England woodworking techniques and received some interesting email about it. I suppose no good book is without some banter, but one comment was posted suggesting that due to the difficulty of obtaining the type of oak required by the book, as well as the number of hours required to work it before it gets too dry, that these projects are not suitable for a typical modern woodworker with limited time. I have not attempted the projects listed, but I did try to point out that something I thought was worthwhile in this book was that it also included a number of tips and techniques which could easily be adapted to any number of modern projects. For example, it is shown how rather simply one can create paint from whole ingredients including whatever pigments are on hand (my mind is immediately drawn to mushroom and plant dyes). There is no reason this paint would have to go onto an oak joined stool - it could go on your birdhouse or bathroom cupboard or garden whirligig. This is just one example of the type of information the book carries which I think could be useful for nearly any modern woodworker. I also recieved a note from one of the book's authors, Peter Follansbee. He had some trouble posting comments and so asked me to post this:

Here's what I wanted to say:

First off, I want to thank folks for their interest in our book. I do want
to clarify one thing however. I'm sorry if my writing has not made this
clear - but the joined works can be done in a short time frame from log to
finished product, but they don't NEED to be done quickly...the reality is
that I often have several joinery projects underway at any one time - and
months can go by between fabrication of parts and assembly. Right now I have
2 joined chests underway, started in November, partially test-assembled but
they won't be done for months.

Additionally almost all of the joiners work on my blog (maybe 80%)is my
personal work, not the work I do for the museum Plimoth Plantation in my
full-time job. It all looks the same because I am a one-trick pony - all I
really know is 17th-century joinery. So it is both my day job and my
hobby/side job. And both parts of this split personality happen in my shop
at the museum because that's where my tools are, I have no shop at home.

So I'm sorry I wasn't clear enough before, but do jump into joinery. You can
take your time and proceed just as Alexander & I outline in the book. As for
timber, some late 17th-century New England stuff was maple. That might
distort more than oak will in drying, so a little more attention & care will
get you there...
thanks again
PF

Wednesday, March 14, 2012

[Review] Make a Joint Stool from a Tree

Well, a mini-review, or call to your attention, is more accurate. This only arrived yesterday, so I cannot say I have thoroughly read all of it although I did look at every page and carefully read most of it in a single session.


This book has 3 stripes of goodness, near as I can tell. There are probably many more, but the three stand out for me:

1) A thorough, easy-to-follow understanding of how to start with a tree and end with wonderful, historically-relevant pieces of furniture

2) The story of two people's passions for their craft unfolding over their lifetimes

and

3) Countless woodworking tips that while founded in ancient technique are wholly applicable to any number of contemporary projects

For those unaware, Jennie Alexander "wrote the book" on green (that is, cutting a tree and immediately shaping the wood) woodworking many decades ago, albeit under the name "John Alexander". Her website says it better than I can: "people change, times change, wood continues to be wonderful!"

Co-Author Peter Follansbee had the good fortune of joining forces with Alexander long ago, and together, although seperately, they have both spent the subsequent decades researching, experimenting, examining antiques, and speculating. Using documented historical toolkits, in many cases they were forced to just use trial-and-error to see how to make these things. Eventually, they could compare toolmarks on museum pieces to their own replicas, and know when they were on the right track.

The book is beautifully published, in full color, and very importantly, on non-glossy paper. This is not some chintzy newsprint, but very faithful photographic reproductions which do not suffer the frequent flaw of harsh glare or white spots of light obscuring what you are trying to look at. Huge kudos to Lost Art Press for making this decision.

The book can be enjoyed in any of the above 3 ways, and likely more; those above are my personal 3. 

For someone with zero interest in woodworking, this is still a fascinating tale of passion and geeky (in a good way) pursuit of truth. One can skim over the construction details and still find a beautiful story of friendship, respect, and maturation. The methodology used to suss out the hows and whys of 17th Century New England joinery is fascinating to watch unfold, and the hard examples are generous. It makes someone like me, with little personal interest in this exact backwater of woodworking, itch to get into a museum and see some of these pieces for myself. Time-saving tactics used by early joiners are shown in perhaps embarrassing detail, but they are redeemed (in my eyes) by also showing how these things don't matter: nobody looks at the bottom of a stool, the joints are still rock-solid hundreds of years later, and nobody would really even know what these "flaws" are if Peter and Jennie hadn't pointed them out. If you enjoy crime drama thinking, historical puzzle solving and imagineering, or simply a rollicking tale of intellectual passion (at the risk of boring the crap out of your "normal" friends if you try to discuss it), this is a book for you.

For someone interested in making furniture, this book delivers and then some. I do not live in a region where this type of furniture was common, and as the pieces discussed are wholly dependent on having large oak trees to harvest, I will likely never attempt the procedures depicted. However, I am so glad to gain an understanding of how these things would work if I did have access to such trees. The mechanical properties of green oak can still inform the overall understanding of wood as a medium, and the lengths artisans of the past have gone through to exploit (or roll with) these properties is informative even if not directly applicable to whatever local woods are available. I would be equally riveted by tales of using mahagony, teak, or cedar. Ok, well cedar is my local wood, so I would really like to see a book about using it, since its a pain. But I digress. What I took away from this is that even if you have no intention of felling an old oak and making 17th century pieces from it, knowing how it was done is certainly not going to harm your current understandings of woodworking, and I daresay it will inform them. I know my mind was spinning for a few hours after my cursory reading last night.

The 3rd element listed is perhaps a corollary to the 2nd, but even more important for general woodworkers. While the pieces discussed in the book are specific to oak, and green oak at that, there is still plenty for everyone to use elsewhere. Excellent descriptions of drawboring comes to mind. Another angle that I have been exploring recently is the idea of letting your tools determine dimensions. Make your mortises or holes be the size of the chisel you have, for example. Mark cut lines based on the joint itself, not based on some abstract diagram or cut list. Wrapping the modern mind around these utterly simple (almost subversively simple) concepts is crucial, and any works which can help the modern engineer step back into the real world of by-hand-and-by-eye is a great thing.

I would prefer to read through this book, build the projects presented, and then report on its efficacy, but I can already tell you that this is a title to watch. It will be cited over and over in coming years, and my hope is that we will also see a revival in green woodworking and furniture joined in these ways whether made with green oak or not.

My reviews of Lost Art Press books in general may sound overly fawning, but I assure you I have spent my own pennies on them and have no ties to the company other than deep appreciation. They are onto something: the modern geek's thirst for information, the modern aesthete's desire for well-designed material, the modern bibliophile's want for compelling books, and the modern woodworker's need for relevant instruction. These all combine into a polyhedron of delight in all of their works and this one might even raise the bar with its beautiful publishing style (and index!).

Nice work, to all involved, and please keep them coming!


Tuesday, March 13, 2012

[Schoolbox] Lockset

The day started with working on some wood, but not the type I wanted to be doing. After a freak snowstorm last night, our driveway was mostly blocked by several large branches, and it was a fair bit of work with the chainsaw to remove it all. Nonetheless, I persevered and worked on the lockset installation for the box.

"Thomas next sets to work to fix the lock in its place, as it is easiest and best to do so before the lid is put on. The key-hole must come exactly in the middle of the front, so he makes a pencil mark square down the middle for about an inch from the top..."


-- The Joiner and Cabinet Maker, 1839

This process is largely straightforward so I am not going to add much. I did take some photos:

This shows the lockset itself, which is of the "half-mortise" style. This means that the bulk of the lock works are set into a mortise in the wood, but the brass back plate of the lock seals up the hole, where in a "full-mortise" lock, the whole thing would be slipped into a slot, covered by wood on 5 of 6 sides. You can also see the tiny dent I made by pressing the post of the lock onto the centerline. This marks where the keyhole should be.


A hole is made where the indentation is. A drill would probably be the best tool for this job, but I had been wanting to practice using a bird cage awl, which is a very clever tool. Unlike a typical awl, which is sharp and rounded like an icepick, its square in shape. The very sharp 90 degree corners do a great job of cutting while it is twisted. This is actually fast work. The main drawback is that the size of the tool dictates the size of the hole. In this case, it was perfect. This is a birdcage awl, a tool Thomas mentions:


Next the top plate's footprint is marked out on the top edge of the boxfront:


After this is chiseled out to depth, the plate is slipped in, and it is marked out on the inside of the box:


As with the dados for the partition, I used the dovetail saw to cut down the lines, not worrying too much about extending down past where they need to, but also keeping them as short as possible.


Clearing the mortise would be a perfect job for a chisel, but... there is not room:


Thomas makes no mention of the tool he uses, but there is such a thing as a chisel specifically designed for this process. However, I lack this tool, so had to make do using bench chisels at what angle I could and cleaning up with a small router plane:


With the mortise for the lock works removed, then a very shallow but wider mortise is made for the plate itself, until the whole thing fits flush:


Before screwing it in, the keyhole is opened up and shaped with rasps:


The lock is then fully installed:


The selvedge, or top half of the lock, has to wait to be installed in the lid until after the hinges are installed. The molding on the lid also must wait, but this shows a bit of what the box will look like:


Monday, March 12, 2012

Dovetailed Bed

While awaiting arrival of the hinges for the schoolbox, I decided to make a bed for my daughter. It has a dovetailed frame, decorative molding all around, and shaped feet. It did not take long to make. Shown here without finish, it will probably stay that way.


Tuesday, March 6, 2012

[Schoolbox] Bottom, Partition, and Bonus Box

The morning started out with some unexpected snowfall, so getting a fire going in the shop was the first order of business. Shortly after, a bottom was added to the box. Thomas was told by his master to put it on with the grain running front to back, which would make it stronger. However, this would also increase the risk of the bottom changing size with the seasons. I was willing to do it Thomas's way, unwise as it may be, but since I had a board which would fit one way and not the other, I went ahead and put it on with the grain running side-to-side. This should be more stable over time. Future boxes might serve as experiments, though the results may not be in for 50 years or so.

One of the great advantages of hand tool woodworking is that numbers rarely need to be involved in the measurements. I just traced the box onto the bottom board, and cut around it. This leaves an oversized bottom:


This is a simple matter to trim with planes:


Thomas then moves onto the molding, but I decided to do the partition first, so that the box would remain flat while working on it. I cannot think of any reason the molding should be done before the partition work. In fact, I would have done the lock installation, too, but don't have the lock yet.

Using a small block of wood as a template, the dovetail saw was used to make a shallow (1/8th ") cut, 3 inches long. Its ok that the cuts go beyond the partition, as they will rarely be seen. Still, I could have made them much shorter, and will in the future for a neater box.


I made this cut on both walls, and then cut the template block itself to size it for the 2d cut:


As the thickness of the partition boards is 1/2", it was simple to find a chisel of that exact size, making clearing out the dado a simple matter. It is always a great policy to size your components from a tool that you have, and this is a main reason I use Western tools and not Japanese; it is a lot easier to make a 1/2" dado with a 1/2" chisel than it is to do metric conversions from millimeters:


After the chisel work, I ensured the bottom of the dado was flat and smooth with a small router plane:


I have not really shown this tool much before, but it is very handy. Called a "hag's tooth" in the olden days, it is simply a sharpened iron bent at 90 degrees from the vertical, for controlling the depth of a groove or other recessed area. It should not be used to actually clear the groove, but is perfect for cleanup. This shows how the blade is shaped; a wonderful example of an utterly simple tool that is also just about perfect at what it does:


Next up was cutting the partition wall. I left it slightly oversized, so that I could gradually trim it until that magic moment when it fits snugly. Again, no measuring with numbers, just drawing a line in the right place:


And then onto the shooting board. A few swipes, test fit, repeat until perfect fit is achieved. This way of working is a lot nicer than trying to cut something at 9 13/65th inches.


The partition is supported underneath by some cleats. There was no real reason to make these perfectly square, but while I had the shooting board out, I did:


There were then installed on the sides. You can see how the dado cuts extend longer than they need to:


The partition is nailed and glued to the bottom, and slipped into place. It is then trimmed to fit at the top, again with no measuring:


The molding was then attached, and the box itself is about done. It still needs a lock, hinges, and a lid:


It is bigger than it might seem:


I wanted to get going on the lid, but needed to prepare another 9' board in the rough and that sounded like too much work at the moment. Instead, I put a bottom on this practice box, and finally got around to something I have been wanting to do for a while: making a measuring and marking organizer for my gauges, knife, pencils, dividers, etc. I used the same concept as the Schoolbox partition, but flipped 90 degrees for a wider base. I drilled some simple holes (not exactly sure how I want to use it yet), and planed the "holder" down a bit so that it left a gap just wide enough for squares on the back edge. The holder lifts out easily, so everything can be packed underneath it. I will probably add a lid at some point, but for now it is way better than the overflowing little tray I was using.


The hardest part of this was definitely the mitres on the molding. With total concentration, I was able to get them to fit rather nicely during the dry fit, but for whatever reason, they opened up a tiny bit while nailing them down. This is one area where I need a lot of practice, but it is good to have the box nearing completion. Next steps are to create the lid (and its similar molding), install hinges, and a lock. Then its on to box number two, unless I finally start on the workbench, like I want to...

Sunday, March 4, 2012

[Schoolbox] Bottom and Molding

With the glue dry, it was simple enough to trim the pins and tails flush with the carcase. It was tempting to smooth the entire outside at this point but as there is some assembly left to do, I know it will be wasted effort. Here's the shell more or less complete, minus final smoothing:


Not shown is the planing, jointing, and glueing up of the planel for the bottom. I had almost forgotten about that, since I was thinking about getting the molding put on. The bottom goes on first though, so that will be next time. While the glue was setting, I did get started on the molding. I've learned its much simpler to plane molding while the board is as wide as possible, so here it is in progress:


And here it is about done. It is just a simple 45-degree chamfer, but I think its simpleness complements the basic nature of the box as a whole. I might made one with a slightly more complex molding profile later on:


The board was then marked for a 1 1/2" tall strip of molding:

Which was then ripped off and planed to the line:


It was a challenge to cut the miters, but it seems like it will go together ok:


Next time, the bottom will be put on, the molding attached, and perhaps starting on the interior partition.

I am puzzled by one thing, but perhaps it will become clear in time. I would rather do the partition first, as the operations on the inside of the box will be awkward with the molding attached. I can easily use another piece of the molding stock to level it, but I really wonder why Thomas (and then Chris) did the molding first.

Saturday, March 3, 2012

[Schoolbox] Carcase Comes Together

"And now for dovetailing the corners," say Thomas, half afraid to attempt so large a joint, for as yet he has practiced only on smaller pieces; but the same care and attention which make a good joint look good with small pieces will also work with large ones.


-- The Joiner and Cabinet Maker, 1839


I did do one more practice joint to warm up before cutting these, and it came out ok; not as perfect as I would like but I moved on anyway. These, also, are not as perfect as I would like but it is more compelling to be making an actual item than just practice joints. I've also told myself that I will most likely use this box to practice application of milk paint, and there is therefore a lot of room for cosmetic error. Nonetheless, like most of my practice joints, it did go together in a way which is mechanically sound, resulting in a very strong box. The glue is now drying, and the way it will actually look will become clear when the glue has dried and the pins and tails and trimmed even with each other.

I will likely go into more detail about Thomas's exact methodology for dovetailing in an upcoming box, but in this case I want to just get through the construction so that a complete understanding of it from start-to-finish is gained. I'll then be recursively focussing on sub-elements with each new schoolbox made. Here is the first one, drying and waiting trimming and exterior planing:


Thursday, March 1, 2012

[oops] "x" marks the spot

Its a good habit to mark or shade your waste areas, so you don't accidentally cut into the part you wish to keep. Despite such efforts, this happened anyway: