One of the great advantages of hand tool woodworking is that numbers rarely need to be involved in the measurements. I just traced the box onto the bottom board, and cut around it. This leaves an oversized bottom:
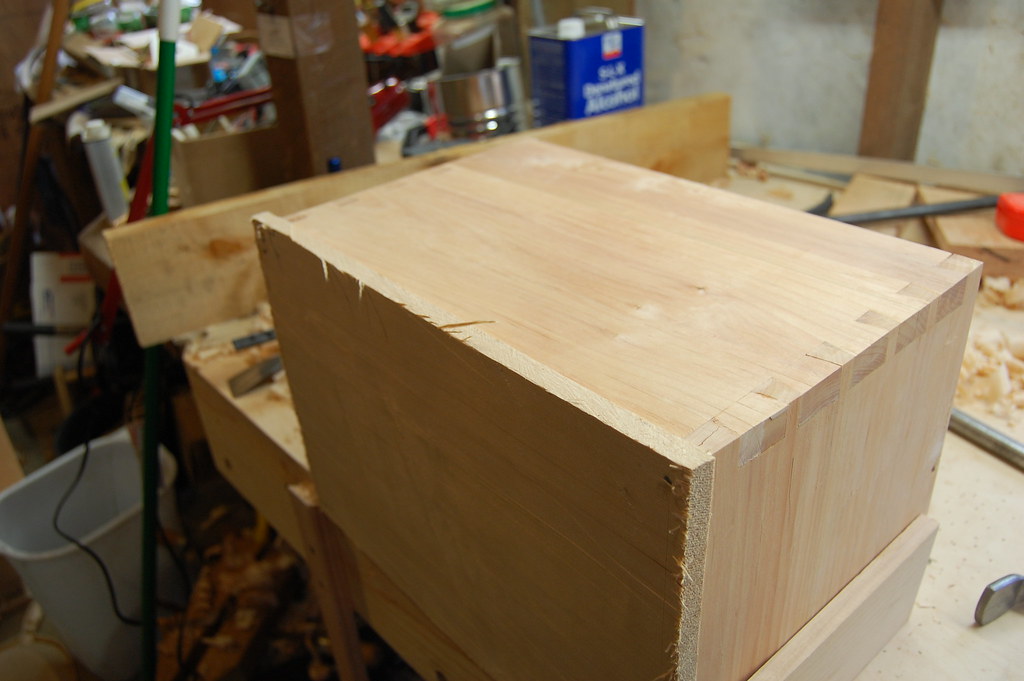
This is a simple matter to trim with planes:

Thomas then moves onto the molding, but I decided to do the partition first, so that the box would remain flat while working on it. I cannot think of any reason the molding should be done before the partition work. In fact, I would have done the lock installation, too, but don't have the lock yet.
Using a small block of wood as a template, the dovetail saw was used to make a shallow (1/8th ") cut, 3 inches long. Its ok that the cuts go beyond the partition, as they will rarely be seen. Still, I could have made them much shorter, and will in the future for a neater box.
I made this cut on both walls, and then cut the template block itself to size it for the 2d cut:
As the thickness of the partition boards is 1/2", it was simple to find a chisel of that exact size, making clearing out the dado a simple matter. It is always a great policy to size your components from a tool that you have, and this is a main reason I use Western tools and not Japanese; it is a lot easier to make a 1/2" dado with a 1/2" chisel than it is to do metric conversions from millimeters:

After the chisel work, I ensured the bottom of the dado was flat and smooth with a small router plane:
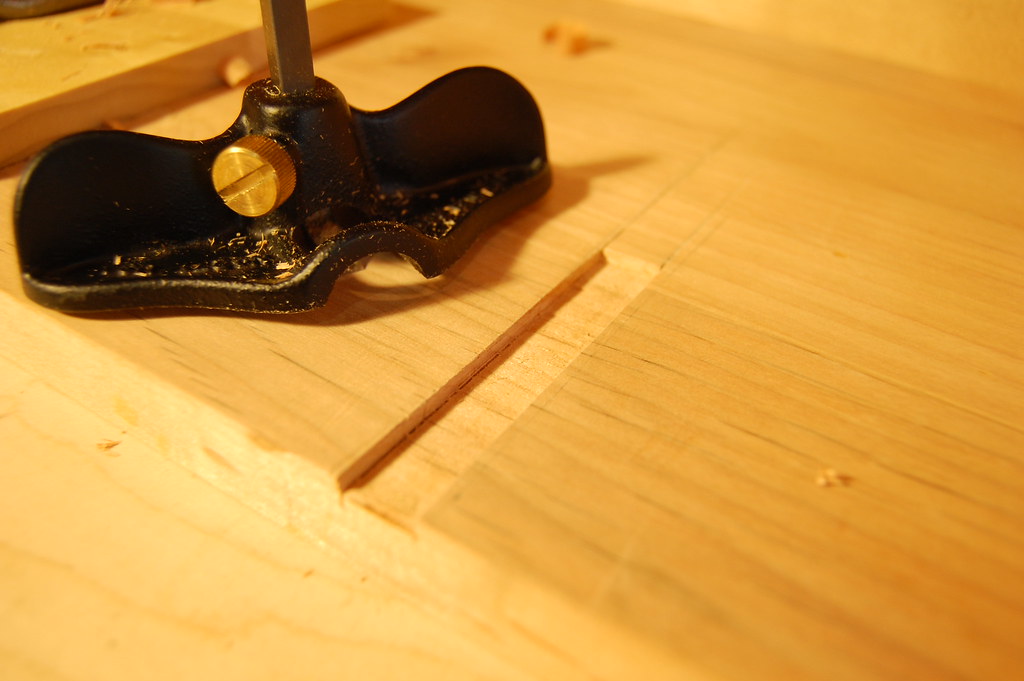
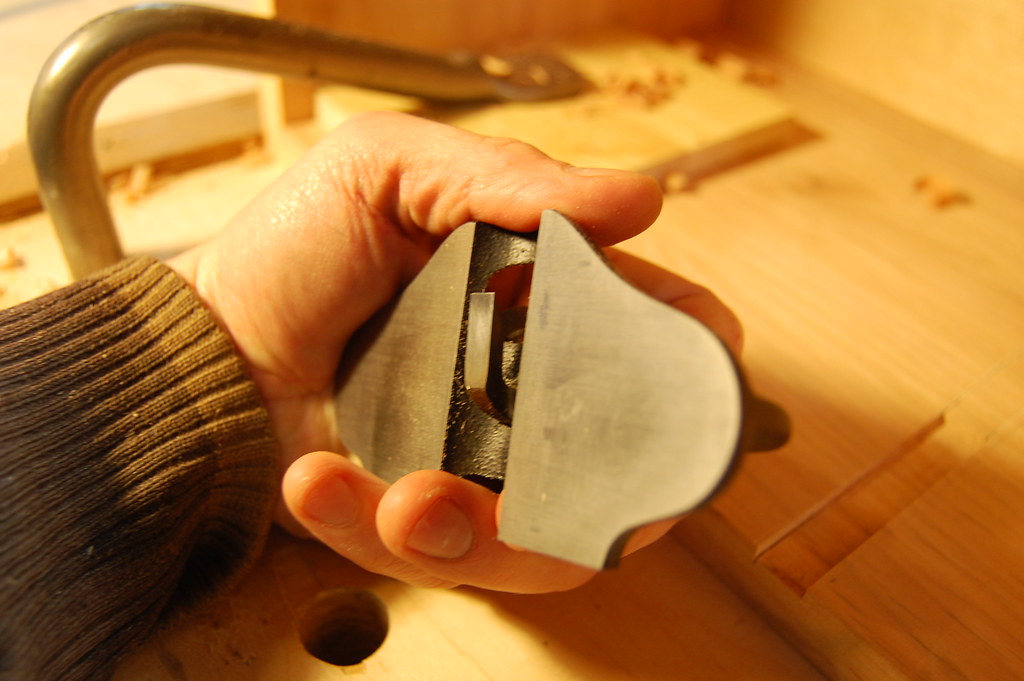
I have not really shown this tool much before, but it is very handy. Called a "hag's tooth" in the olden days, it is simply a sharpened iron bent at 90 degrees from the vertical, for controlling the depth of a groove or other recessed area. It should not be used to actually clear the groove, but is perfect for cleanup. This shows how the blade is shaped; a wonderful example of an utterly simple tool that is also just about perfect at what it does:
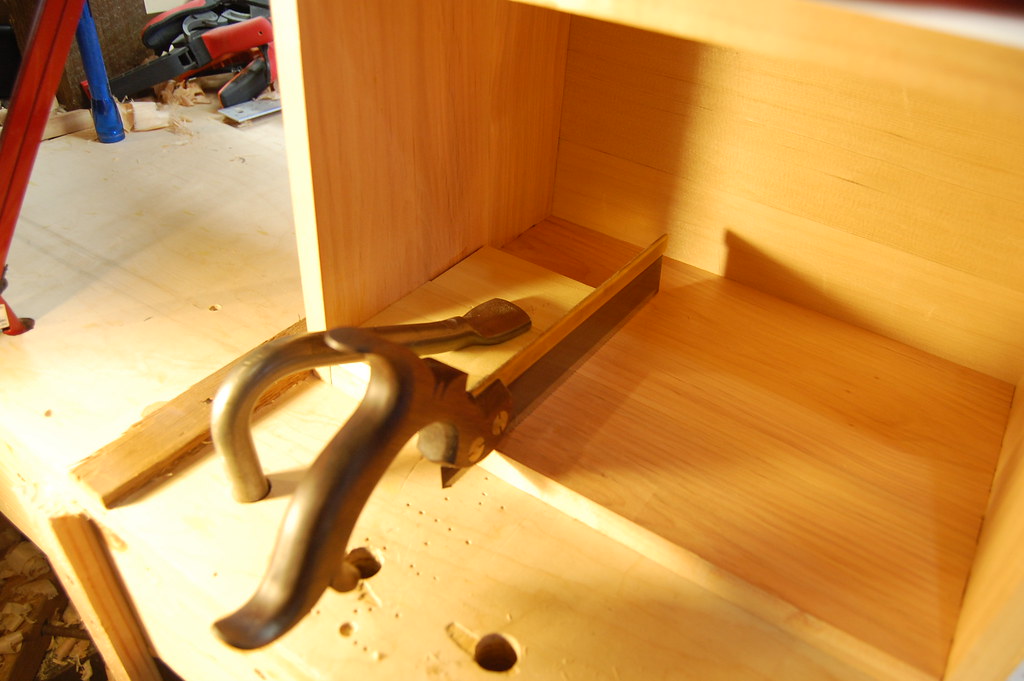
Next up was cutting the partition wall. I left it slightly oversized, so that I could gradually trim it until that magic moment when it fits snugly. Again, no measuring with numbers, just drawing a line in the right place:

And then onto the shooting board. A few swipes, test fit, repeat until perfect fit is achieved. This way of working is a lot nicer than trying to cut something at 9 13/65th inches.

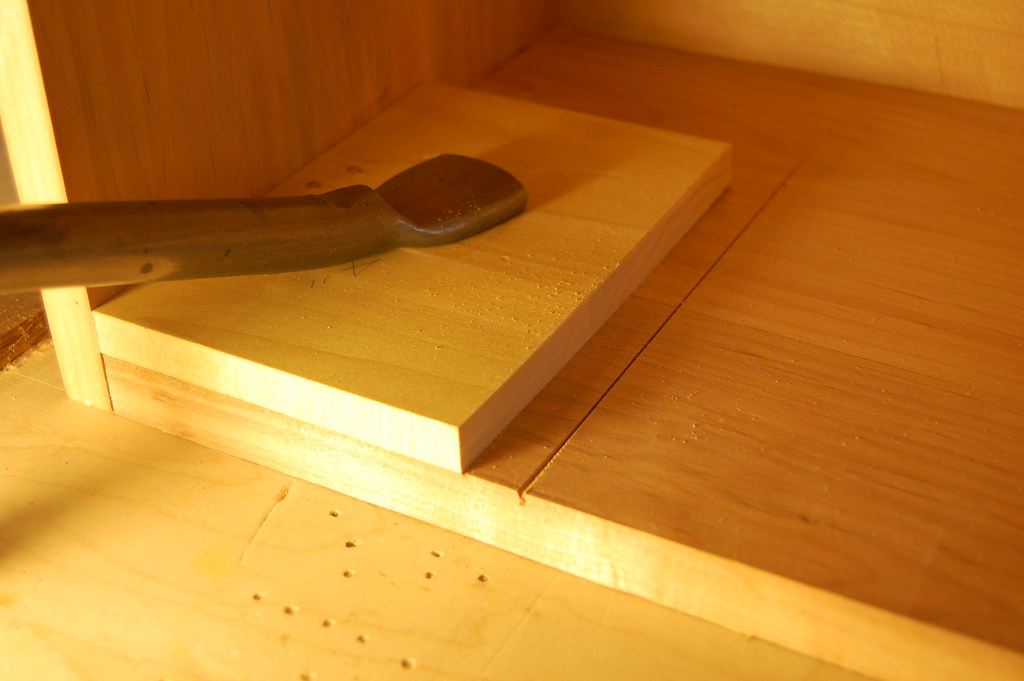
The partition is supported underneath by some cleats. There was no real reason to make these perfectly square, but while I had the shooting board out, I did:

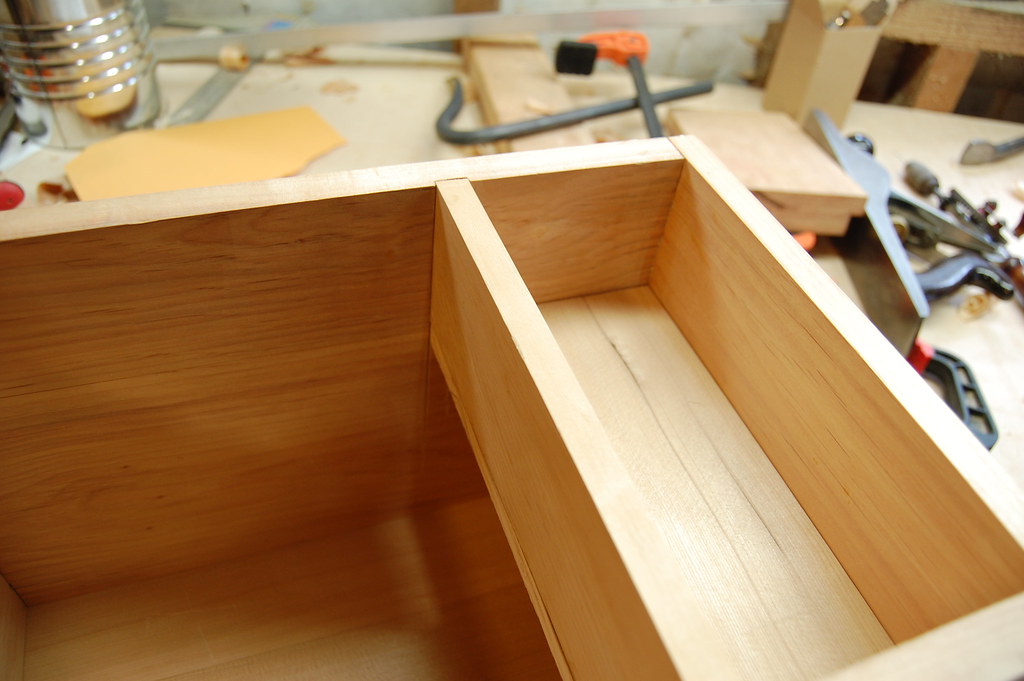
There were then installed on the sides. You can see how the dado cuts extend longer than they need to:

The partition is nailed and glued to the bottom, and slipped into place. It is then trimmed to fit at the top, again with no measuring:
The molding was then attached, and the box itself is about done. It still needs a lock, hinges, and a lid:
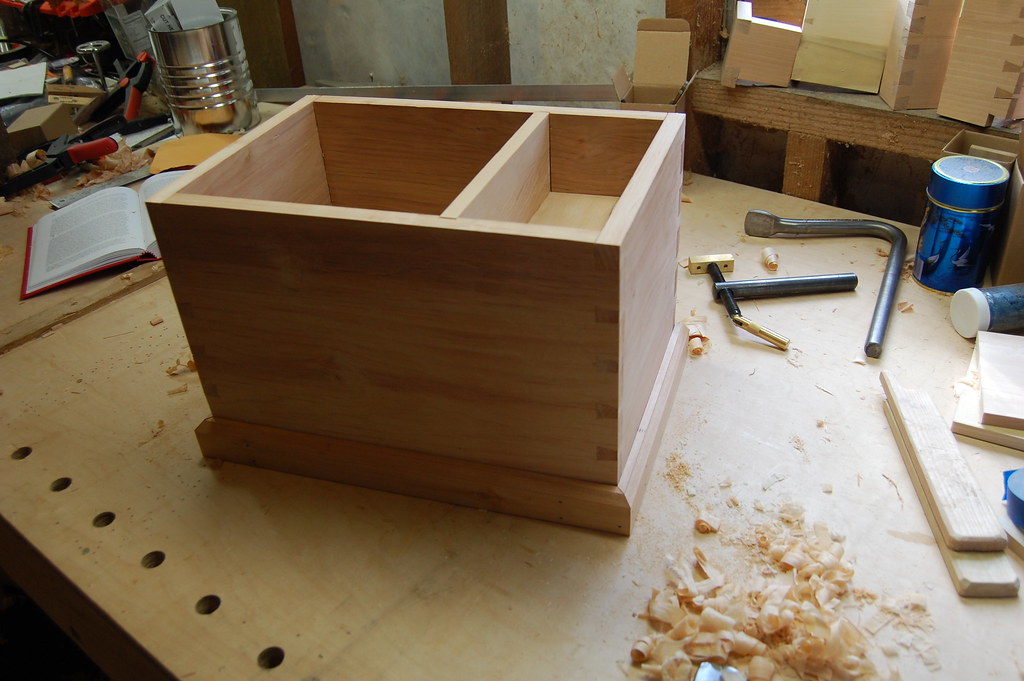
It is bigger than it might seem:
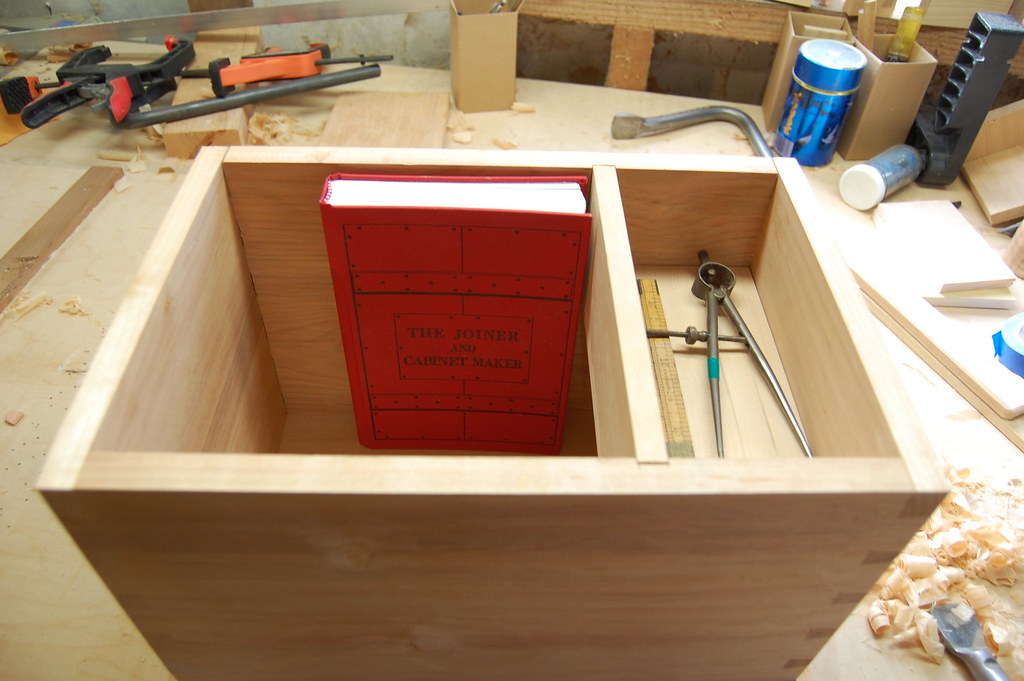
I wanted to get going on the lid, but needed to prepare another 9' board in the rough and that sounded like too much work at the moment. Instead, I put a bottom on this practice box, and finally got around to something I have been wanting to do for a while: making a measuring and marking organizer for my gauges, knife, pencils, dividers, etc. I used the same concept as the Schoolbox partition, but flipped 90 degrees for a wider base. I drilled some simple holes (not exactly sure how I want to use it yet), and planed the "holder" down a bit so that it left a gap just wide enough for squares on the back edge. The holder lifts out easily, so everything can be packed underneath it. I will probably add a lid at some point, but for now it is way better than the overflowing little tray I was using.

The hardest part of this was definitely the mitres on the molding. With total concentration, I was able to get them to fit rather nicely during the dry fit, but for whatever reason, they opened up a tiny bit while nailing them down. This is one area where I need a lot of practice, but it is good to have the box nearing completion. Next steps are to create the lid (and its similar molding), install hinges, and a lock. Then its on to box number two, unless I finally start on the workbench, like I want to...
No comments:
Post a Comment