Saturday, June 29, 2013

A Flexible Bench

After years of having workbenches connected to walls, I am enjoying the walkaround freedom and ability to easily work on stuff like this garden gate:


I want to miss having tools hanging on the wall, but I am actually really digging working out of the chest.

Just some datapoints. Everyone is going to have to find what works for them on their own.

Tuesday, June 25, 2013

[Sale] Breaking up with my dovetail saw

EDIT: The saw has been sold. Thanks for the interest and sorry to those who missed out!


Dear Gramercy Tools 9" Dovetail Saw,

This is difficult to write because we really have had some good times together. Great times. There was a time when I could never imagine life without you. For the good of both of us, however, it is time to move on. For you to see other hands, for me to use another saw. It is definitely not you, it is me. My hand is simply too small for your tote. I have always known I had elfin scale features, but I thought we could get beyond it. It seemed to be going ok, until I recently found a tote which actually does fit my hand. It is just not fair to ask you to continue to compromise when we would both be happier with a new situation.

Love always,

The Joiner's Apprentice


Such were the thoughts in my mind recently when I confirmed that I am much happier using a saw with a smaller tote. The Gramercy saw is an amazing tool, the cuts are fine and crisp and it is easy to control. I always end up with a mild fatigue after a session cutting with it, however. Those with normal-sized hands don't seem to have this issue (in fact most folks I have allowed to test the saw love it). This could all work out well for you, if you are one of those blessed normal people. I'm letting my saw go to a new home. It would cost you $190 new (plus shipping) and I am offering it for $145 including shipping in the continental USA. $135 if you want to pick it up in Port Townsend. The saw is in perfect working condition, and has been recently sharpened by hand tool expert Jim Tolpin (I am learning to sharpen saws, but tiny teeth like this are intimidating to me still). Send me an email if you are interested in scoring this saw for almost a third less than it would cost you new. I can even throw in the split nut driver upon request in case you want to ever take it apart.

Read all about it at Tools for Working Wood.

Here are some photos:

It fits perfectly in the divider of the tool tote I built:


The etch indicates this was purchased as a complete saw, not a kit:


I'm already missing it, such a lil sweetheart:


The saw has been sold. Thanks for the interest and sorry to those who missed out!

Thursday, June 20, 2013

Bench Hooks, Sloyd, and Battens

Recently I completed acting as teaching assistant for another round of "Hand Tool Heaven" with Jim Tolpin at the Port Townsend School of Woodworking. This is a class for complete novices, and is a bit ambitious in that it aims to skim the surface of essential joinery skills in just five days. It is always a blast to watch people get it, and the class improves each time. The class is not project based per se, but the students do work on shop appliances and layout tools in order to practice their skills. The bench hooks from Jim's "New Traditional Woodworker" are one of these projects. I've helped many students build these workholders, but realized that although I had been demonstrating the operations on scraps, I had not actually built a set myself. I do already have some fully functional bench hooks which I built a few years ago, but wanted to give Jim's design a try at home. I also wanted to see if I could replicate some of the issues the students were having with learning to create dados smoothly and see if I could come up with some solid advice rather than "keep practicing".

The bench hooks take about 15-20 hours for most students to build, although this includes lots of lecture and practice time. They start with rough-sawn lumber which they crosscut, dimension, and true all by hand. As encouragement to any beginning readers or students, let me say that they do not take long once you have a bit of experience with the operations. Here is the set I created the other day:


I added a cutting notch on the left side, largely to see if I could make one accurately enough to rely upon. It came out perfectly, but I opted to utilize the open notch style I am used to on the right edge, since it allows a broad variety of freehand cutting angles:


I did not opt to add the shooting board track, as I believe these appliances are best kept separate unless for some reason storage space is at a huge premium. Bench hooks are quasi-disposable with much use, and a shooting board should last much, much longer. As you can see, I also did not use the finest lumber here. Good enough for bench hooks, but maybe not for a shooting board I want to last a long time. This was the same ponderosa pine the students were using in the class, with walnut ledgers and backstop.

This all had me thinking about bench hooks, and I decided to try something that I had been thinking about for a long time. Christopher Schwarz calls hooks made from a single plank "Old Testament" and I like that as an adjective a great deal. Here is some 3" thick cherry being utilized for the task:


After squaring it, I laid out a design I had seen in the teacher's guide to Sloyd woodworking by Otto Soloman. I did modify his design for the fun of it, to make the hooks proportionally harmonious. If you are familiar with Jim Tolpin's work, this will not surprise you. I made mine 3" square by 9" long, with the feet and backstop being 1" (being a third of the 3") both in width and depth. Although not strictly necessary, I cut relief kerfs since I did not trust the grain of the cherry:


I then popped out large chips with a chisel, a technique I grow to love more and more each time I use it. I suppose a saw could have been used but this is fast and fun:


I used a jack plane (mentioned in the Sloyd book) to clean up a little, although I also did one hook completely by chisel for the fun of it.

Here is one completed and one in the process:


and all done, complete with hanging hole (which I am unlikely to ever use, but who knows):


This shows how they are used. I believe these are intended as general workholders and not especially for sawing as they have no provision for the blade. I am tempted to make a notch in one, or to make a third with no backstop. They are quite narrow, but when used as a pair, they hold the work very securely. I used them to make some dados and expect I will find them quite handy to have around:


I also tried out something I had seen on The English Woodworker's site:


This is a very quick and easy way to hold work against a dog for traverse planing. Wish I would have known this a long time ago. I think all of my planing battens will now have a bird's mouth. If this function is not evident, please see the link above, or consult this image with the workpiece pulled ahead to show how it was held. Give it a try, and thanks, English Woodworker!


Thursday, June 6, 2013

[Workbench] Done?!

What a long, strange trip it has been. I started my workbench by purchasing the doug fir boards in November 2011. Today, I believe it is complete (while acknowledging it will always be a flexible work in progress). Here is how it started back then:


I started the day by boring a large hole for the planing stop:


You can see the tools I used for the chopping. A mortise chisel, a corner chisel and a wide bench chisel. It was slow going, but I got there.

The stop is a 2" square of cherry, which is whacked up or down with a mallet. I waxed it a bit to make it a little easier to adjust, it will take some acclimating and time to get the perfect fit, but it works great now. Extremely solid.


I started to plane around the hole to remove my layout marks, then decided to leave them as a bit of history. The freshly exposed grain will soon weather to match the rest of the bench top.

I also installed a Veritas Inset Vise, which is a permanent and glorified wonderdog. This takes place of a wagon vise, and so far I really like it:


Here is the "complete" bench, with holdfases, sliding deadman, inset vise, leg vise, planing stop, and shelves. I doubt I will add the crochet, but it would be fun to try at some point.


I did have to overbore the dog holes, just as I did on my last bench. It seems that 3/4" holdfasts are really only good in about 2" max thickness of bench. For 4" slabs like this, the holes need to be opened up more underneath to get more of an angle on the holdfasts. This is the kind of thing that should be done before assembly, but I am typically late to such parties.

On my final day in the Foundation Course, I had some extra time so whipped together an English Layout Square. I've been using it a lot. It is made of cherry, and is in fact rather square. It was a blast to make, highly recommended for anyone who has been considering the project:


These are the other joiners tools I have made: winding sticks (walnut and basswood), try square, English layout square, and straight edge. It is a great feeling to make your own tools, and inspiring to realize how accurate they can be. It helps to know how to test and true them, but these are both simple to pick up:


It is just about time to get back to making stuff, instead of making stuff to make stuff! That said, I do need a sharpening table and a grinding station...

Tuesday, June 4, 2013

[Workbench] Shelves, Deadman, and Li'l Helper

With a day off of duties from the school, I had an excellent and productive session in my own shop. Some doug fir boards I brought from my valley in Oregon have been acclimating in my shop this whole time, and since my bench is made of the same stuff, I figured the shelves should be too. Also, how else would I use this knotty, splintery stuff?

I first utilized the space-age miracle of my thickness planer (an electronic machine, do not judge me). This was to quickly take the boards down to 3/4" thick. They were just nasty enough that this dimension was not quite enough to hit every spot of rough-sawn gnar, but this was fine since I would finish by hand. The dimension was solely so that the tongue-and-groove plane would have a consistent thickness to register from (as it is intended for 3/4" boards).

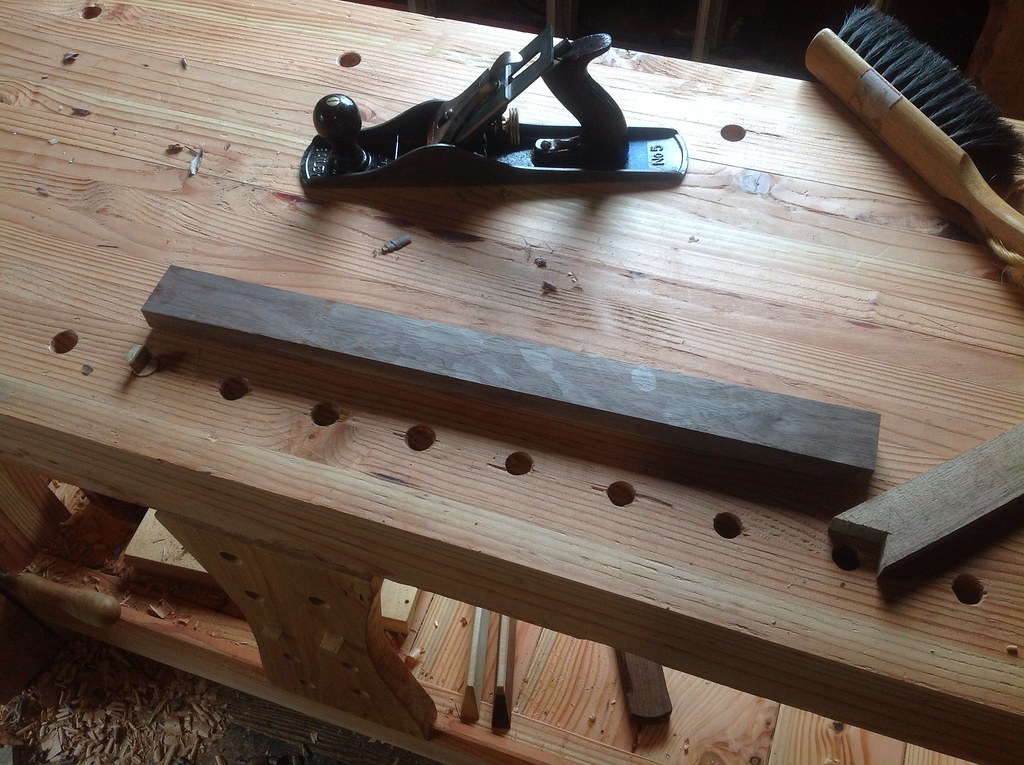
Here is a board after machine planing:


The next order of business was to joint a side using a (you guessed it) jointer plane. To be honest, at this point I would love to have a power jointer and would have used one without guilt, but I did it the old fashioned way, a la this:


You might notice knots, reversing grain, and other defects which would cause this board to be rejected by a well-intentioned furniture maker. Given the nature of this project, however, I just kept rolling with it. It is just shelves for a workbench. This did come back to haunt me.

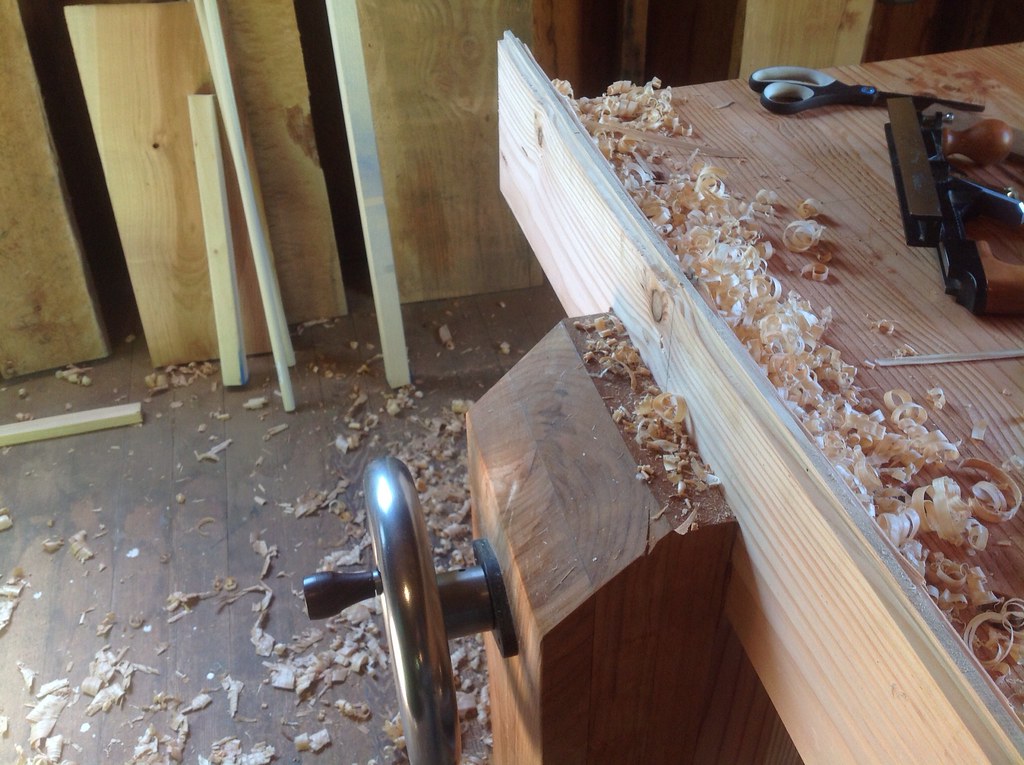
Here is one of the tongue edges just about complete. The plane heats up rapidly while doing this, and waxing it often is helpful. This is a very specialize plane which only does this one thing, but it does it so well that it is mind-blowing. Not sure it is "worth it" or how many feet I will have to produce to have it pay for itself, but it really is a fun and amazing tool:


A quick switch of the fence and it makes the groove which matches perfectly. That said, this machine is no more automatic than a shoulder or rabbet plane. It takes a bit of attention, skill, and selective pressure to yield a good result. It does not like knots or reversing grain. It does help to wax not only the plane, but the board as well. It of course likes to be sharp. Doug fir is forgiving on clean stretches, and brutal on the reversing stretches. Somewhere in here, I added suede to the vise chop, which helped a great deal. In fact, I would consider this mandatory.


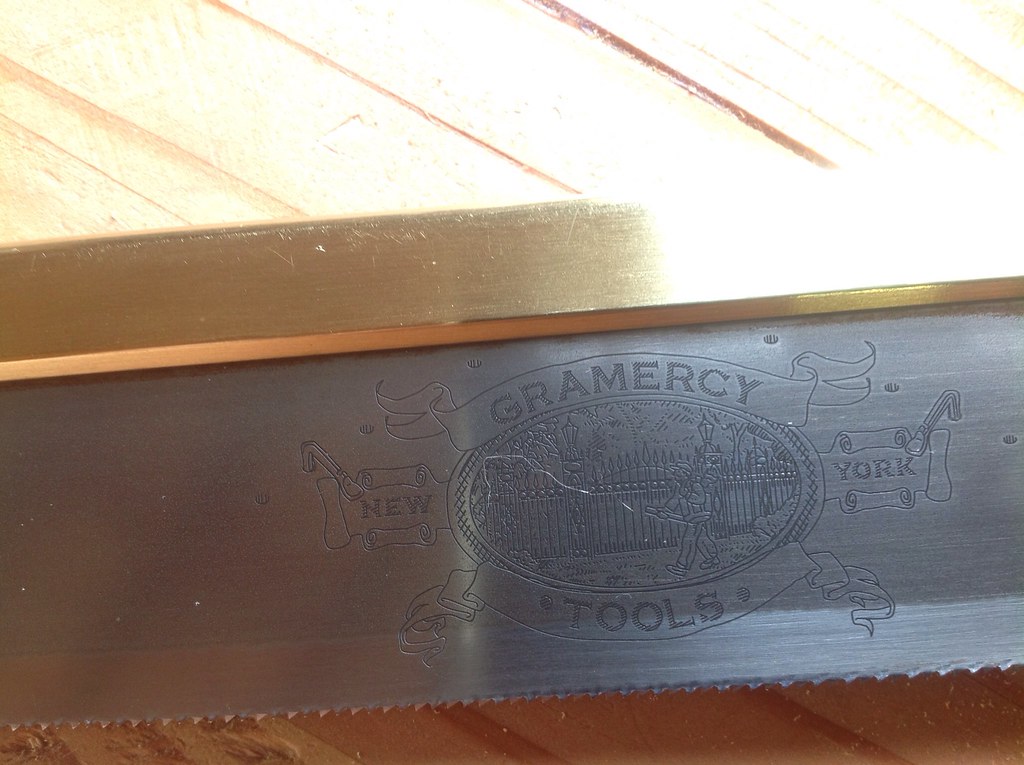
This is my tongue and groove plane doing its thing. This is a premium replica. I have also used a Stanley 45, which is great but much more of a pain to set up. Again, this is a hard to justify tool, but if you have one, you will love it. Except for the fact that you are committed to one dimension... and I suppose a bit of skill with rabbets would liberate you.


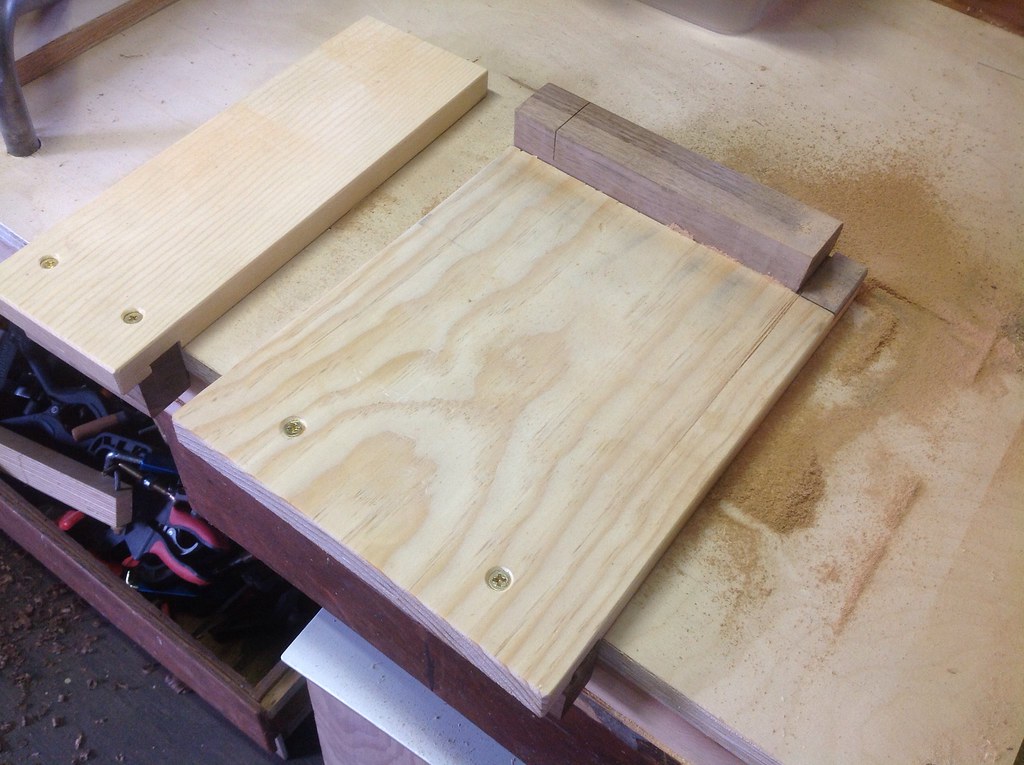
It is important to stop every so often to dry fit. This is not just to make sure that nothing is critically astray, but in fact just to make it seem fun and feel like you are getting somewhere:


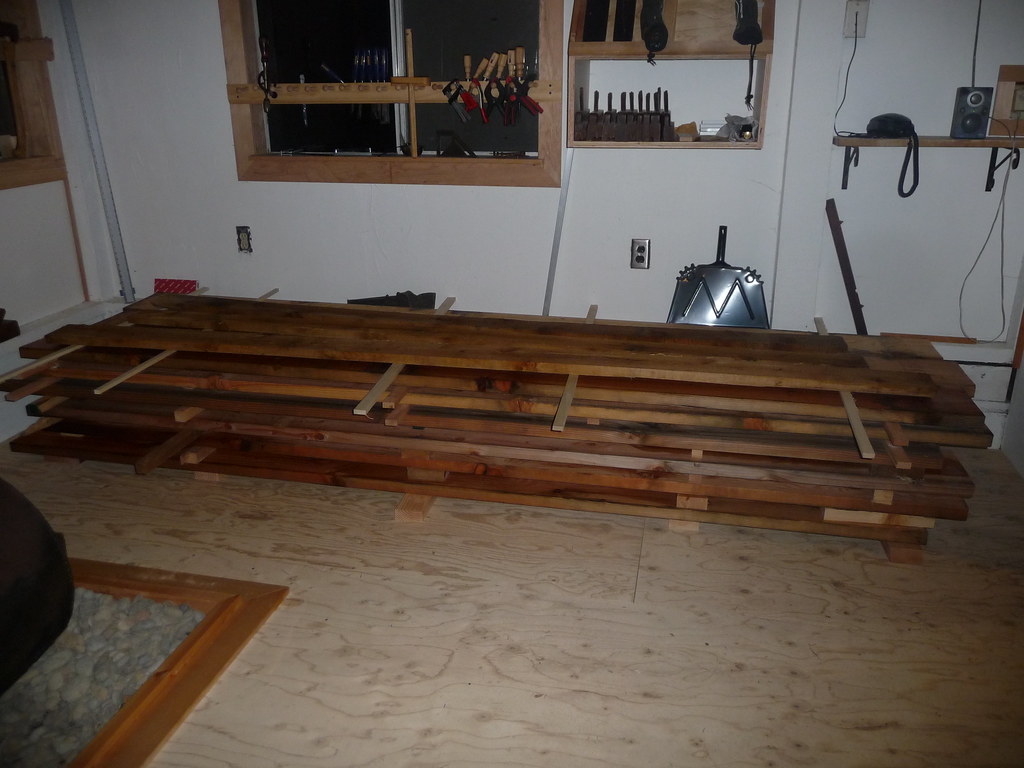
Here is the stack of completed T&G board, awaiting face planing/smoothing. I number them because I am a dolt and mess things up a lot if I do not over-label. I only mess them up a bit if I do it:


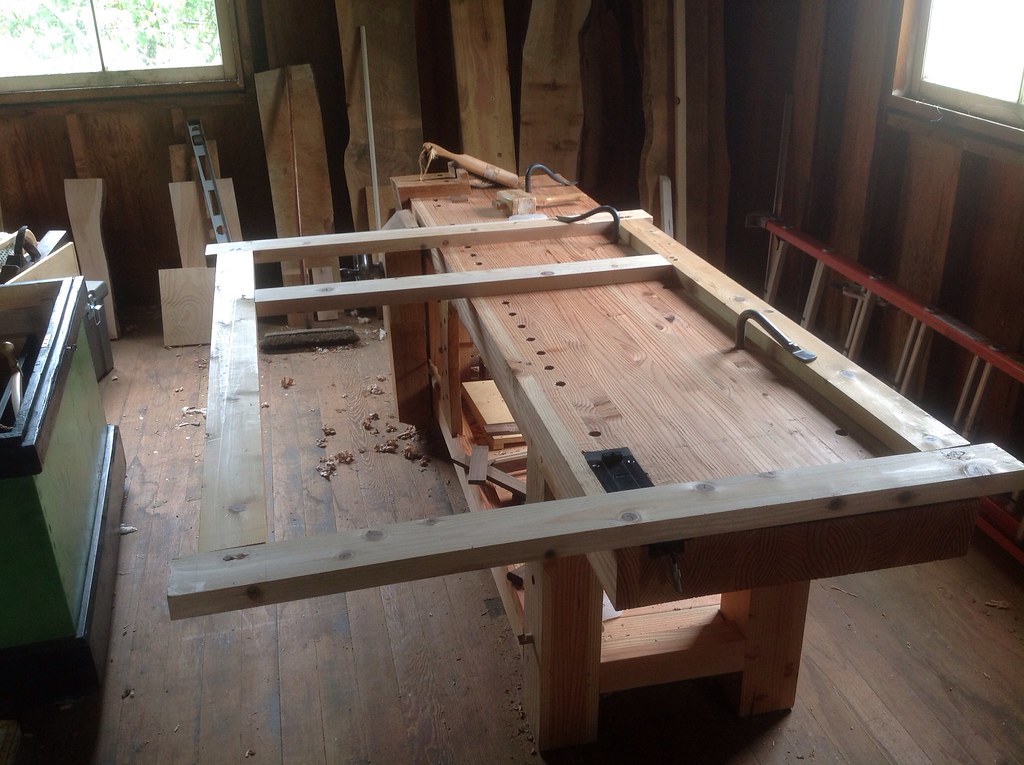
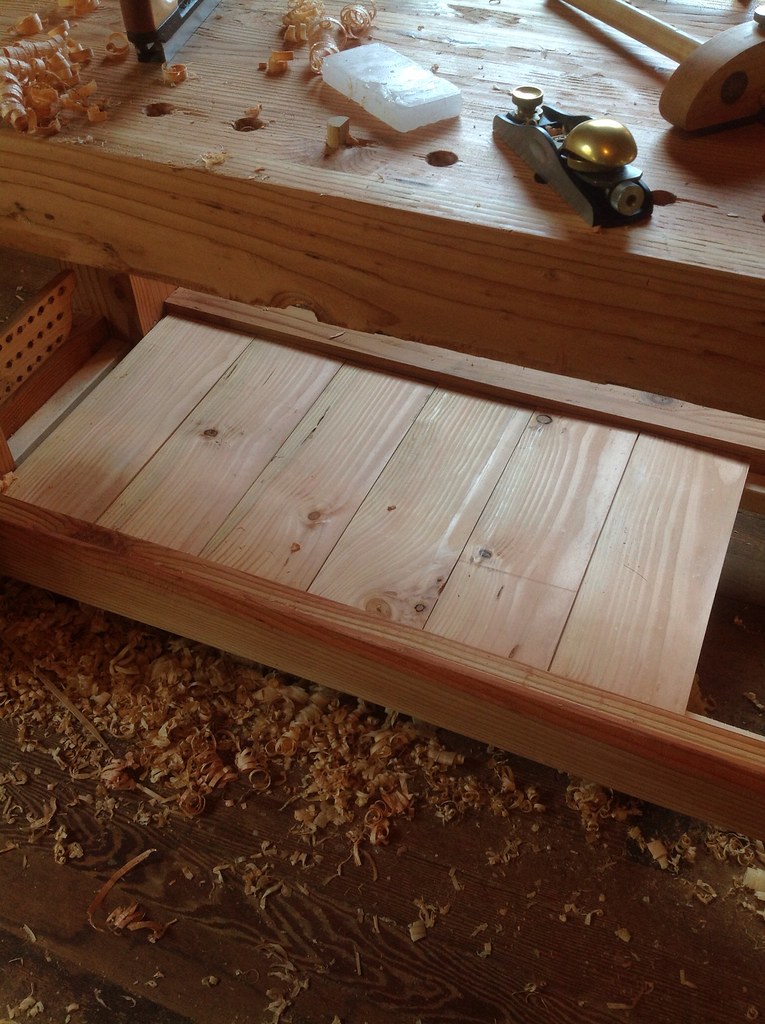
And the boards installed after smoothing:


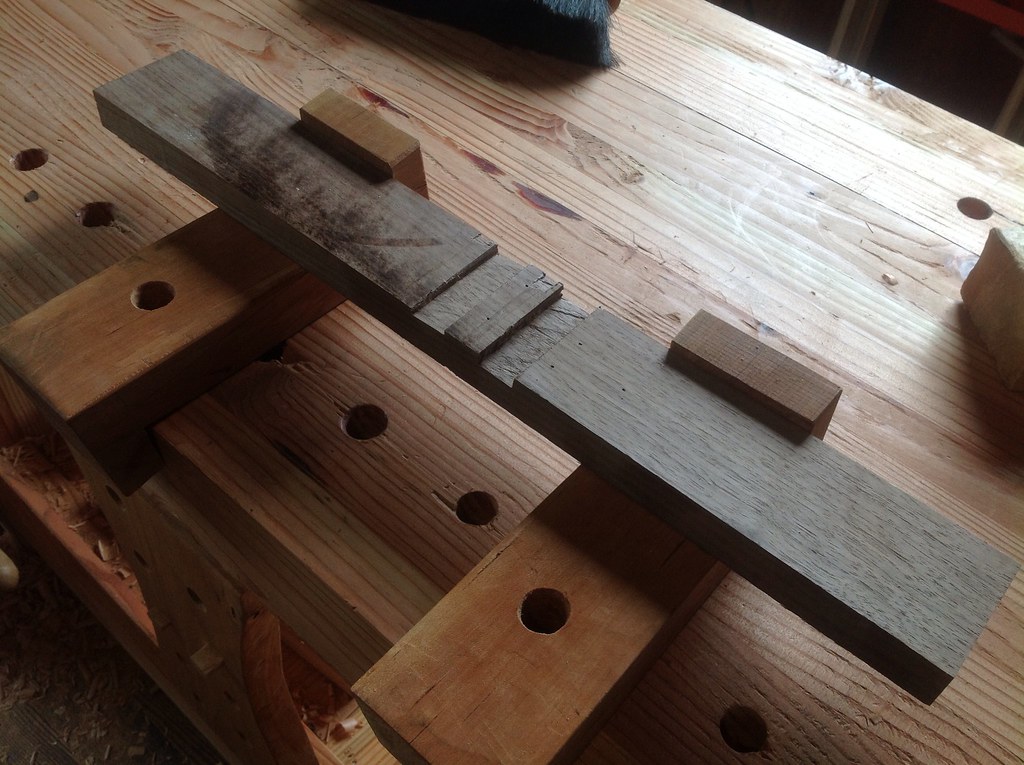
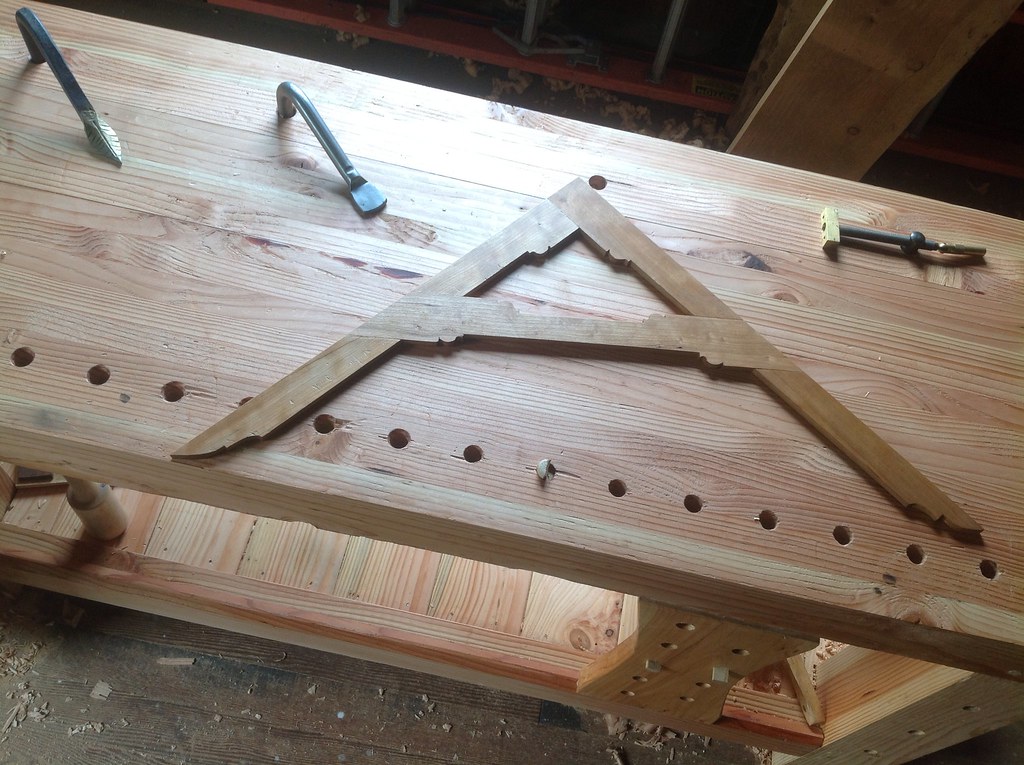
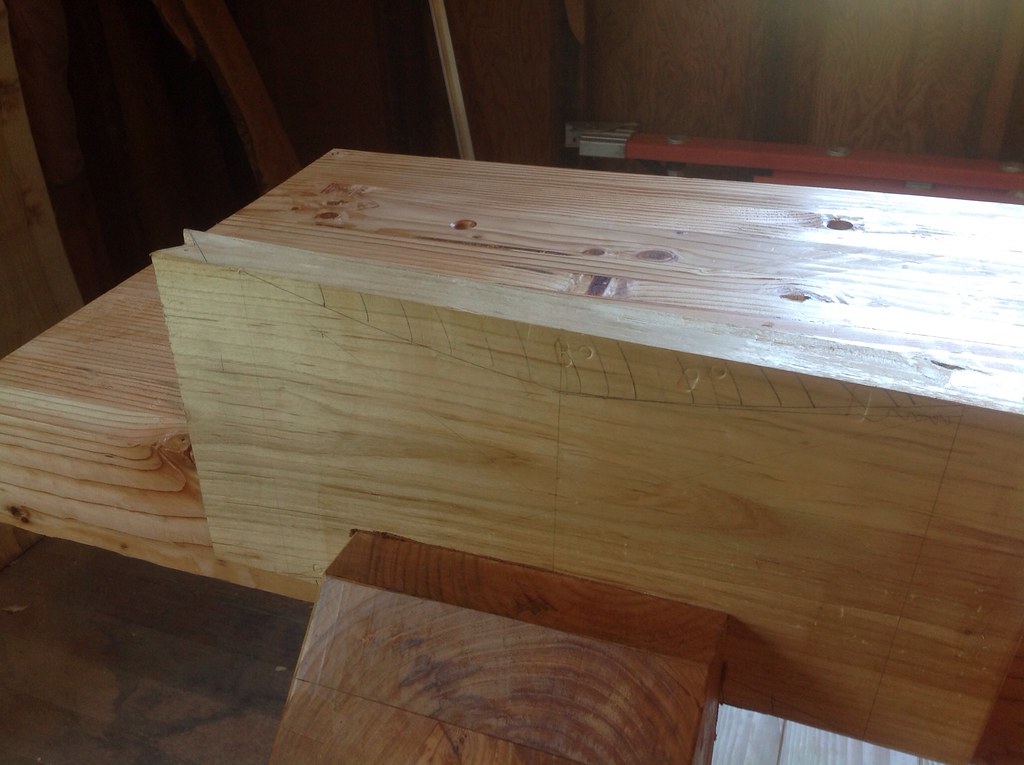
The next order of business was to shape the sliding deadman. I laid it out using curves from an offcut of a walnut rocking chair I saved from stock preparation at the school. No idea what its radius is but I assume it is pretty legit since it is a Maloof inspired rocker.


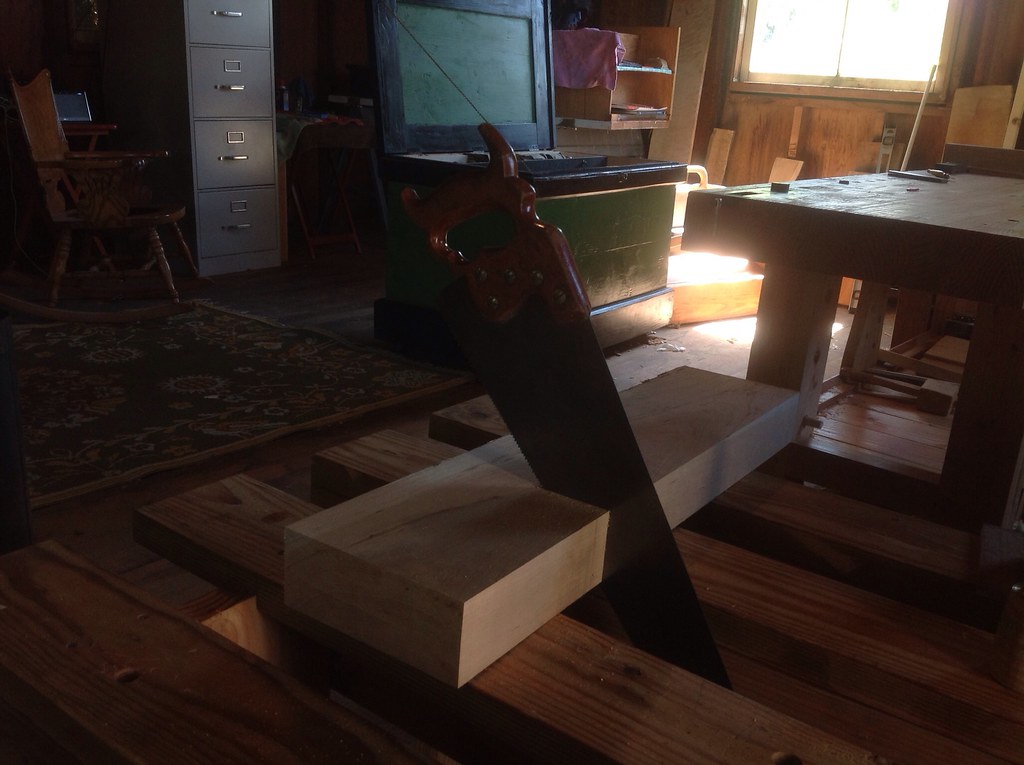
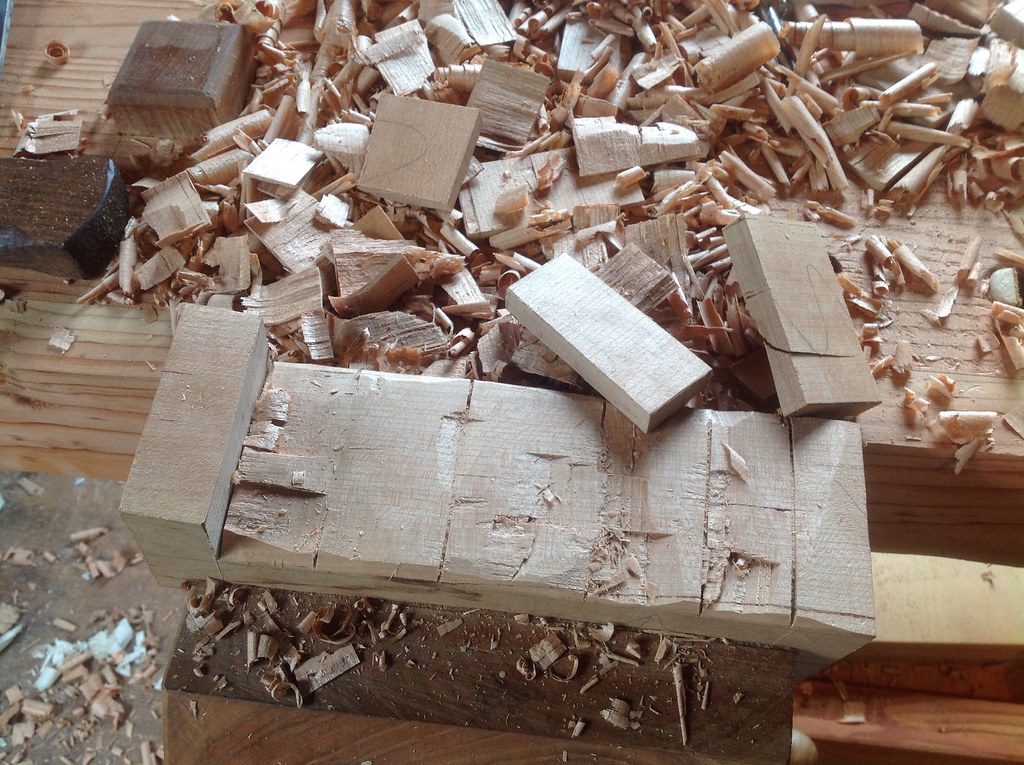
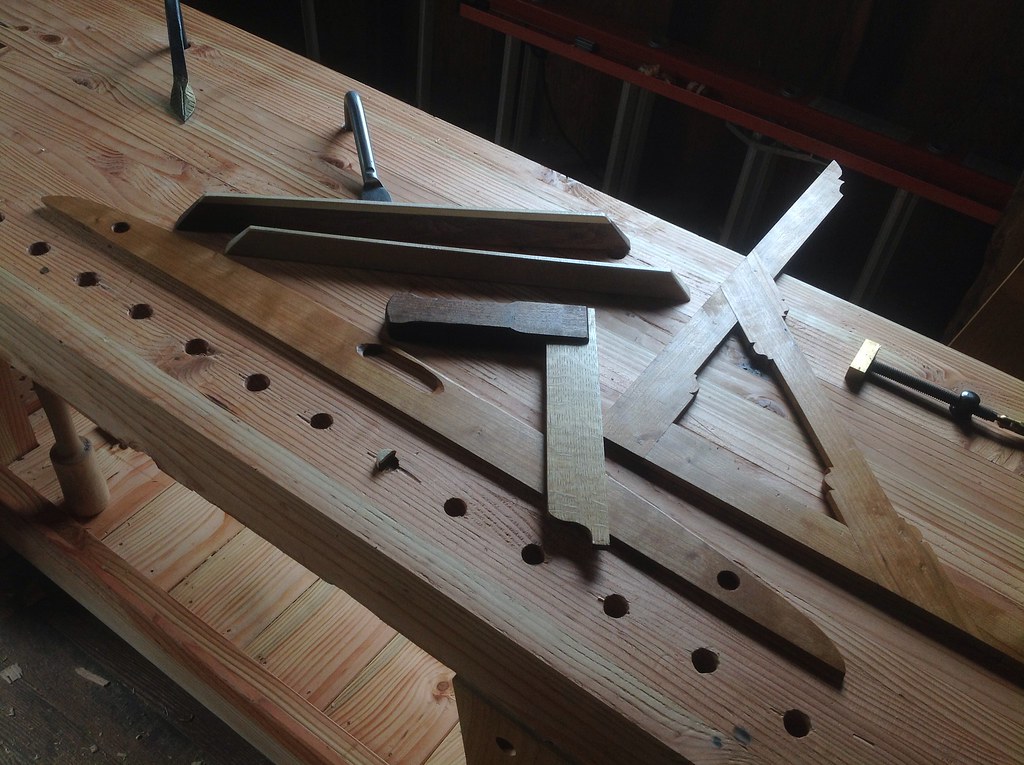
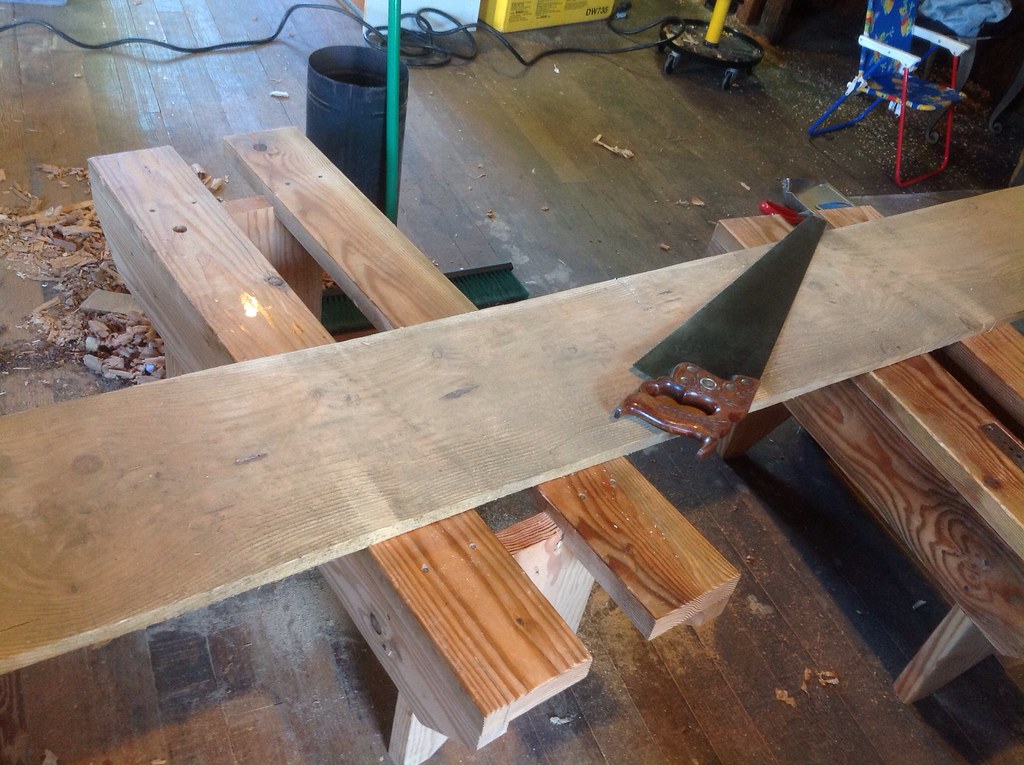
Since I do not have a bandsaw, or even a spokeshave, I kerfed the basic design with a crosscut saw:


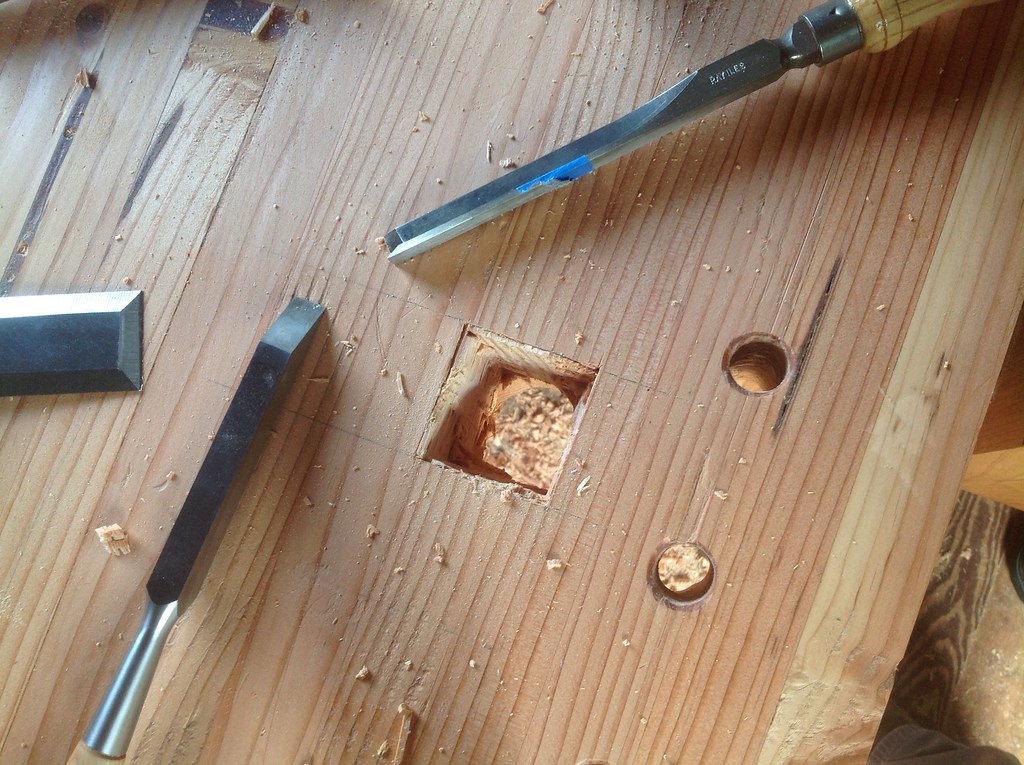
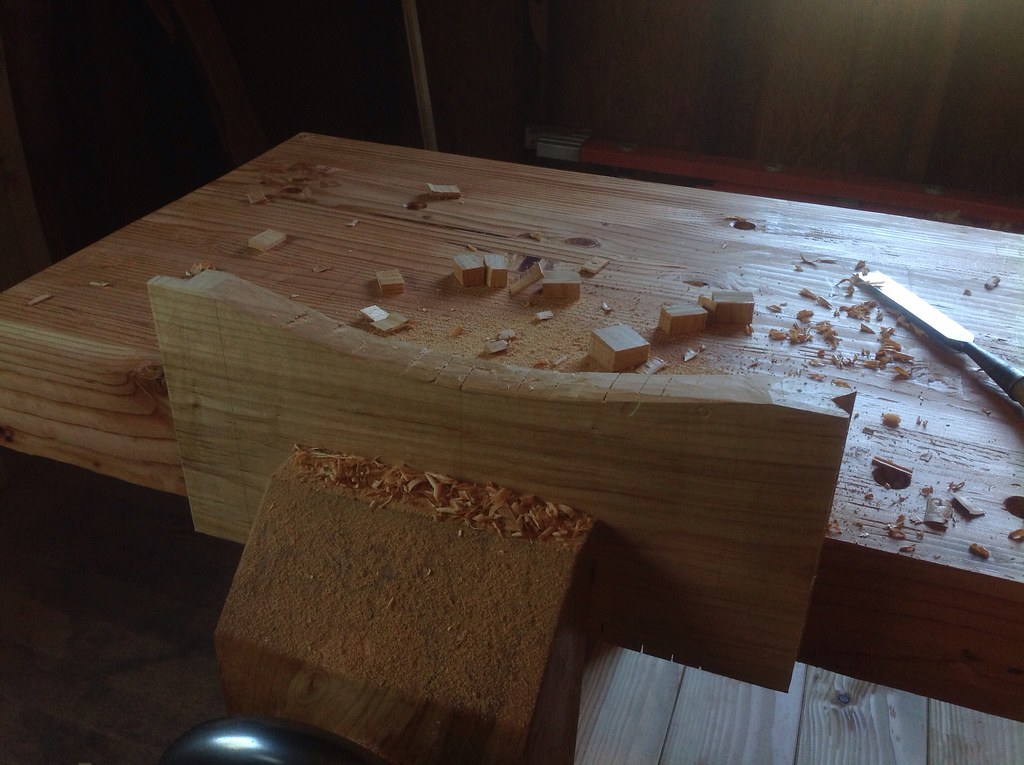
and then attacked it with a chisel:


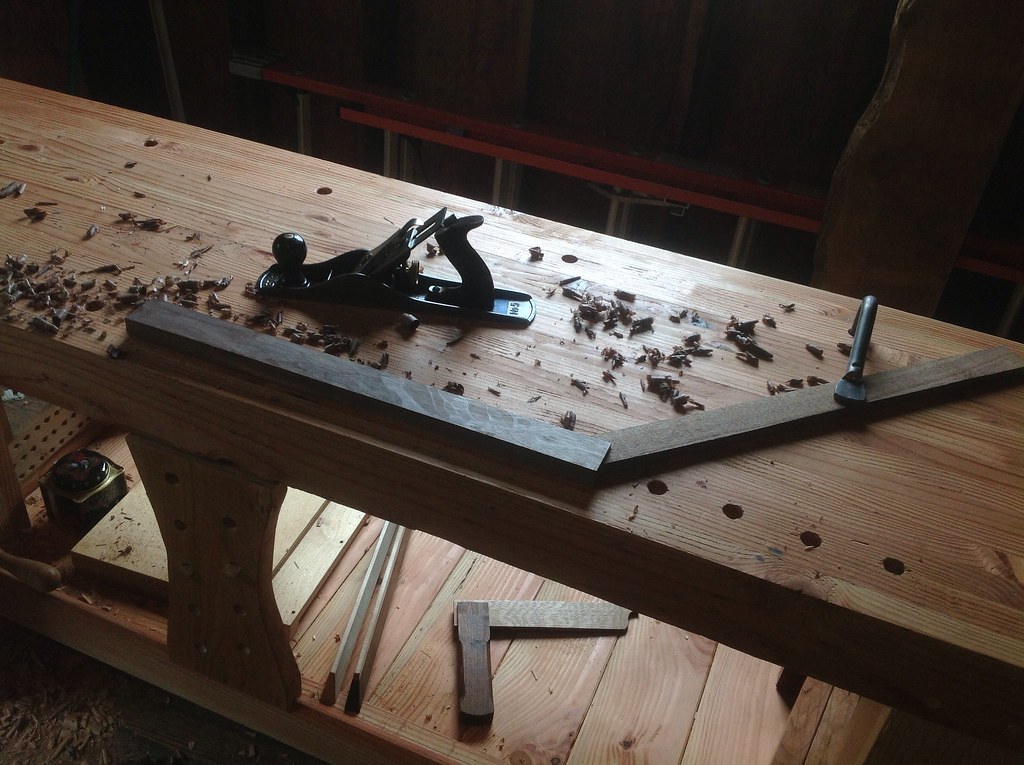
This is a technique I have really grown to love since using it for my English Layout Square (more soon on that). It has limitations, but is fast and fun. All those cube-like chips you see laying on the bench pop out with an immediate tap, usually flying up just enough to be exciting but not enough to be dangerous or haphazard.

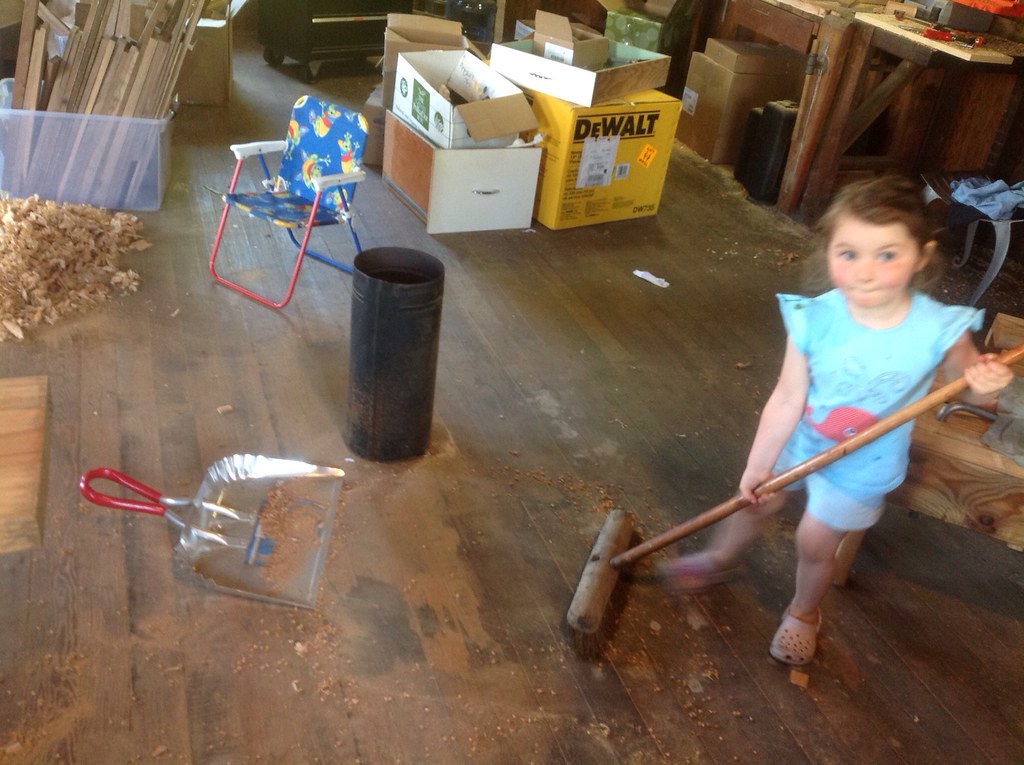
Around this time, my main priority arrived home. I set up her frog-pattern folding chair and had her watch for a bit. Eventually, she wanted to sit on top of the toolchest. I had to make sure I had all I needed out of it, and then let her actually lay down on it. She was not content to be so passive for long, though, and needed a task, so I taught her how to consolidate shavings which she considered "playin' workin".


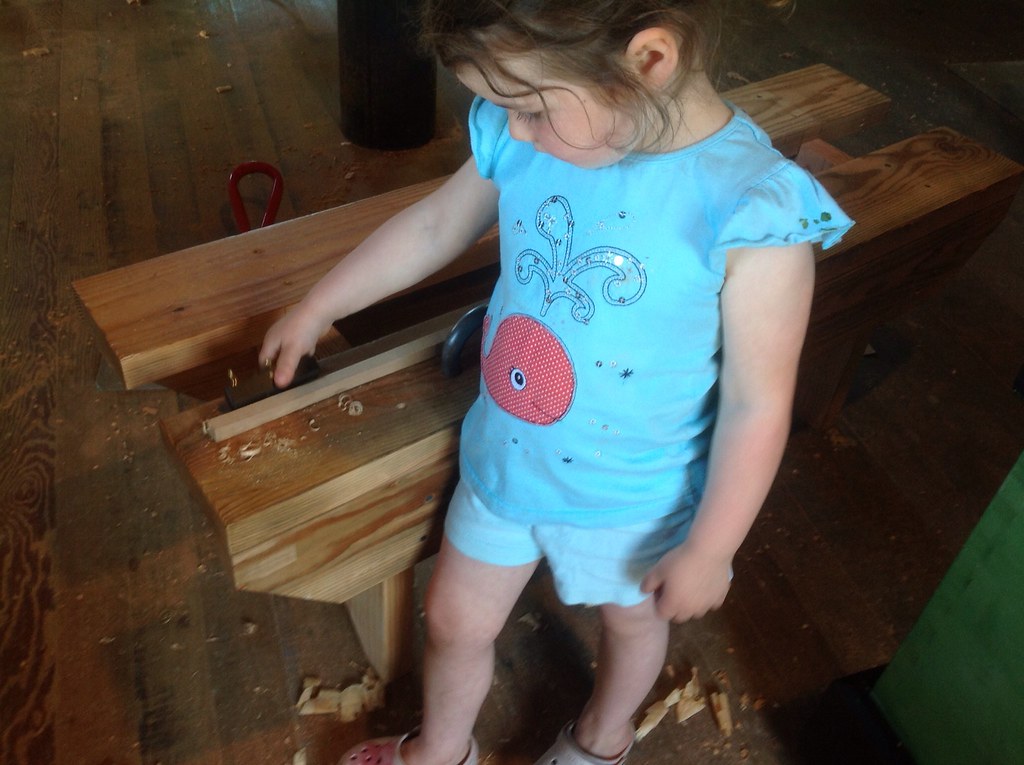
This sufficiently moved me such that I wanted to provide some deeper skill building. I tacked up a little strip of pine on one of the sawbenches, and gave her the smallest plane I had. After a few minutes of hand-holding, she was doing it on her own, making tiny tiny shavings.


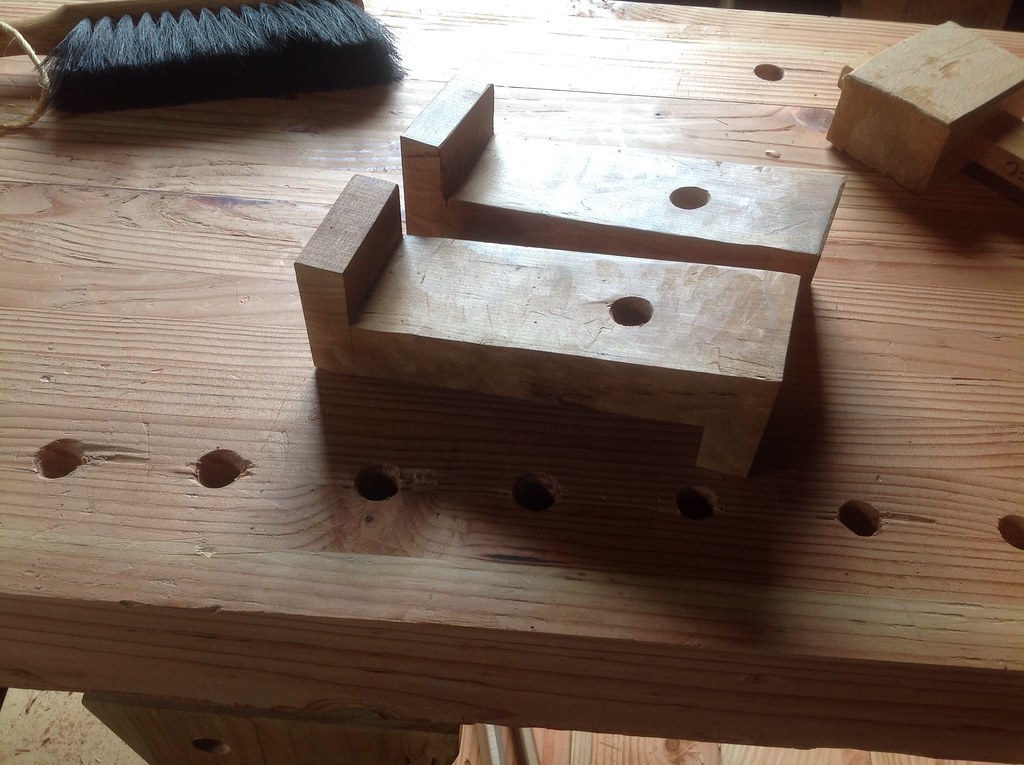
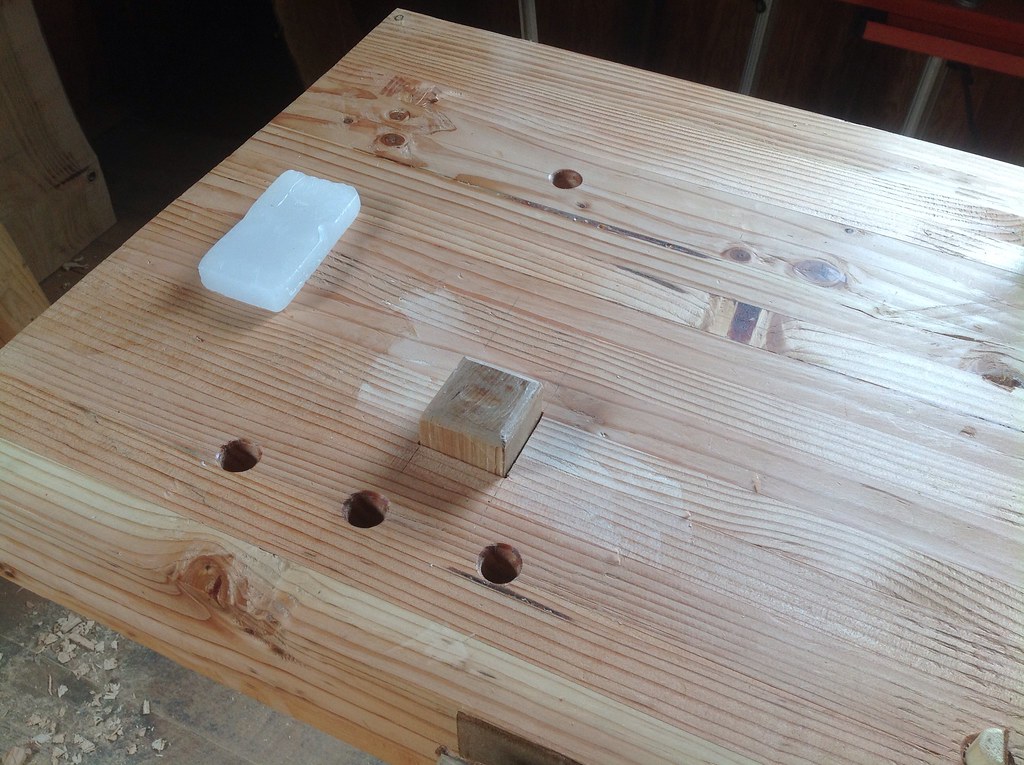
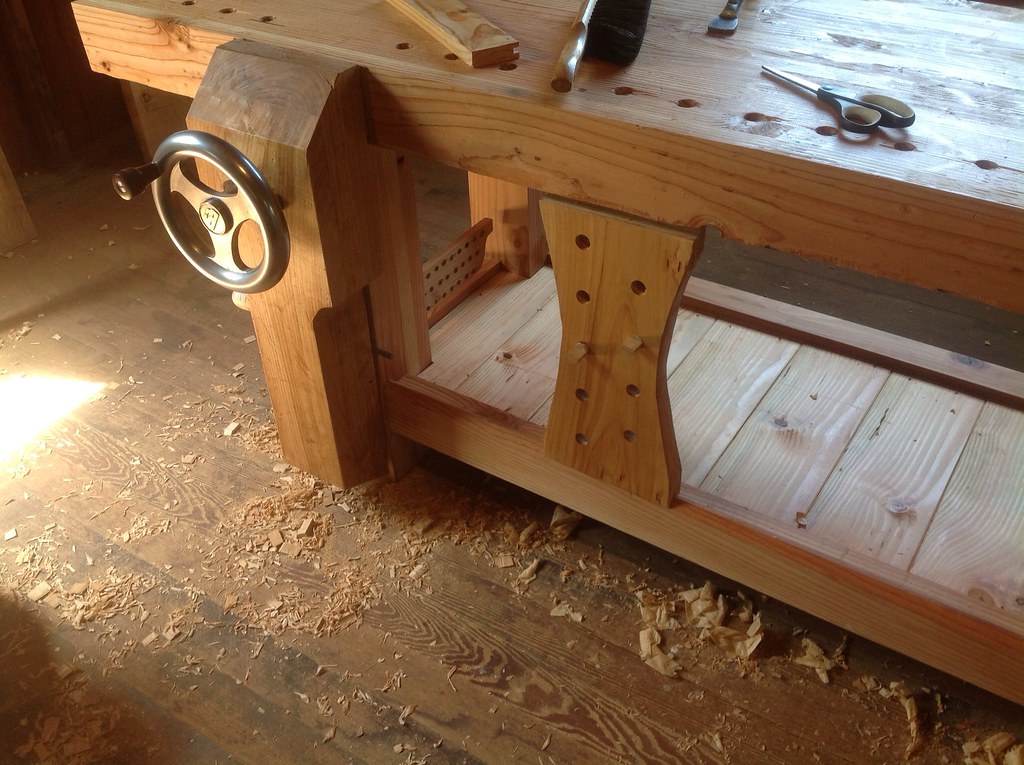
I finally got back to shaping the deadman, and I just have to shrug at the unfair shape, doing what I can with a blockplane and chisel. Maybe someday I will sculpt it with a spokeshave, or maybe not. All it really has to do is hold pegs, which it already does:


It was a good day.

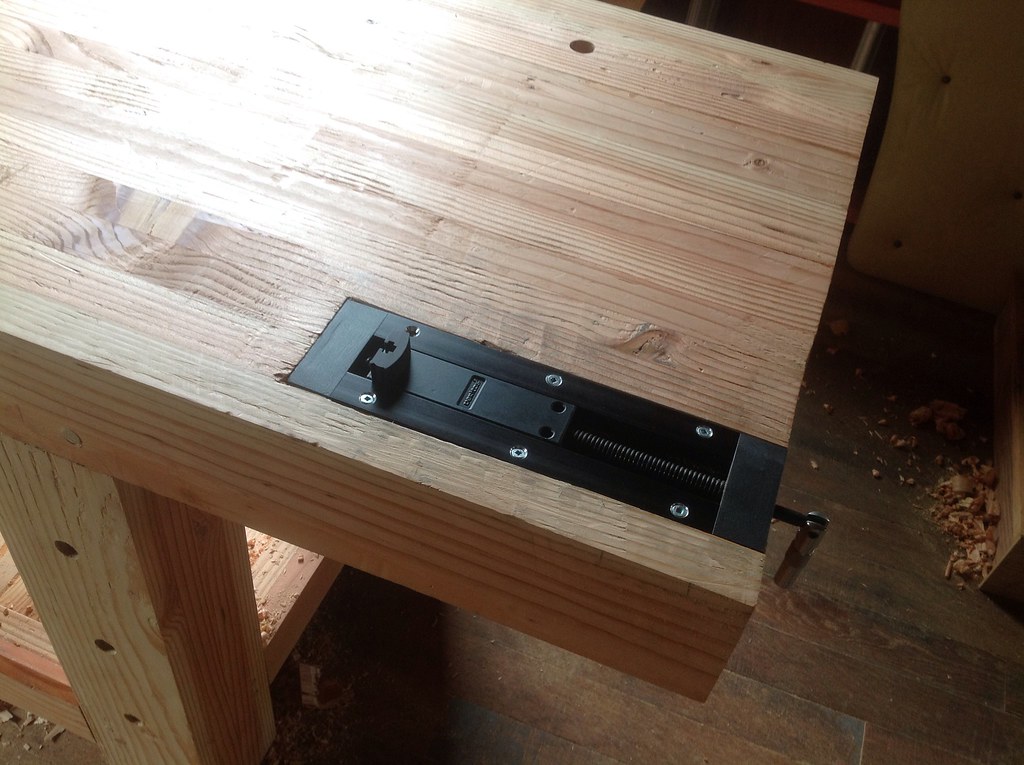
Soon: planing stop and mortise, inset vise, and maybe then I will finally pronounce this thing DONE and get back to actual "woodworking".