"Thomas next sets to work to fix the lock in its place, as it is easiest and best to do so before the lid is put on. The key-hole must come exactly in the middle of the front, so he makes a pencil mark square down the middle for about an inch from the top..."
-- The Joiner and Cabinet Maker, 1839
This process is largely straightforward so I am not going to add much. I did take some photos:
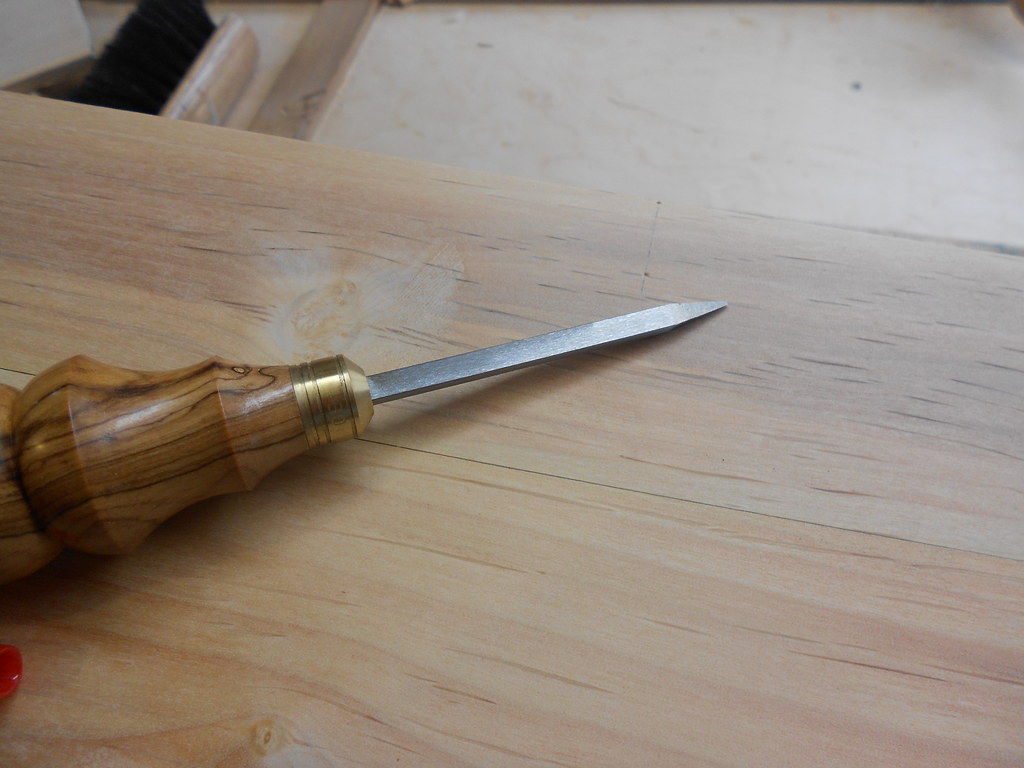
This shows the lockset itself, which is of the "half-mortise" style. This means that the bulk of the lock works are set into a mortise in the wood, but the brass back plate of the lock seals up the hole, where in a "full-mortise" lock, the whole thing would be slipped into a slot, covered by wood on 5 of 6 sides. You can also see the tiny dent I made by pressing the post of the lock onto the centerline. This marks where the keyhole should be.

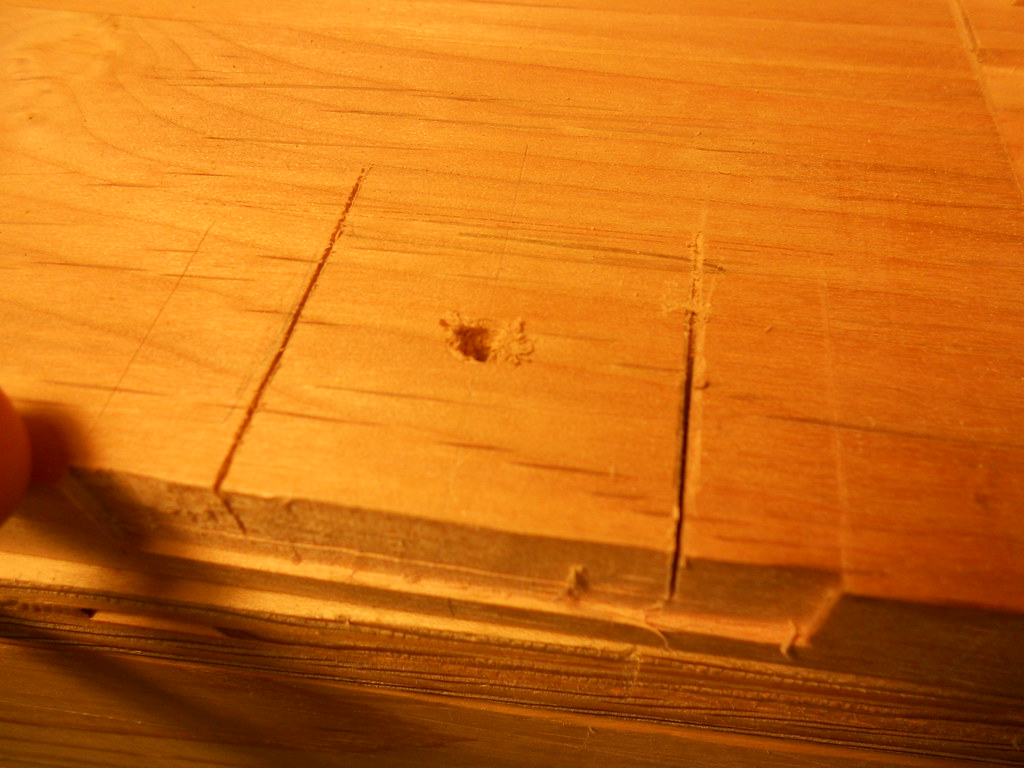
A hole is made where the indentation is. A drill would probably be the best tool for this job, but I had been wanting to practice using a bird cage awl, which is a very clever tool. Unlike a typical awl, which is sharp and rounded like an icepick, its square in shape. The very sharp 90 degree corners do a great job of cutting while it is twisted. This is actually fast work. The main drawback is that the size of the tool dictates the size of the hole. In this case, it was perfect. This is a birdcage awl, a tool Thomas mentions:
Next the top plate's footprint is marked out on the top edge of the boxfront:

After this is chiseled out to depth, the plate is slipped in, and it is marked out on the inside of the box:

As with the dados for the partition, I used the dovetail saw to cut down the lines, not worrying too much about extending down past where they need to, but also keeping them as short as possible.
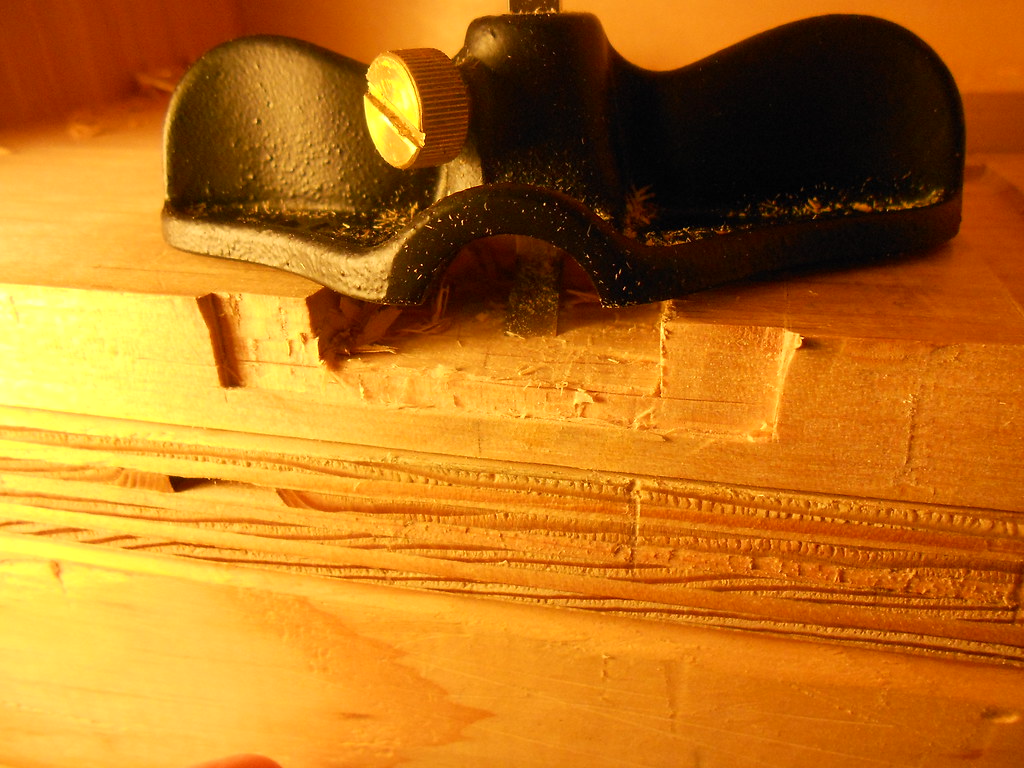
Clearing the mortise would be a perfect job for a chisel, but... there is not room:

Thomas makes no mention of the tool he uses, but there is such a thing as a chisel specifically designed for this process. However, I lack this tool, so had to make do using bench chisels at what angle I could and cleaning up with a small router plane:
With the mortise for the lock works removed, then a very shallow but wider mortise is made for the plate itself, until the whole thing fits flush:

Before screwing it in, the keyhole is opened up and shaped with rasps:

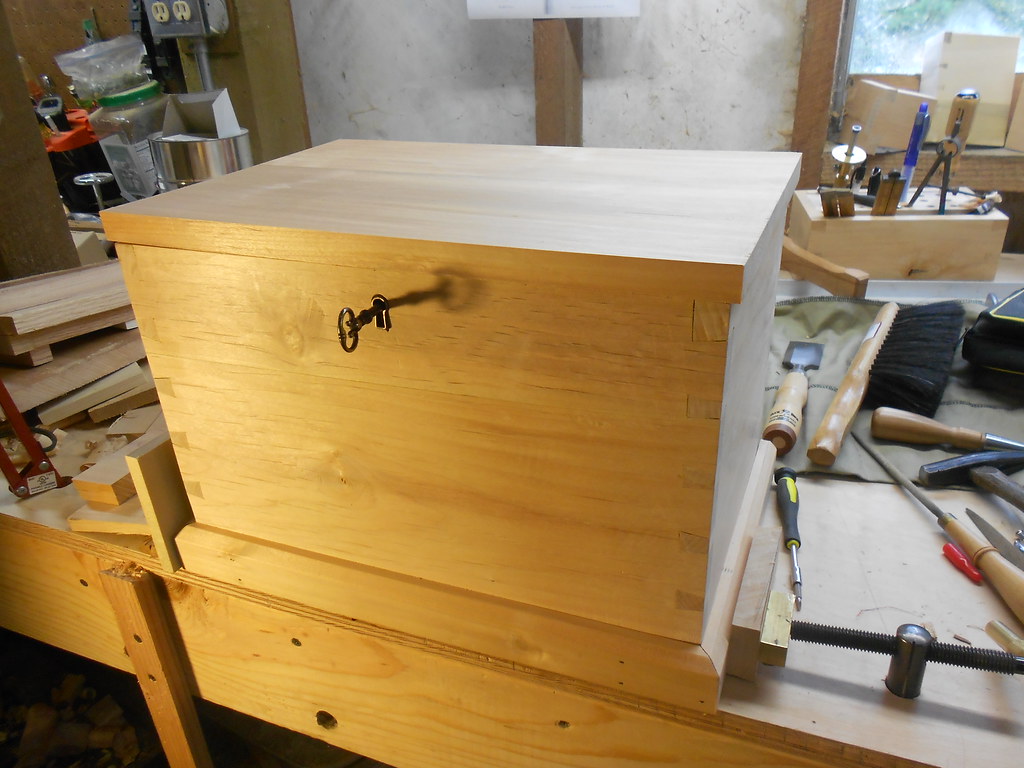
The lock is then fully installed:

The selvedge, or top half of the lock, has to wait to be installed in the lid until after the hinges are installed. The molding on the lid also must wait, but this shows a bit of what the box will look like:
Dear Rob,
ReplyDeleteI am very much enjoying following your progress with this project, thank you very much for sharing! This is a great inspiration for me, if I just could spend more time with woodworking, I would gladly pursue the same project.
Keep up the great work!
Michael
Thanks for reading Michael, and I would encourage you to try a school box someday. The book tells you all you need to know (in order to teach yourself). I also do not have much time so have been working on this in little bits here and there. I've seen on your blog that you are practicing dovetails, this is certainly a good project to help with that!
ReplyDeleteA work of art and thanks for sharing not only your art but your technique as well.
ReplyDelete