A smattering of visuals to hopefully convey the nature of several operations. Without further ado:
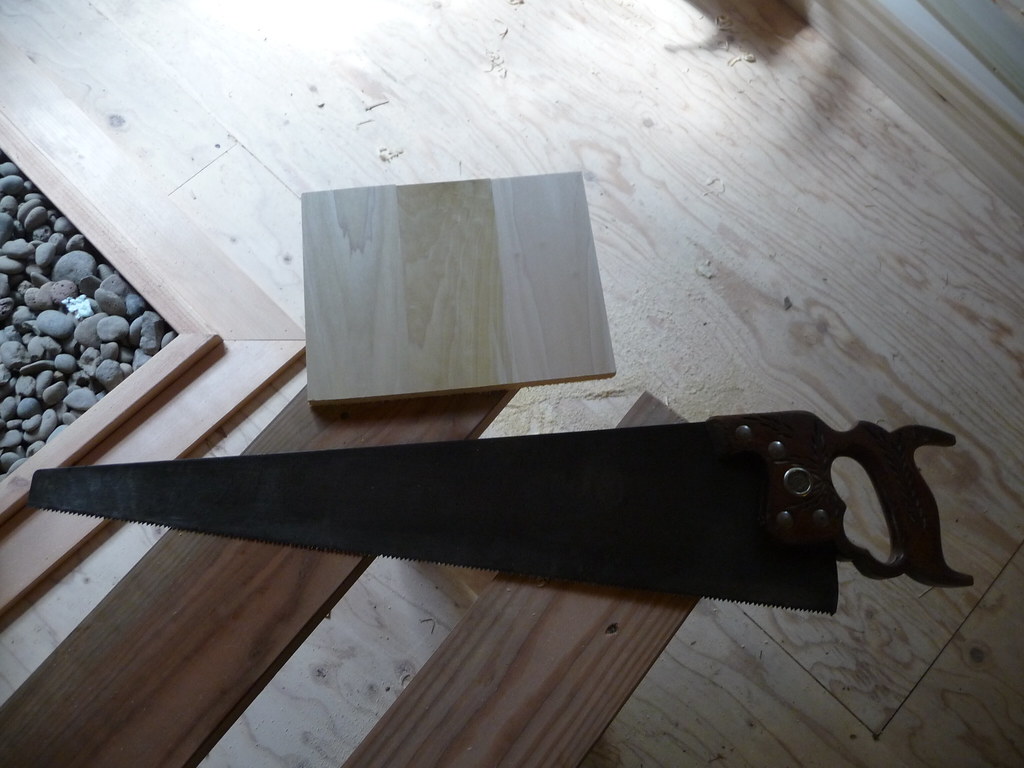
This is the Disston D12 saw that was rescued from a garage sale for $1. Thats right. It needed a kink hammered out, and a sharpening, but now its comparable to saws that sell for $200. I had to use it to crosscut the 10" wide glued-up boards because my bench hooks are only about 8" deep, and they are squirrelly enough as it is. They work best in conjunction with a holdfast, but this board was wide enough to obscure the dogholes, so D12 it was. This saw is
fast. I highly recommend
Bob Rozaieski as sawsmith if you are in need of servicing a similarly neglected antique.
With the board crosscut to final length, here its seen set up for edge truing. I screwed a quick and dirty planing stop to the front face of the bench. Keep in mind, this is my temporary workbench until I build a new one, so holes in it and so forth don't bother me at all. This worked well enough. Two holdfasts helped support the board and keep it from going anywhere.
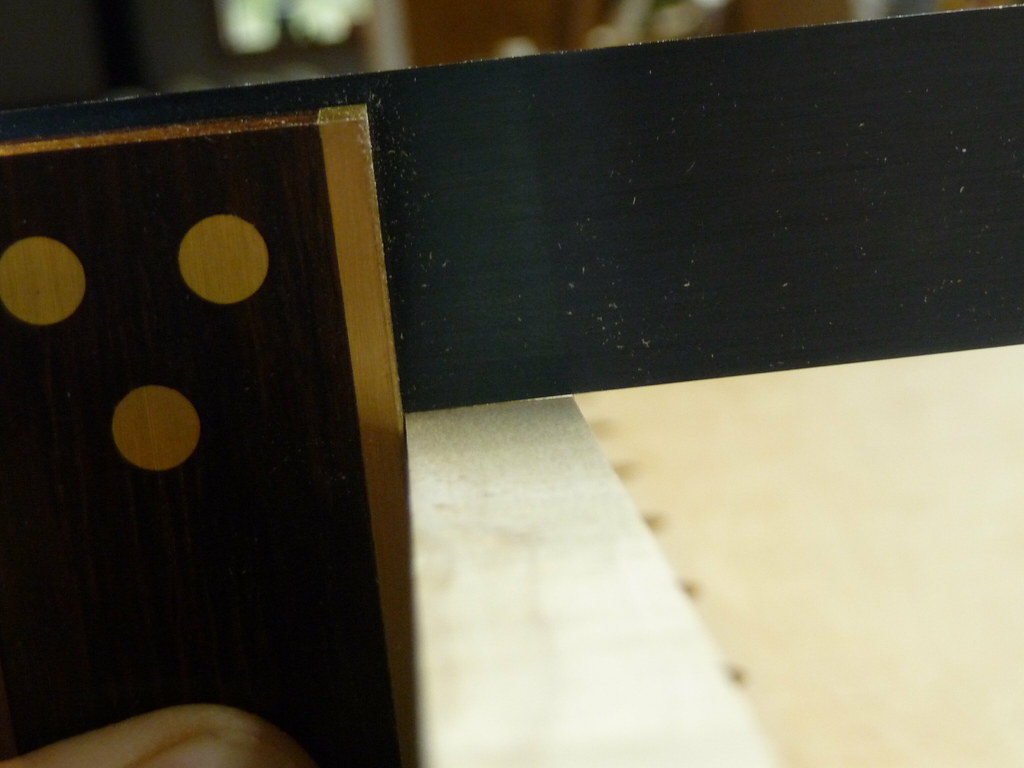
Lets see what we're up against... See that triangular sliver of light at the right edge of the board? Thats showing that the edge is not square. A few passes with the jointer plane will solve that.
That's more like it!
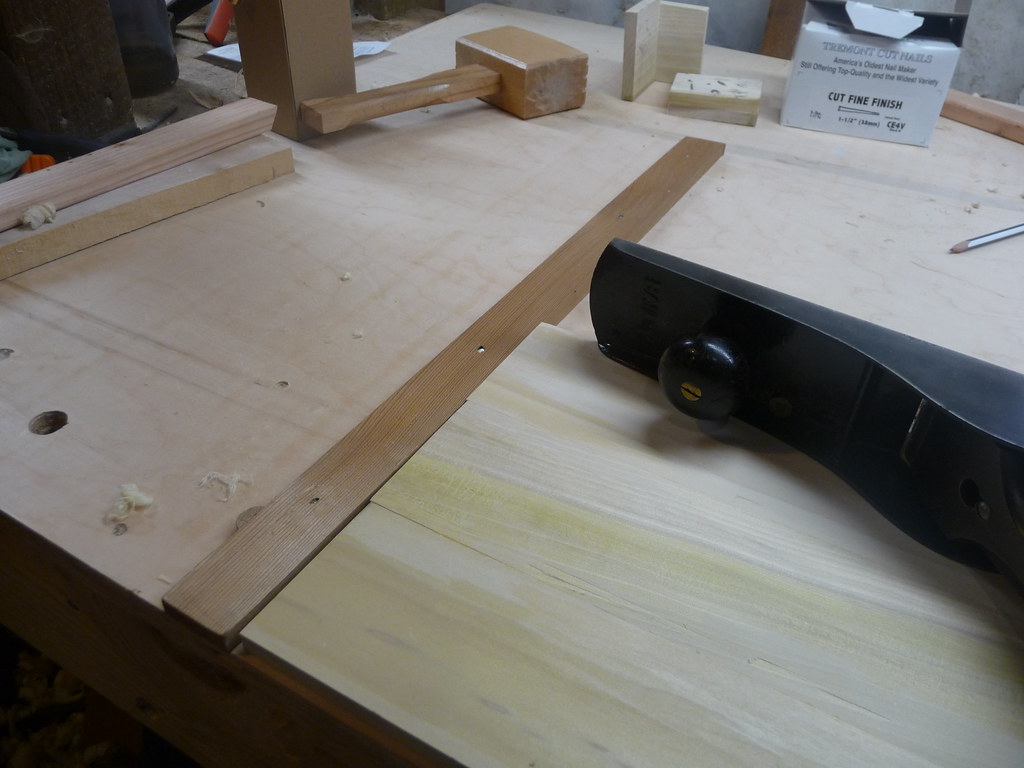
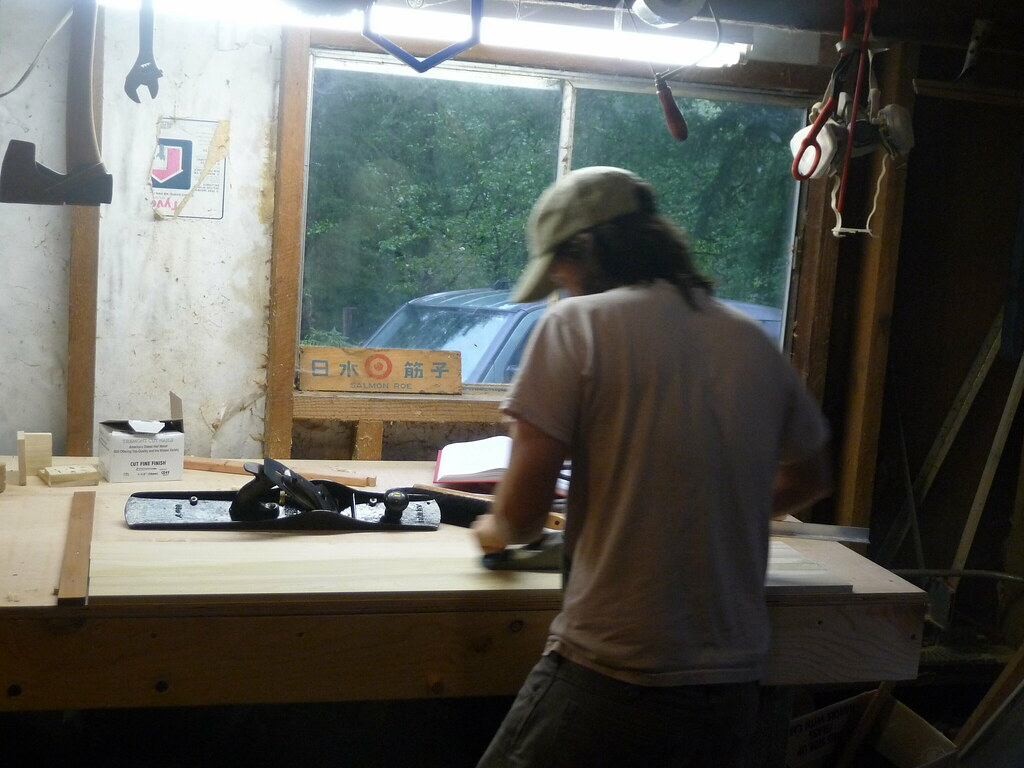
Now onto the final surfacing of the face of the board. This will be the "top" of the bottom of the box... difficult to plane once its in place. The planing stop is, again, just a thin strip screwed to the bench. I think this one actually nailed. When it happens to be in the way, a prybar and a little cussin' ought to take care of it.
An action shot of planing. This shows clearly that this bench is much too tall for me, but as they say: "one does what one finds oneself needing to do". Believe me, I am eager to get the new bench done!
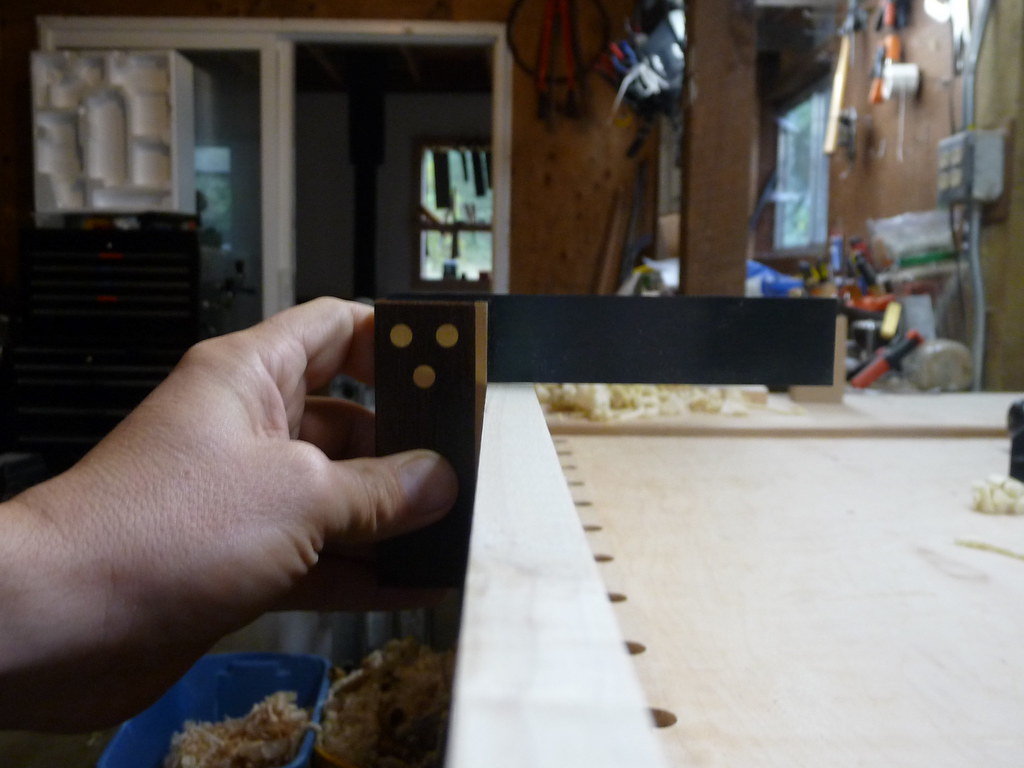
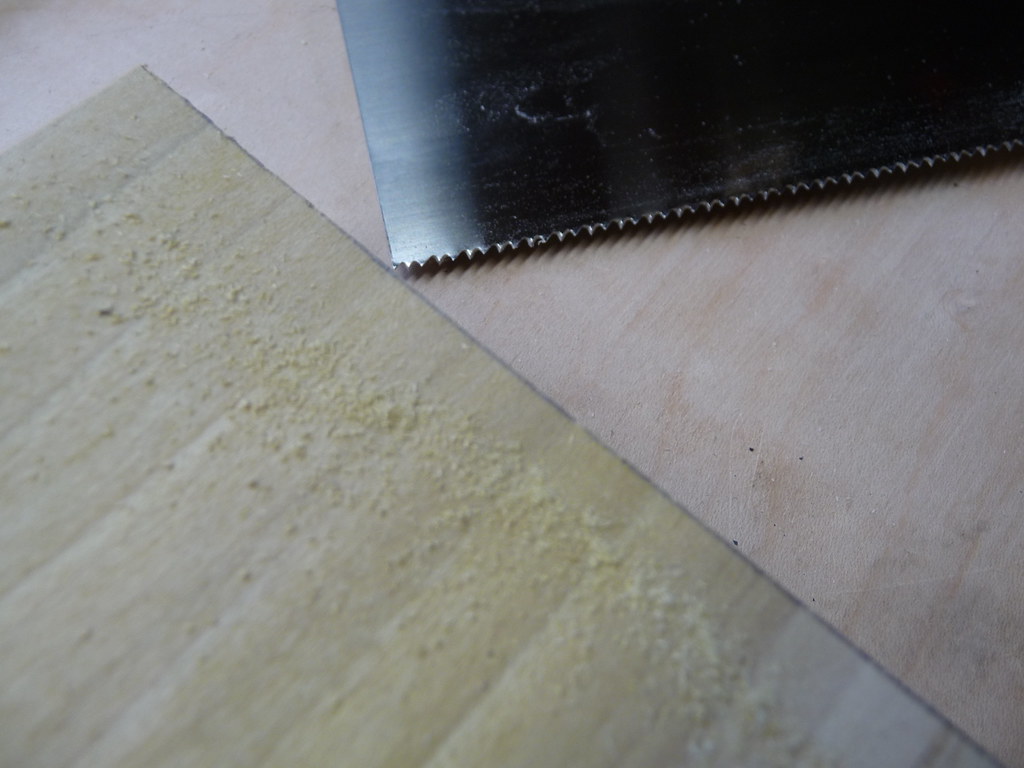
I'm getting much better at crosscutting with the sash saw and bench hooks, pleased to see a pencil line split in half.
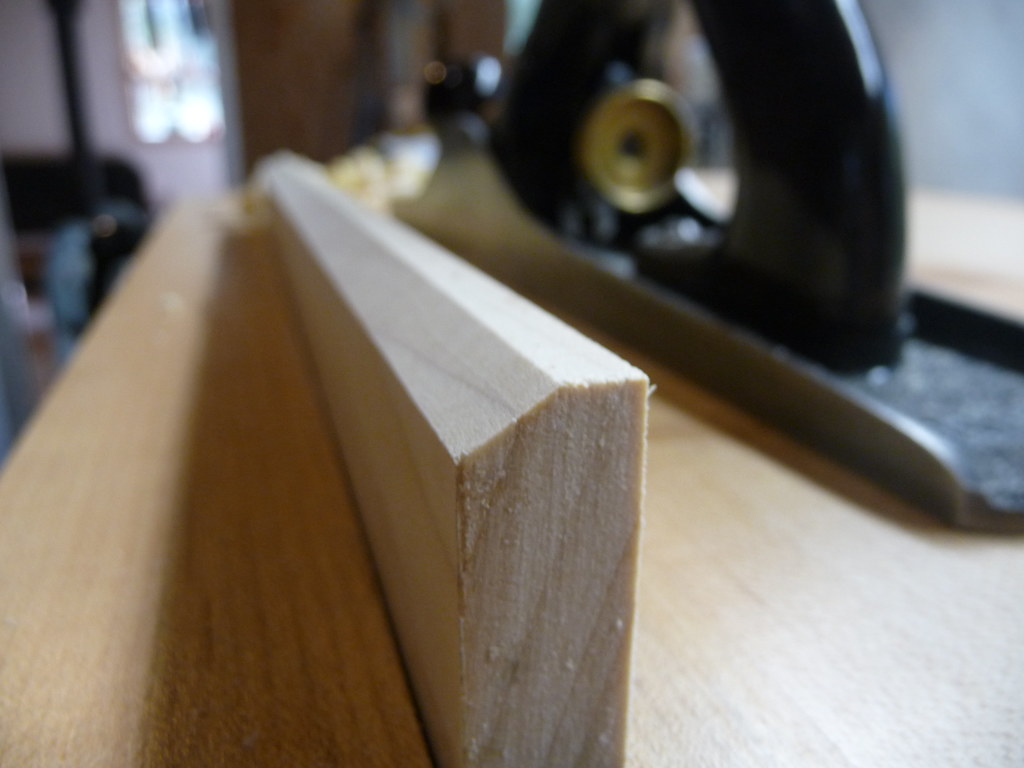
Here the lines for chamfering the corners of the "cross-strengthener" battens are marked out, and the planing has started. It would be nice to have a dedicated chamfer plane, or a block plane with a chamfering guide, but winging it is sortof fun.
The chamfer is complete. Close enough for me, at least this time. Its actually not spot-on, 45 degrees is not as built-in to the human hand and mind as 90 and 180 are.
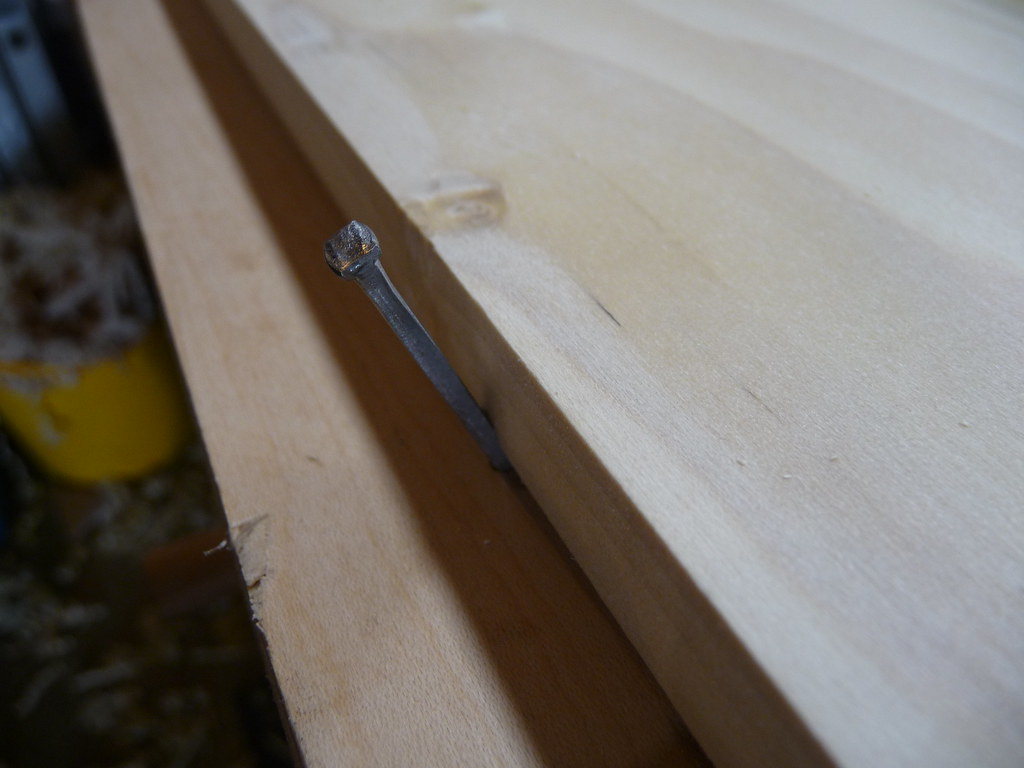
The 2 boards which come together to make the bottom and lid for the packing boxes are not glued, they are held together with nailed-on "cross-strengthener" battens. To hold them together while the batten is nailed, nails are put directly into the workbench, wedging them together. It's actually rather liberating to use a workbench like this instead of treating it like a sacred relic, which I may be tempted to do once I complete my dream bench this fall.
Just a detail of a cut nail holding the board in place.
And using a gimlet to make pilot holes for a change of pace. This is the first batten being attached. Soon will come clinching the nails on the backside, and the stuff-holding-portion box will be complete! Then onto the lid, a bit of linseed oil, and it will be complete!


No comments:
Post a Comment