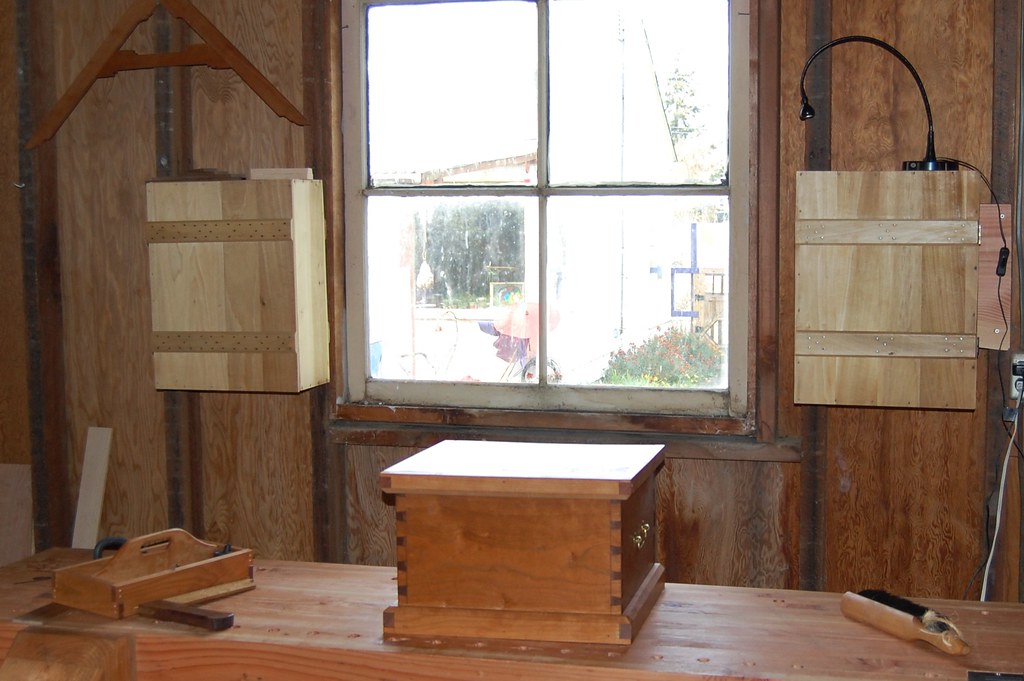
In
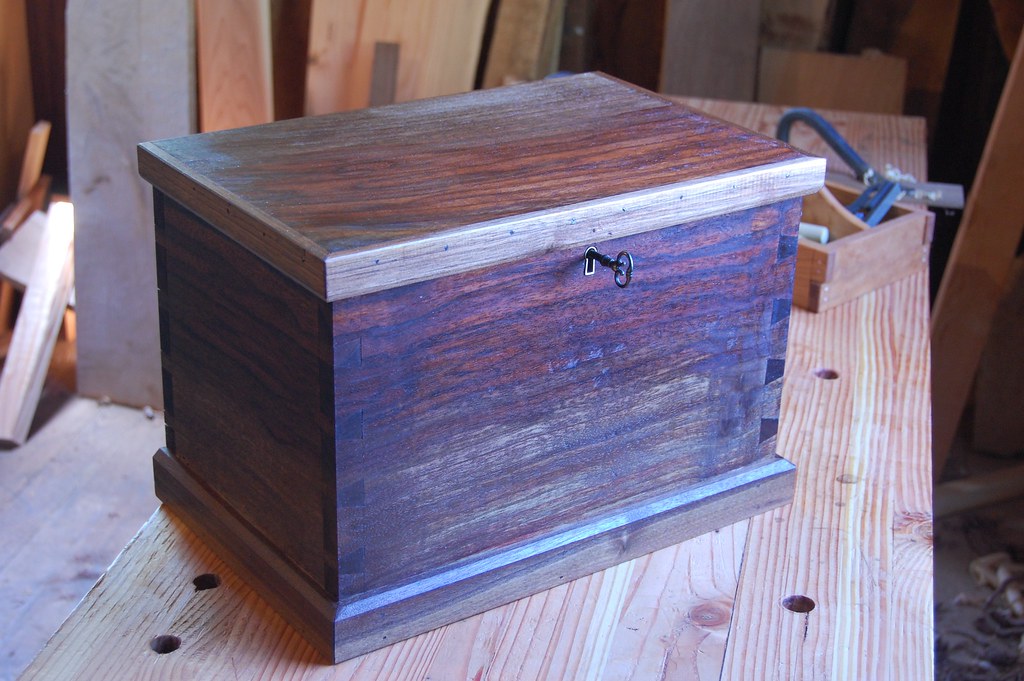
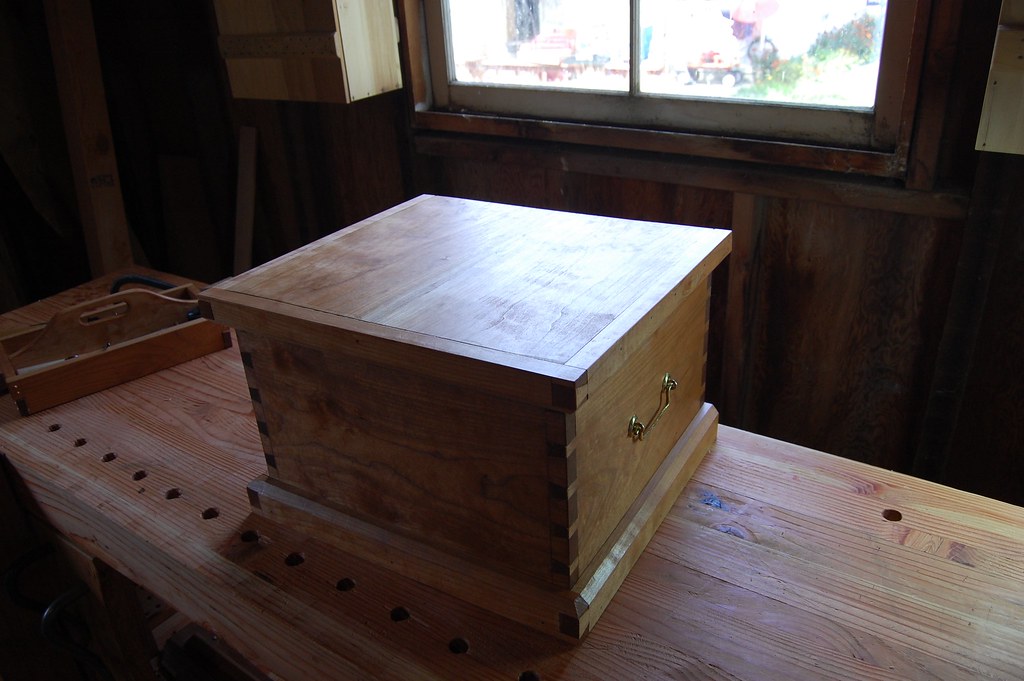
The Joiner and Cabinet Maker, Thomas uses strap hinges on his school box. I've done a number of them, and do enjoy the process of installing them. However, I also like the more precise fit and clean look of slightly more modern butt hinges, and especially like those from
Horton Brass. So for the current School Box project, that is what I am using.
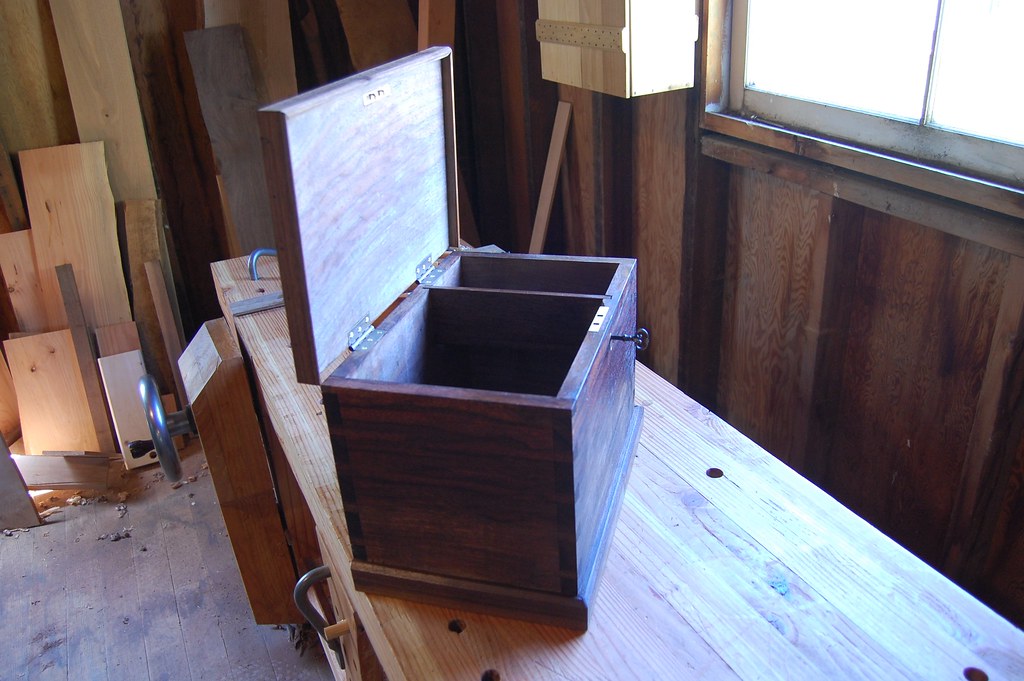
Installation of this type of hinge is covered pretty thoroughly in The Anarchist's Tool Chest, but for those who don't have that book or otherwise just want to see it in "real life", I took a few photos today. Sadly, some of the important steps did not photograph well, but I will try to explain.
Step one, as always, is layout. In this case, I found the centerpoint on the back of the box, and divided that in half. Each of these "quarter" marks will be the center of each of the two hinges. There are other formulas for placement, but this works well-enough and looks pretty good.
Once that mark is placed on the box, the lid is set exactly where it shall finally live. A hinge is roughly centered on the mark, and a careful strike with the marking knife is made on the outside edge of the hinge, knicking both the box and the lid at the same time. This is a registration mark of sorts, but also a physical detent to aid in the rest of the layout. While carefully holding the lid in place (think dovetail marking), this knick is repeated for the other hinge.
These are the photos that did not turn out. Maybe I will have to add a tripod and actual camera (can't find the tripod mount on my ipad) to my tool kit soon.
Once the registration nicks are in place, the lid is set aside, and a marking knife is set into the nick on the box body. The first hinge is put into place right next to the knife. This is where the physical detent a marking knife creates is revealed to be much more useful than, say, a pencil line. You really can't miss when you can drop your knife right into the line and press the hinge up against it. Try that with a pencil line.

The hinge is then simply traced. As usual, several light passes are made. It is especially important to be careful on the long side, as that is where the knife will try to follow the grain rather than the edge of the hinge. Slow, careful passes with slight increase in pressure each time is the method that seems to work best. It should be pointed out here that you want to work with the exact hinge which will be installed. These Horton hinges are so well-made as to be interchangeable, but that is a bad thing to rely upon and a bad habit. So work with one hinge at a time, and install it exactly where it was marked. Leave the other one wrapped up or in another room to avoid confusion. Mark them with tape if you have to.
In theory, you'll end up with a perfect outline of the hinge. Next, the depth needs to be marked on the back of the box. Since it would be awkward to hold the very thin hinge flush with the top of the box and trace, we shift tactics here and use a marking gauge.
The marking gauge is set to the exact depth of one leaf of the hinge. The gauge is then used to mark the bottom of the mortise on the back of the box.
A complete outline of the mortise will be the result. You'll see that I don't worry about overcutting a little bit. This is traditional, and functional. The gauge is physically creating the outline of the mortise. If you stop shy of the intersecting line, that corner will not be cut and will be prone to tearing out when you do get to it. If you overcut, the corner is already defined using your crisp layout tools, and your job is just to remove the stuff inside that area. If the extra layout lines bother you, just plane them off later (same with baselines on dovetail joints).

This is where many people would be tempted to get out their router. This is such a small mortise, though, that it took less than five minutes for me to complete it, even with taking a couple photos. It is also quiet, meditative work and every chance to improve chisel technique should be relished. Start by deepening the layout lines with a chisel and use extreme caution on the long face as it is very easy to split that off. I know from experience. The cross-grain chops can be a little more cavalier but at this point in the project, it is always best to slow down, or even walk away if it does not feel like the right day to be in this mindstate.
You can see that the cross-grain edges are chopped a little deeper than the long edge. I go very gingerly on that edge, as mentioned above. Once you are under the surface a little bit, you'll have a physical stop and as long as you go gently, it is pretty easy.
The exact method of waste removal here is then up to a variety of methods with your tool set, skill set, and material all offering input and constraints. You'll generally want to go with the grain to get the smoothest finish, but of course you have to go against it for at least a small part of it in order to get right into the uphill side of the mortise. On a larger piece, a router plane would be appealing to use for finishing, but in this case there is so little registration room left that I did not bother. That tiny one Veritas has would be fun in times like this, but I will have to wait until I win one in a contest or something. I used just a chisel here.
You'll also see that I bevelled the outside face just about down to the layout line. This gives a good visual indicator of getting close, without having to stop and peer down at the line itself very often. The different sheen of the angled wood gives a very nice orientation cue when viewed from above. One could stripe this facet with a China marker or similar for even more feedback, and know that material still needed to be removed until the striped disappear.
Here you can see the layout line is still visible, meaning a final paring is still needed. This is a good time to stop and test-fit the hinge. Then it is a matter of possibly paring down right to the line. If layout was off, the mortise can be carefully widened, but take care to only widen
inward, or away from the tick line. You will never remember which way you did it when you get to the lid's mortise otherwise. Again, I know from experience.
An excellent fit. In this case, I pared to the layout line right across the grain. This is simple to do, if you go gently and do not shove the chisel right through the very thin remaining back wall of the mortise. However, slicing across the grain leaves a slightly rough (rather than glassy) finish. Since only another woodworker should ever see what is underneath the hinge during a repair, glass-smooth is not important here; just flatness. So if this were a mortise which would be visible at times, I would have probably pared along the grain with the bevel down, a lot of sweating and cursing, and abdominal clenching.
I've been pretty sick the past few days and after this hinge went so quickly and smoothly, I wanted to quit while I was ahead... so I did. The other hinge, and then the mortises on the lid are the same process. Everything unfolds from that first tickmark... "Cut to the line, you'll be fine".
I use a punch of appropriate diameter to mark the center of the screw holes, then a gimlet to create a pilot hole. I have learned from experience to then install the hinge using steel screws, which are then removed and replaced with brass screws once everything is perfect. Brass screws are too precious to ruin with the required torque for the initial installation. Again, experience. Heed my warning, or get your own.