Not a whole lot to say, but a fair bit was taken care of today. There are some pretty exciting things afoot in the background, and these are taking more of my time recently. They will all be explained shortly, I hope, and will be of great benefit both to myself and readers of this blog who are interested in hand tools and the types of things I write about!
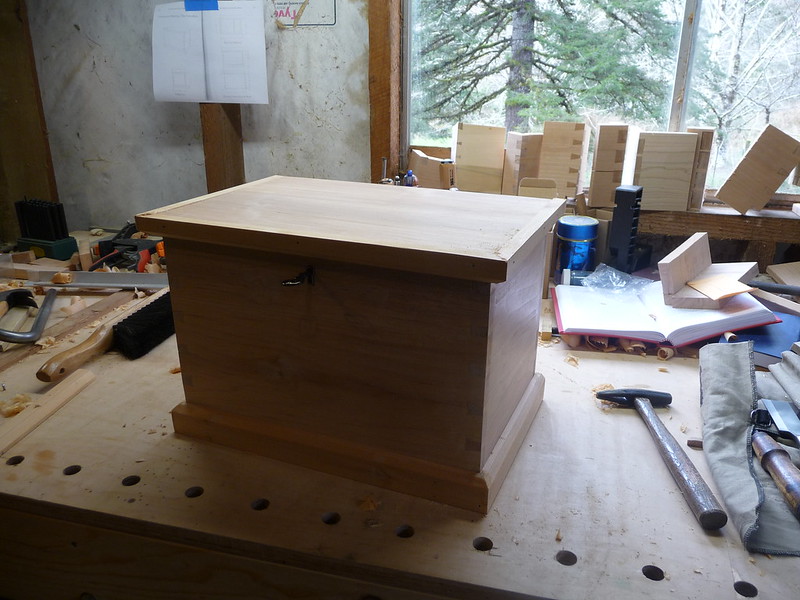
As far as the schoolbox goes, today I was able to eke out a little shop time and I marked all of the boards for cutting the dovetails. With the 1st box, I did each joint seperately, from start to finish. In this case, I have marked out all 4 edges on the tailboards. The pinboards (the short sides) depend upon the tails being complete, so they have to wait. However, my thinking was that by doing all of the marking at once, then all of the cutting at once, and later, all of the chopping at once, that I would stay in some sort of zone a bit longer. This is a nod towards production thinking, and it is an edge I would like to flirt with. I never want speed or mass production ideals to interfere with my quality, but there are times (such as doing a similar operation 4 times) where ganging up the tasks does make sense.
I wanted to shake off any rust, so started with a little cutting exercise, just 5 each of the 4 variations of cuts involved with dovetails: saw plumb with left and right skews, and then saw tilted left and right while remaining plumb.
My focus was on 2 things: not crossing the pencil line, and on remaining level on each face of the board. I did ok; its ok when cutting the first half of a joint to be a bit away from the pencil line, so long as you are away on the waste side, but the baseline is sacred and this is an issue I would like to take care of. I was pleased with the results of the practice so I went ahead and cut tails on the real boards.
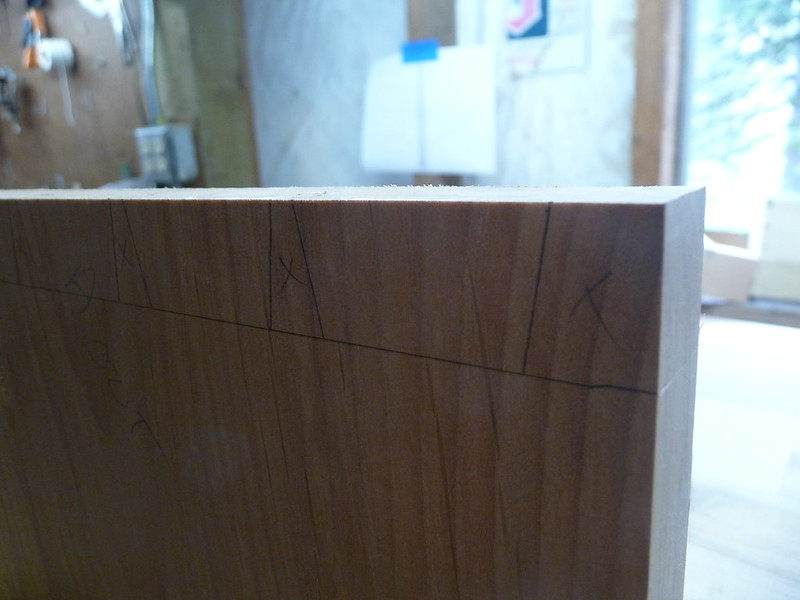
I marked out the real deal:
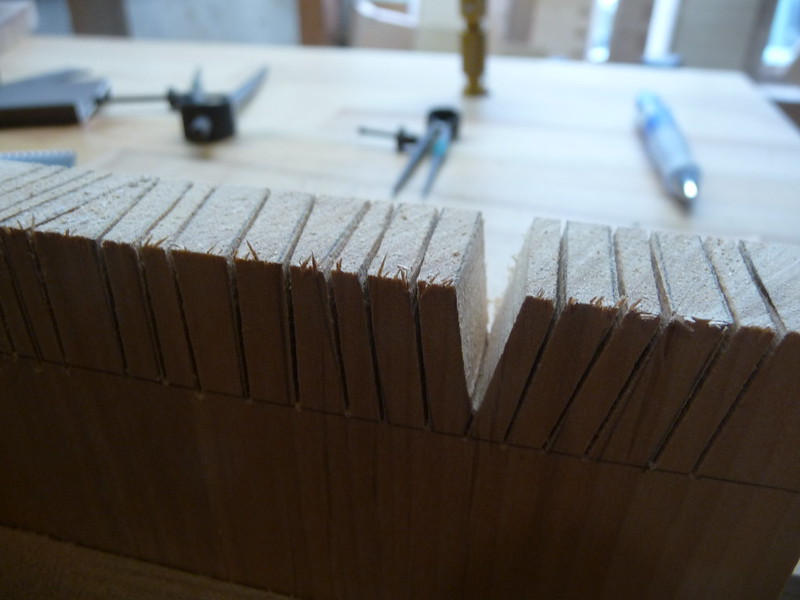
the cuts went well though I did not take photos. I cleared the waste with a coping saw, on all four edges of the tailboards. Chopping did not occur in this session, so there will be a lot of chisel work next time. In anticipation, I did sharpen all of the bench chisels (and the 3 bench planes, too).
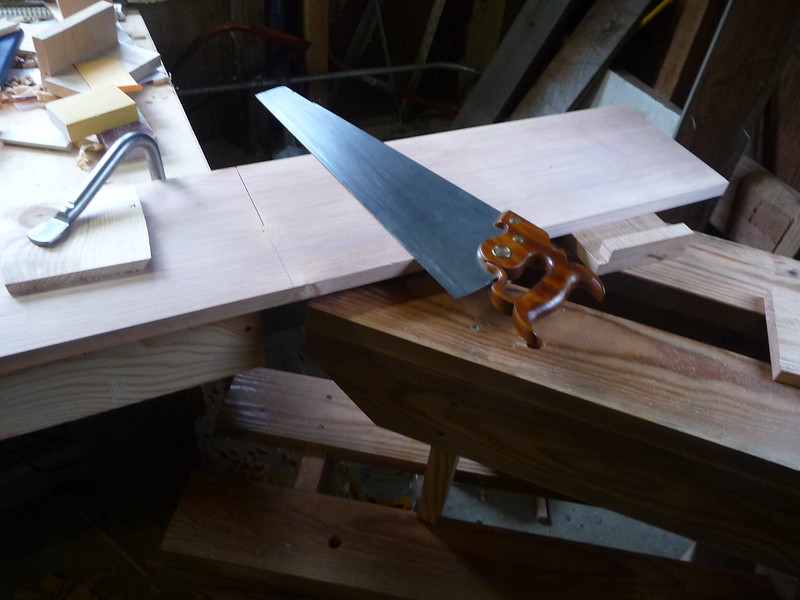
I also thought it was worth mentioning, since I praised it last time, how precise the crosscut panel saw continues to be. In this case, I was trying to stay away from the pencil line, and even 1/8th of an inch is fine when I am trying to be conservative. Nonetheless, I was able to get right next to the line:
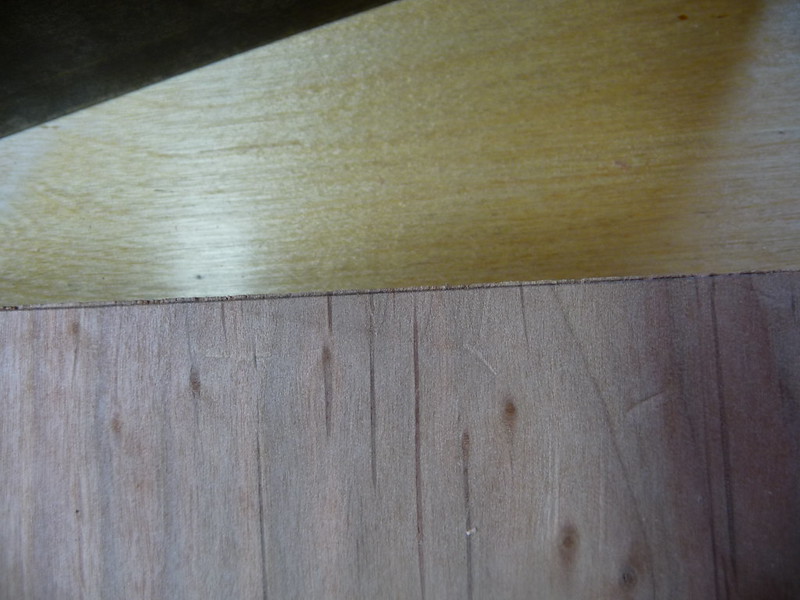
That leaves very little shooting to do! 2 or 3 strokes... very nice results for a hand saw (not a backsaw!). This was just done on a sawbench (I did not feel like stacking them again), and I have to say I am quite pleased. This kind of thing may be old hat for skilled old-timers, but I have been so impressed with my carcase saw that I have been shy about using hand saws for precision cuts. I love seeing how precise the handsaws can be - and thanks again to Matt from thesawblog.com for crafting this tool for me!
Tuesday, April 10, 2012
Monday, April 9, 2012
[Schoolbox] Here we go again
I'm making another Joiner and Cabinet Maker school box. I will probably not have as much to say about each step of it, but as they come up I will record what I am doing and what I have learned. I've already dimensioned and flattened a 8' board of alder for the box. There is not much more to say about this process other than that the more I do it, it simultaneously becomes easier and more tedious. I'm also learning a bit more about how to feel when the plane iron is going from very sharp to just pretty sharp. There is a zone where it works just fine and leaves a clean surface, but it takes a little more effort to push the tool. I am trying to avoid this by re-honing before it needs it.
This time I decided to use a fine-crosscut panel saw instead of the carcase saw for cutting the boards to length. This saw was made by Matt at thesawblog.com and while I have mentioned it before, I have to repeat that I love it! It is rather small and light, and fits my hands nicely. It is nearly as thin and precise as my carcase saw. I set the board up here on my benchtop for comfortable full-height operation, though I had to get a little creative with supporting the rest of the board. My sawbenches stacked on top of each other worked just fine! Probably not OSHA approved but it was a lot more comfortable than cutting on the sawbench for something this precise, and also a little easier than using the carcase saw, which gets laborious with boards this wide. The final cut was close to perfect and barely needed shooting, if it did at all.
Next up will be dovetailing the shell of the box.
Saturday, April 7, 2012
No Plastic Grass Here
I can't be the only person doing this tonight:
Maybe hard to see in this shot, but the bedding for our daughter's holiday basket is made of alder plane shavings.
Happy Spring to all of you, unless you are in the Southern Hemisphere, in which case Happy Autumn!
Maybe hard to see in this shot, but the bedding for our daughter's holiday basket is made of alder plane shavings.
Happy Spring to all of you, unless you are in the Southern Hemisphere, in which case Happy Autumn!
[Schoolbox] Done and Finished
The schoolbox from Joiner and Cabinet Maker is complete! The one in the book is made of "deal" or soft pine, this one is all alder from a tree on my road. Its fairly heavy, and I suspect fairly indestructible.
3 coats of BLO-Varnish-Thinner, and I couldn't really tell a difference between coat 2 and 3. I might put on one more just to verify that 3 was plenty, but I think we can call this one finished.
In other news, a neighbor gave me some incredible quilted maple from a tree in his yard. It is going to be a real challenge to work with (as you can see from the tearout on this little sample board) but what figure! Its almost too much... I am not sure what to do with it, although box lids seem like an easy choice. This is after some very quick planing to see what it looked like. The boards were given to me in the rough, and the fish-scale shaped figure was just barely visible.
Friday, April 6, 2012
Pasadena Bound
It is with great joy that I have confirmed my registration at Woodworking in America, Pasadena this October. While the Cincinnati event has some appealing speakers, I need to remain on my own coast. I am looking forward to Roy Underhill's First Annual Feast of the Ribald Society of Old Moxonians in particular. Anyone else thinking about going to this?
Tuesday, April 3, 2012
[Schoolbox] End in Sight
Schoolbox #1 is just about complete. The moulding needs a bit of trimming to be absolutely flush with the top, and it needs finishing. I was planning to paint this one with milk paint, but looking at it now, I feel the wood might want to be uncolored.
It was a bit of a challenge to find appropriate screws for the hinges. The best I could do have rounded tops which extend up a little higher than I would like, so the hinges wouldn't lay flat until I deepened the mortises a bit more. The weird benefit of this is that the hinges now compress on top of the screws and "pop" the box open when it is unlocked. I like this action.
I have some of the screws soaking in vinegar to age them a bit; they are a bit too harshly bright right out of the box. I was concerned that brass and the blackened steel hinges would be too weird in general, but it actually looks pretty nice. I think once the hardware is dulled a bit, it will look great. I would like to find a better profile on the heads of the screws for future boxes, but for now this will have to do!
Laying out the hinges:
Installing the selvedge in the lid. I do not generally like to use gimlets, but for a quick shallow hole, this is a great tool:
The hinges, lock, and selvedge are all installed. Still needs its moulding on the lid.
Moulding installed! The box is just about "done" except for final trimming of the moulding, smoothing, and finishing. Just about time to start on box #2!
Sunday, April 1, 2012
Push, Pluck, Preen, and Position
I have yet to try out this new tool, but today Lee Valley has released something we all need, the No-Fuss-Tool Shroud (NFTS). They put it better than I can:
"This revolutionary planing accessory not only makes planing faster, it ensures the cabinetmaker's focus remains directed solely towards the surface being produced, and not on the "quality" of the waste generated."
See for yourself at the Lee-Valley website:
http://www.leevalley.com/us/wood/page.aspx?p=69302
I know what I am asking for this holiday season!
Subscribe to:
Posts (Atom)