The past 2 days I have been fortunate enough to get some good time in the shop (thanks, family!). The new tool chest continues to emerge.

Tongue-and-groove cedar boards cover the bottom, which is nailed on for easy replacement. Not shown are 3 additional battens to provide one more layer of protection. Eventually it will be held up off the floor on casters. I put the better faces of the floor boards facing up. However, I realized that when carrying this chest, the bottom will be touched. I did go back and sand it pretty well, especially the edges where fingers are likely to go. I also smoothed the battens to be very comfortable and rounded their edges. I believe my future self will be saying "thanks, past self!" for this small act. Carrying furniture is one of my least-favorite activities but it does not need to be that way!
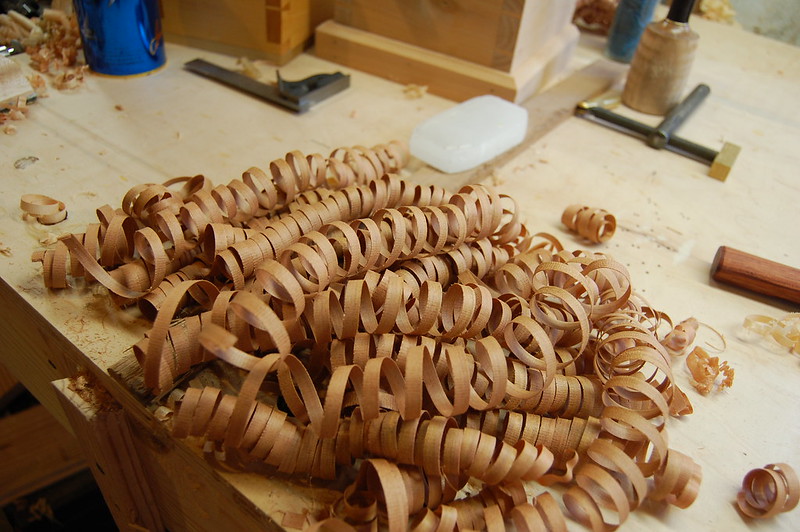
Creating the tongues and groove generates beautifully perfect curls.
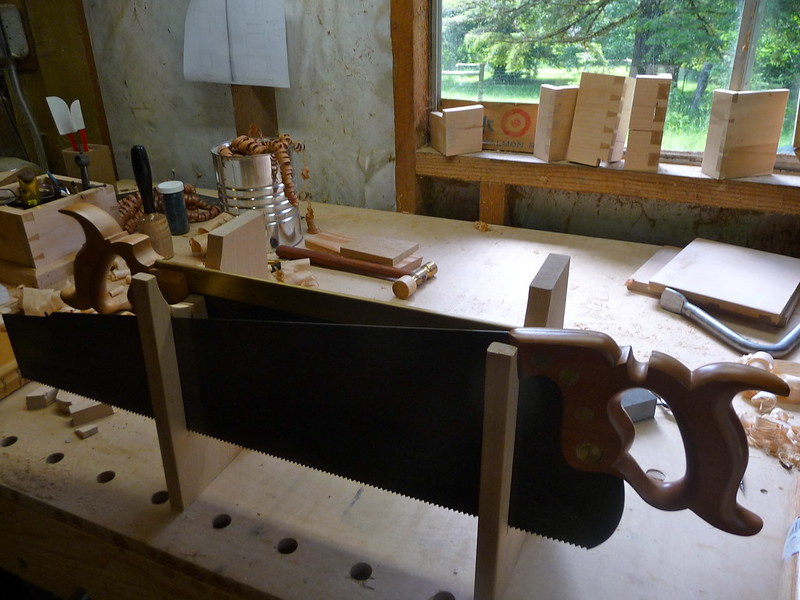
The saw till is mocked-up to find the perfect distance between supports for all four saws. It is an act of compromise although the magic figure of 7 inches off center in both directions is not bad for any my saws. Eventually, I will cut some notches in the top of the large tenon saw's slot to accommodate the thick back and let it sit a tiny bit lower in the slot instead of hanging from its back. If you are interested in this (Chris Schwarz's "Anarchist's Tool Chest") chest design and have studied it, you may see that the saw till is extra-wide towards the back. This is a design I admired at Carl's blog. I've taken his idea and modified it slightly for my own chest.
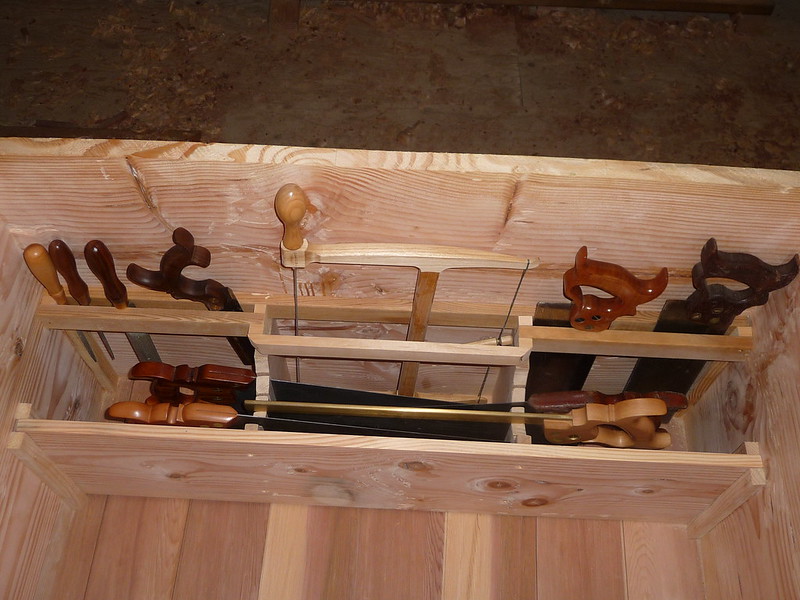
A tentative set-up was tacked together with blocks and easy-to remove brads. I immediately like it and think this setup will work well, but wanted to make it quick and simple to change in case it won't. I've added a small rack for backsaws and rasps. It is supposedly ok to have rasps rolling around and touching each other but I am too nervous to subject such precious devices to that. Initially I wanted the bowsaw to be mounted on the lid, but as my chest is vertically challenged by 2", I could not afford the airspace. This setup will limit the travel of the tills by a tiny bit, but making the tills a little bit narrower will compensate for that without a noticeable loss of storage space. I also shortened the height of the saw till a bit to create more room above. This loses a bit of space beneath the saws, but it now allows the lower till to travel all the way over the saws. If this arrangement works out, I will plan to add some cleats or hooks to help support the backsaws and bowsaw. The wider opening for the bowsaw is to accommodate its bulbous handles, and will also act as a stop for the lower till.
It may have made more sense in some ways to continue working on the shell (skirt and dust seal) and then lid before getting to the inside, but as I have a chance to travel to pick up some lumber for the tills this weekend, I needed to verify my dimensions. While I tried to plan on paper, I had to actually set it up to see. My 22" (instead of 24") chest seems like it will work, but it is a narrow scrape.
I am already having to make some decisions! I cannot fit both the metal and wooden try planes I enjoy using. I will have to stick with the metal one, although I have been enjoying the wooden one more and more. Committing to only using tools which fit in the chest is not something I am adamant about, but I do think it is an excellent reality check. I will aspire to abide by this guideline unless I somehow get ahold of a set of hollows and rounds via some freak accident.
Nice curls Mister!
ReplyDeleteEnjoy watching your progress.