Soon, my entire collection of traditional woodworking tools will be moving about 380 miles north.
This is part of what tool chests were originally intended for; to protect tools during transit. However, I have been told by a trusted toolmonger to make sure I protect everything with plenty of bubblewrap and other padding. I certainly don't like the idea of edge tools rubbing around, but at the same time most of them are held in place pretty well by the design of the chest. I feel that wrapping the most fragile items, adding some filler to the tills, and then bracing the tills in place should be enough. I don't want to overdo it, nor do I want to ruin a bunch of valuable tools. Christopher Schwarz claims it is just fine for steel to rub on steel and doesn't worry. I worry.
If you've moved tools in a chest, I would love to hear your approach and your experiences.
I'm still trying to decide which of my lumber is worth moving. Too bad I do not have more local readers who would be interested in such stuff.
In other news, one of my patch designs has turned into the latest Lost Art Press tshirt. The whole thing is pretty silly (and intentionally so) but I am glad to be part of this esoteric world in some tiny way.
More soon as the new shop comes together and my classes begin!
Friday, December 14, 2012
Monday, December 10, 2012
[Review] Shopclass on Demand Streaming Videos
A large focus of this blog has been to explore the possibilities of learning woodworking alone. Fueled mostly by The Joiners Apprentice (which just today has been made available as an audiobook), I have also read many other books and viewed a number of videos.
Nothing changes the fact that woodworking must be learned by doing. A private lecture with the greatest woodworking instructor possible will still not get you there until you make the cuts on your own. A great teacher, however, will encourage, inspire and inform you, and videos can provide much of this. As one woodworking instructor told me, a main task of a teacher is to give the student permission to teach themselves.
And so, I was glad to review the Popular Woodworking service "Shop Class on Demand", which allows one to few hundreds of hours of content over the internet. This is essentiaally Netflix for woodworkers, and given the lack of woodworking content on Netflix, this is a great thing.
Full disclosure: I was given a 6-month media pass to review this service at no cost. I therefore cannot honestly assay the "value" as if the payment had come from my own wallet. I do believe I can effectively convey my impressions of the service, though.
Once an account is created, it is painless to load and view the videos. The audio and video quality are on par with any other major streaming service. My only technical complaint has been that if a video is paused for a length of time (say, overnight) it can be difficult to resume.
The videos themselves run a huge gamut from power tool techniques to several seasons of The Woodwrights Shop. Several (if not all) of Christopher Schwarz's videos are also available.
Many of the technique-based videos are the type which you may want to view over and over, perhaps even playing in your shop. In cases like this, you might want to actually own a copy of the content. This service, in that case, comes into usefulness as a way to preview these DVDs before commiting to purchase. You may opt to watch a single video for a few dollars before paying full price for the DVD.
If you plan to do a great deal of viewing, the unlimited plans make a lot of sense. With busy family and shop life, I do not have much time for viewing, but did stay up late a few times to get a sense of the type of material available through this service.
All in all, I give the service a thumbs up. I am not sure I agree with the pricing structure, but media is always a tricky game and as mentioned I did not actually pay for this service. Given my limited time for viewing, and limited interest in watching videos to begin with, I would say this service is not for me, but it very well might be for you. I would certainly love to have access to the several decades of The Woodwright's Shop, but no idea when I would get around to watching them.
I am grateful that Popular Woodworking is attempting to get with the times and explore modern media, and hope that this service is a success. Check it out here: Shop Class on Demand
Saturday, December 1, 2012
[Offtopic?] Where Wheels and Wood Collide
Beetles and Bikes. How do these relate to woodworking?
In Southeast Asian jungles, secretions from the lac beetle are harvested and rendered into the wonderous substance we call shellac. Durable, smooth, non-toxic, and attractive, it has long been the coating of choice for fine cabinetry and even fruit. Yep, you have most definitely eaten the stuff.
Sure, we all know shellac is a great finish for woodworking projects, but how does the amber-tinted stuff affect other materials, like say, cotton?
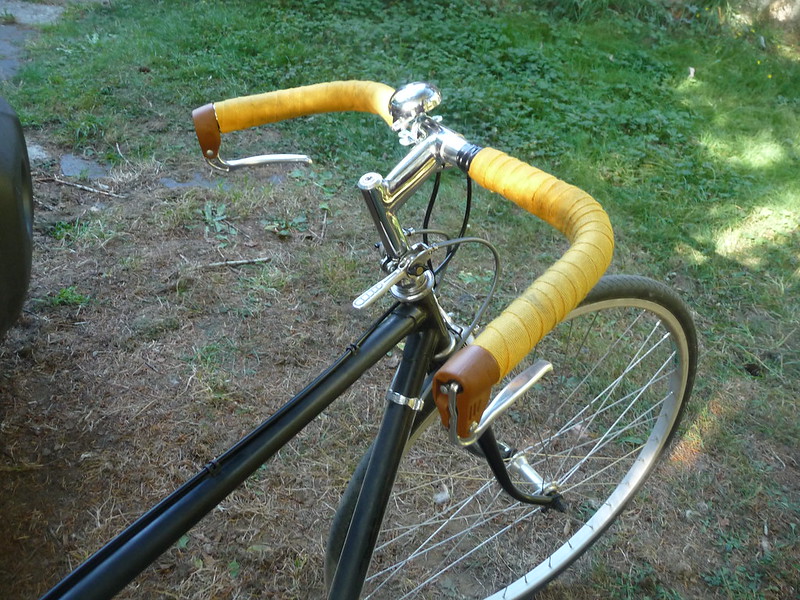
Here are my bike handlebars with a couple rolls of fresh yellow tape:
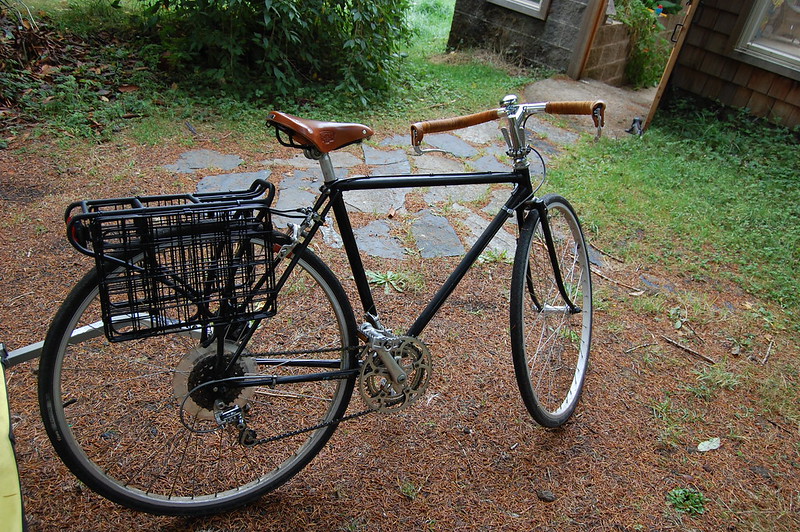
The cloth feels fine, but will rapidly stain and eventually fall apart with exposure to the elements. How about 3 coats of amber shellac?
It now almost looks like leather, no longer garish yellow. The feel is much better as well. The shellac fills in the pores in the coarse cotton cloth and leaves a smoother, more pleasant and just slightly tacky texture. It will now shed water, and resist rotting for decades, provided a new coat is applied here and there. The photographs do not show the change in texture much, but should convey the earthy, warm glow that results from this wonderful substance mixing with another organic material.
I've been impressed enough with this combination that I have applied it to another bike as well. This time, starting with a medium-obnoxious "grass green" which started like this:
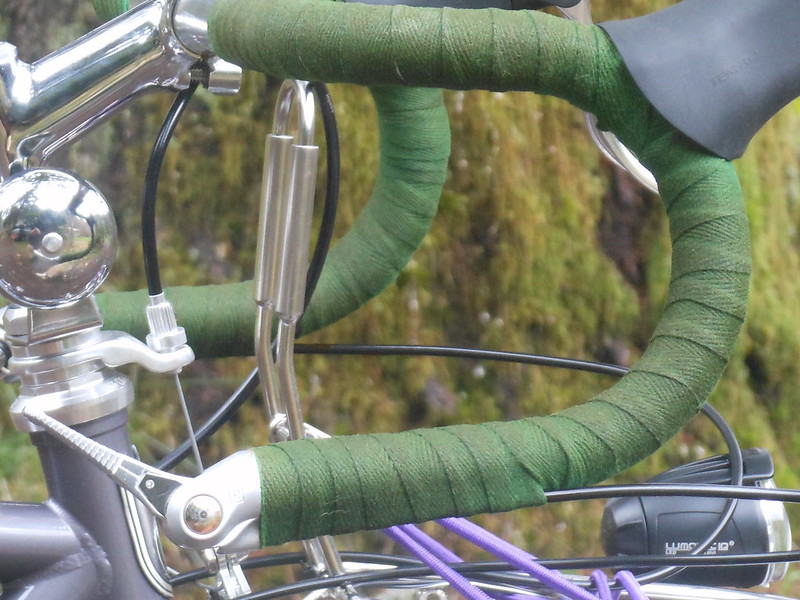
After 3 coats of amber shellac, we end up with a pleasant forest green. One more coat might turn it olive, and I might just do that. Here is the current result:
The texture is improved as before, and the loud color is muted just enough. It will continue to burnish and mellow with age, just like it does on wood. It makes me wonder what other materials shellac could improve. Twine-wrapped tool handles? Leather hinges? If you have used shellac in non-wood finishing contexts, I would love to hear about it.
Ok, so shellac is great, but why talk about bikes on a woodworking blog?
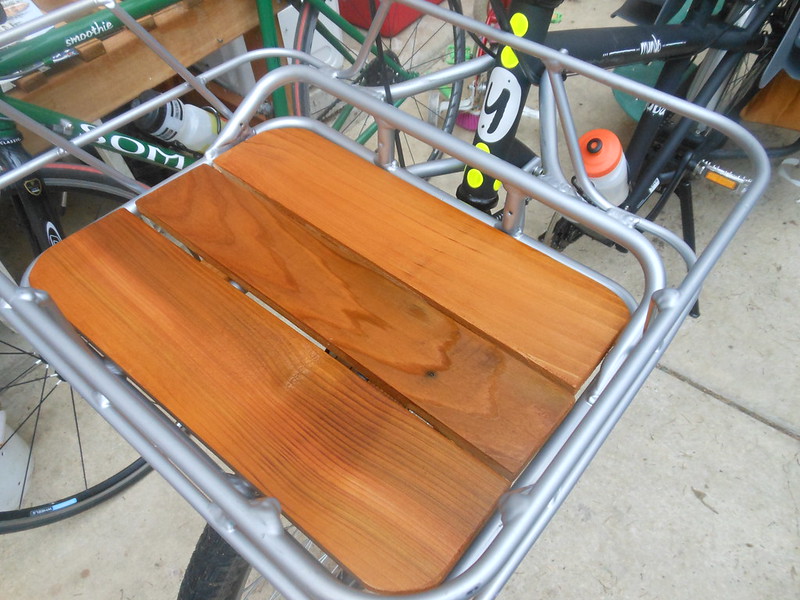
I could easily go into a rant about how traditional woodworking and utilitarian/sport-touring cycling are just two manifestations of the same ideals, but that would likely bore most of you, and if you get it, you already get it. Instead, I will get back to the topic at hand, and show some more shellac:
This insert for the bottom of a metal basket is made of old grey cedar fenceboards which I planed down substantially, shaped with a rasp, and nailed together using cross-battens on the bottom (which double as anchor points to secure the insert to the basket). Inserts like this are commercially available, and possibly a bit nicer than my one-afternoon job, but my cost was just time and a few grains of shellac. The wood is now durable, relatively rain-proof, and much more handsome than the naked rack or the raw grey cedar was.
Wine crates have been a common sight on French "porteur" style delivery bikes for many decades, but otherwise wooden luggage is not generally considered practical for bicycles. I consulted with Jan Heine of Compass Bicycles, generally regarded as the expert's expert on "Golden Age" bicycles, and he concurs that wooden luggage has never been popular. He speculates that aside from the weight, wood is too fragile in the event of an accident to warrant its use for anything more than casual riding. He is probably right.
I have it in mind to push the limits of absuridty, though, and eventually explore wooden trunk boxes as well as porteur front racks for city bikes. While indeed too heavy for extended trouing, it seems to me that thin, lightweight wood, a simple lock, and some sensible design could provide a useful bit of protection and organization for cargo while running errands (such as fetching coffee and bagels) around town.
In the meantime, though, thanks to all those lac beetles for giving us this precious goop!
Thursday, November 29, 2012
Join me in Joinery!
I've heard from Tim Lawson that there are still a couple spaces available in the course. So if you have wanted to dive head-first into the deep end of the pool, now is your chance! Enthusiastic Beginners are welcome but seasoned pros will also have much to learn. All tools are provided, so all you have to do is show up each day and pay attention. I am really looking forward to being able to spend some more time with Tim Lawson and Jim Tolpin, both of whom have worked quite hard to create this amazing school, and both of whom have personally been very helpful to me in my attempt to bootstrap my journey towards understanding traditional woodworking.
I'll be blogging my experience in the course as I can, although the more intense the course becomes, the less time and energy I may have for writing.
I am in the process now of packing up my shop and this is why there has not been much to post about woodworking itself on this blog recently. However, the blog is not going anywhere, and if the occasional silences bother you, I strongly suggest using a rss reader such as Google Reader, which allows you to "subscribe" to this blog and automatically receive the updates.
I hope to see some of you in the course, I am pretty stoked for it!
Friday, November 23, 2012
Thank You!
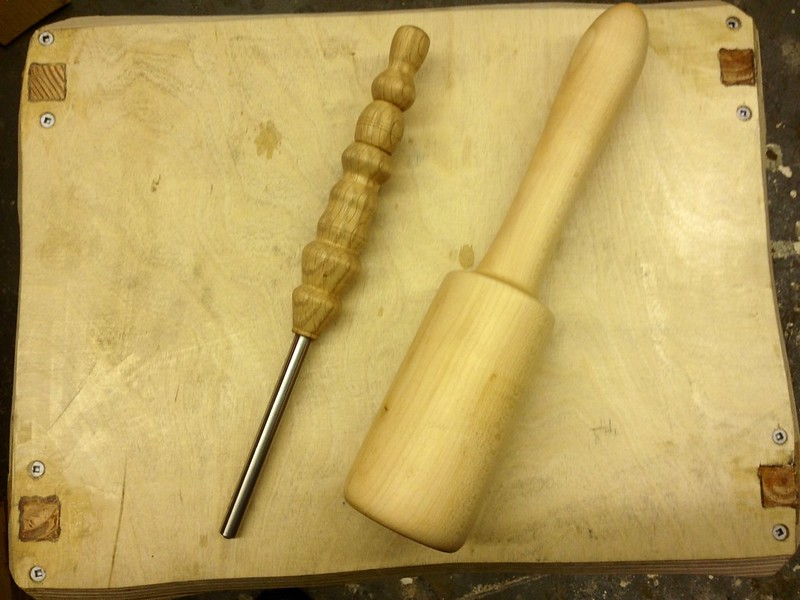
A fellow woodworker found some of my images on flickr and we started a conversation. Eventually, I saw he made a mallet from a St Louis Cardinal's baseball bat. I mentioned being a native St Louisian, and so he felt I should have it (the tool on the left is a burnisher):
Also, this was a gift from Mom Apprentice:
Thank you for your continuing support, everyone!
Actual woodworking is on its way, promise.
Also, this was a gift from Mom Apprentice:
Thank you for your continuing support, everyone!
Actual woodworking is on its way, promise.
Monday, October 22, 2012
[WIA] Thoughts from those who attended (and did not)
Everyone enjoys playing cooper!
I am planning to share some of my thoughts on Woodworking in America with the organizers, and would love to hear what you would have them know, as well.
What would you look for in a woodworking conference?
If you did attend, what did you most and least enjoy? What would you like to see change?
Part of my feeling was that the seminars themselves had an appealing focus; lots of nitty gritty discussion of traditional techniques, methods, and contexts. However, there was very little discussion about plugging this into the modern real world.
The marketplace had the usual suspects as far as hand tools go, but there was not as much hands-on or demonstration type exhibits as I would hope. I could do something about this, personally, and plan to if I return. I think a tiny joinery bench, a simple toolkit, and a stack of boards would go a long way to letting people see (and feel for themselves) the beauty of traditional methods.
One of my favorite aspects of the event was connecting with a couple younger woodworkers who had the passion and interest but simply did not know where to start. Next time I am there, I would like to have some better answers than I did this time. I feel it is vital to the community and the craft in general that younger people are taken seriously and welcomed earnestly. They need mentors available and I feel like the clock is ticking all too rapidly.
I certainly have some other, more complex reactions to the event and some of them I might flesh out here over time, others need a bit more thought and introspection. Nonetheless, these events are, in my opinion, very important to helping rebuild the networks of real-world interaction that are lost as a craft becomes a mere "hobby", often with only websites like this one to provide any sense of personal connection.
If you have anything to say about the event, or what your ideal event would be, feel free to post a comment here or send me a note. I will compile your thoughts and present them to the event organizers in hopes that the options for building woodworking community in the future will only improve.
a new old shop
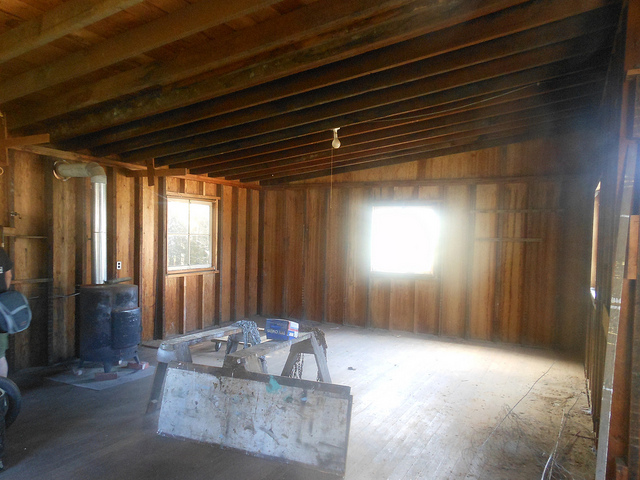
In other news, I am excited regarding a new shop space (hinted at in another post). It looks like this is moving forward and I will have a spacious new shop available in the future.
Ironically, perhaps, is that I will not be doing a lot of woodworking in this shop despite living next to it, because I am happy to announce that this winter I will be attending the Port Townsend School of Woodworking's intensive program. 3 months, 5 days a week, 9-5 (or more) of solid woodworking instruction and practice, meaning I will not be doing a whole lot outside of that. I'll still be updating the blog, and detailing what it is actually like to be immersed in a traditional woodworking program.
Much more soon.
This is the time of year when many of us can finally get back into the shop a little more earnestly, and also when the reading becomes more interesting for the armchair craftspeople. I hope that as this year winds down, health and peace are with you!
Thursday, October 18, 2012
[WIA] Pasadena Pics
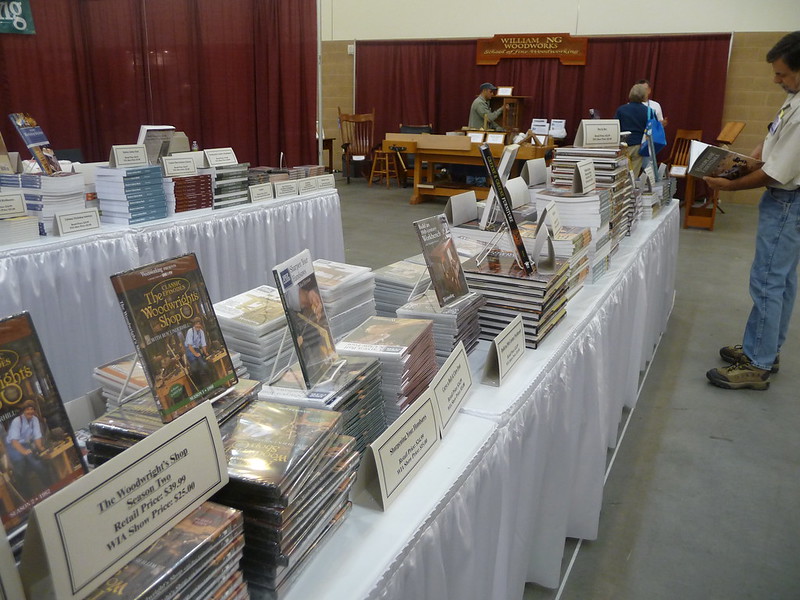
I'm finally home after a long trip to Woodworking In America West, in Pasadena. This had a side-trip to Port Townsend, WA tacked onto the end.
My trusty Lumix camera finally gave up the ghost, but Tim Lawson saved me by letting me borrow his, so I was able to get a few shots.
I had a number of complex reactions to the event and where it could or should go in the future, but that will be another post. I just wanted to get some images out there while they are somewhat fresh. There will be more to come, but for now I am glad to be home and will hopefully get a little shop time in after all of this talking about woodworking and not doing any!
My trusty Lumix camera finally gave up the ghost, but Tim Lawson saved me by letting me borrow his, so I was able to get a few shots.
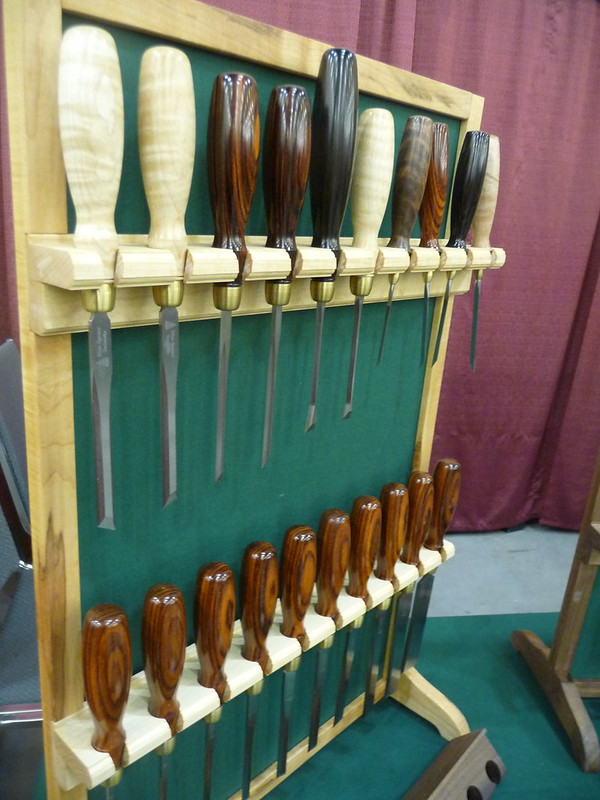
Blue Spruce tools always impress, and it is always a joy to talk to Dave Jeske, their maker.
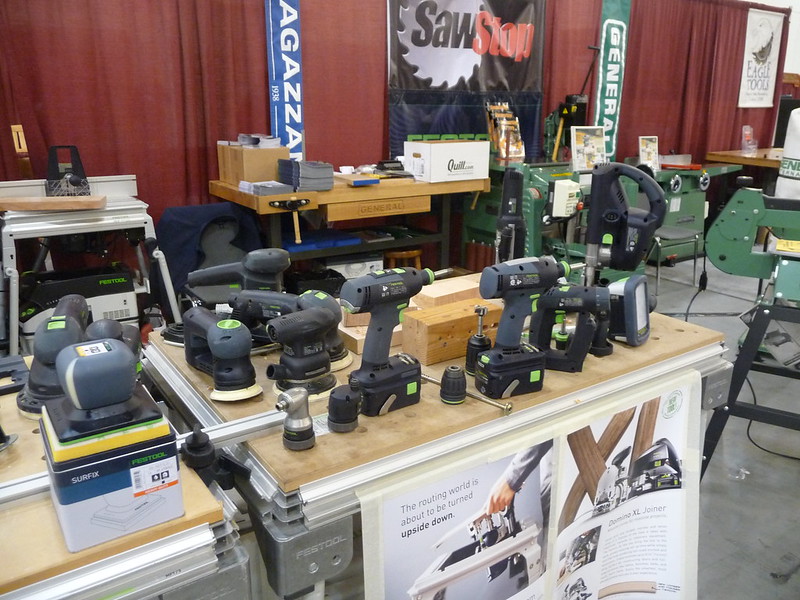
There were some power tools, too.
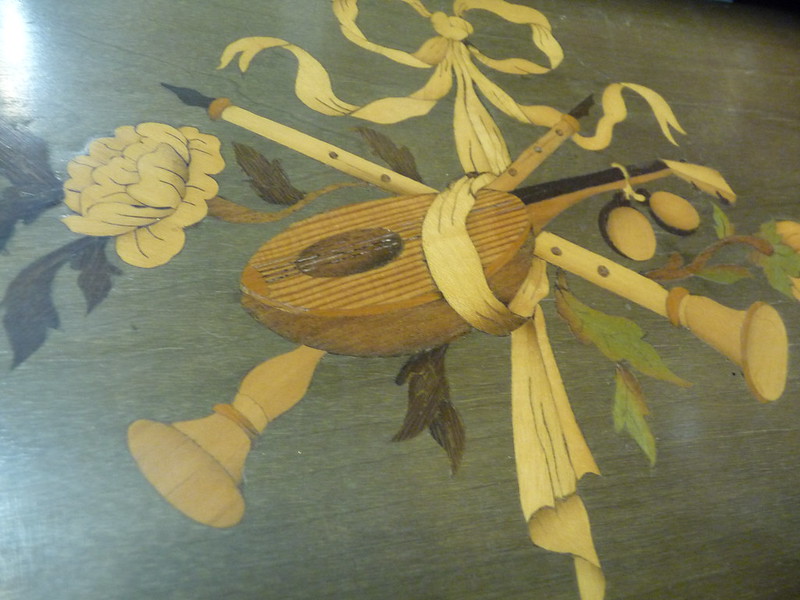
An example of marquetry:
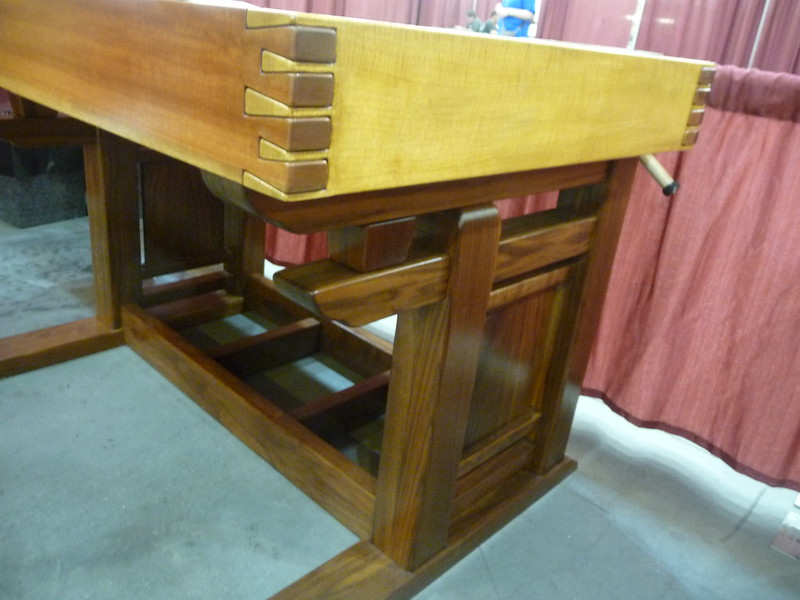
A bench almost too nice to use:
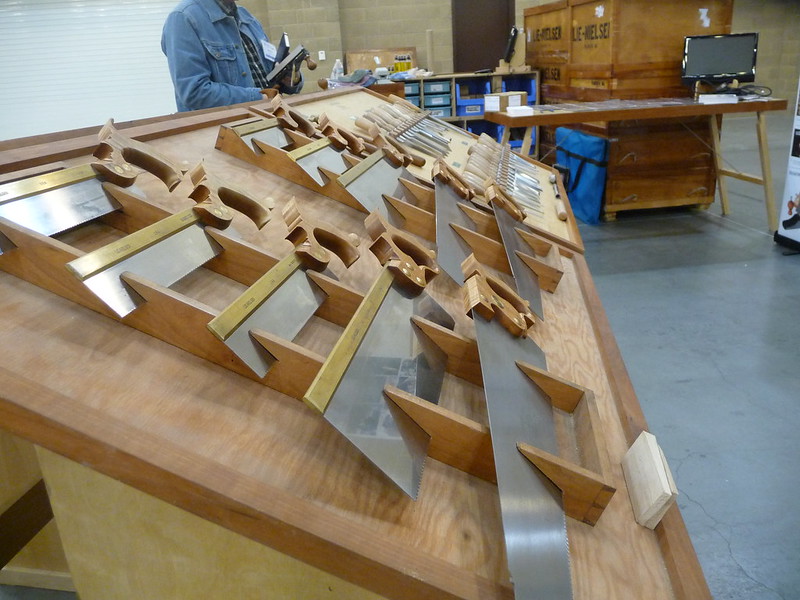
It was especially great to meet and speak with Chris Vesper, an Australian toolmaker. It is not possible to word how lovely his tools look and feel. They are not cheap, but he explained that he basically makes minimum wage because of the labor involved in producing them. I want one of the bevel gauges.
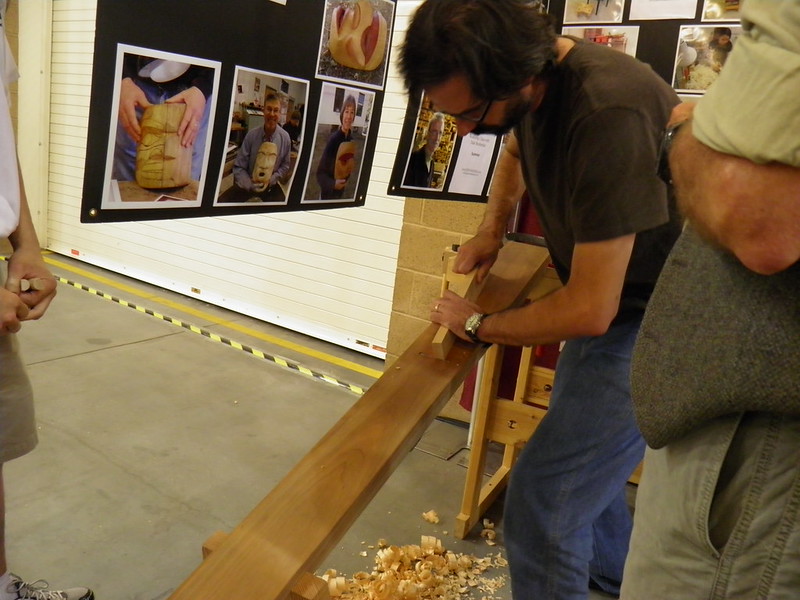
Christopher Schwarz led a talk on rapidly building a saw bench without having a sawbench to use. He also stuck with hardware-store tools. He did this atop an amazing bench built by Erik Mortensen, but refused to use the holdfasts, vises, and other workholding features as he was prentending to be using a "kitchen table". Erik was justifiably proud of his bench and I think found this hard to watch.
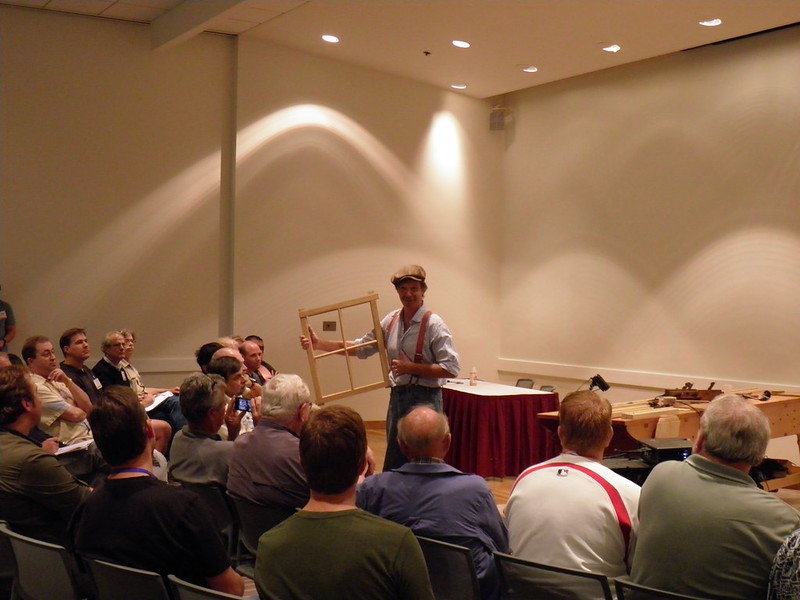
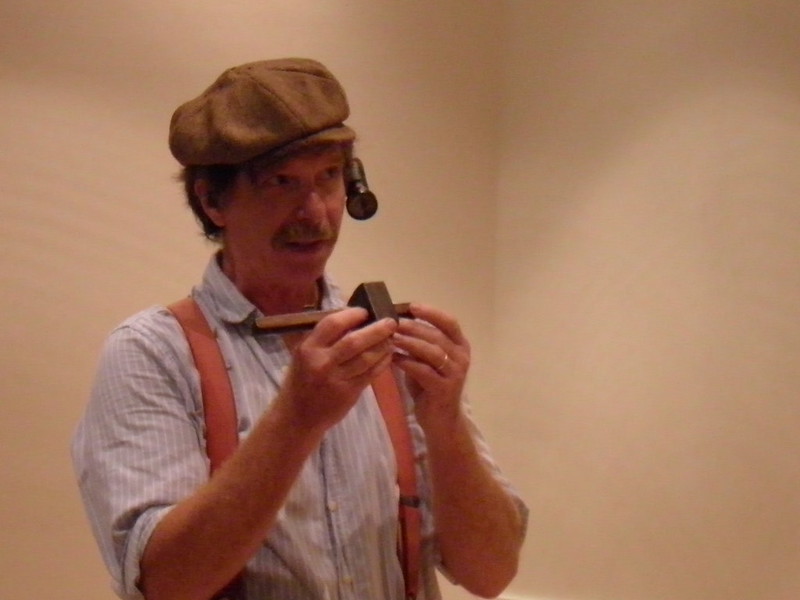
Roy Underhill is just the same in person as he is on his show.
He was trying out a POV camera, giving him an odd cyborg appearance and a very interesting video backdrop, especially when he looked at the screen and ripped a hole in the spacetime continuum via video feedback.
Dinner with friends
I had a number of complex reactions to the event and where it could or should go in the future, but that will be another post. I just wanted to get some images out there while they are somewhat fresh. There will be more to come, but for now I am glad to be home and will hopefully get a little shop time in after all of this talking about woodworking and not doing any!
Sunday, October 7, 2012
Woodworking in Pasadena
I'll be traveling to Pasadena to attend Woodworking in America later this week. I'll be spending some time helping out at the Port Townsend School of Woodworking table, and will also be attending the First Annual Feast of the Ribald Society of Old Moxonians on Saturday evening. Come say hi!
In workshop news, the workbench is getting pretty close to complete, although I am still waiting on the vise hardware which is holding up the final assembly since I want to drill the leg in advance. I've learned a lot about drawboring and boring in general. It is not boring.
I also had a chance to talk with Chappel Ellison at the Etsy blog about my experiences with learning traditional woodworking. She seemed to really get it, and I was pleased with the resulting story.
Not sure if I will be able to provide timely coverage of WIA, but I will if I can. Otherwise, more on the other side!
Monday, September 17, 2012
[Workbench] Drawboring the Base
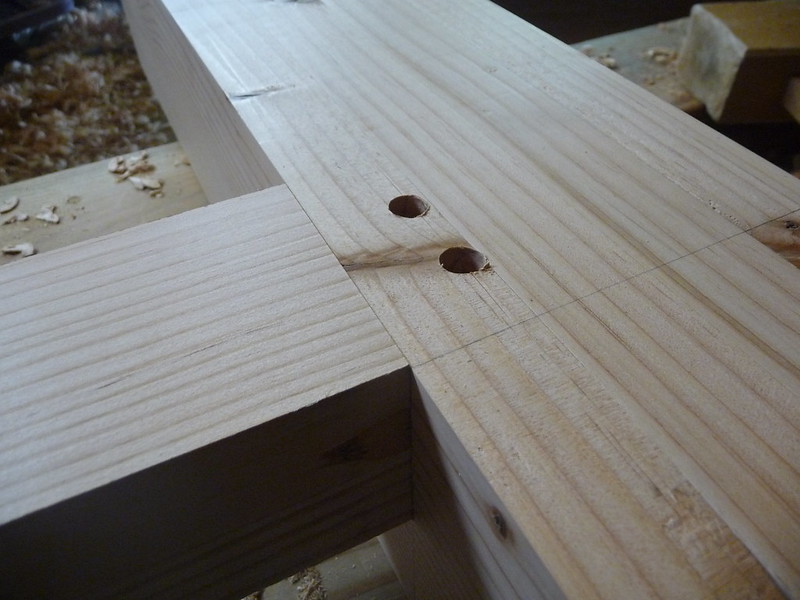
Drawboring is a fascinating technique to not only make assembly of a joint easier, but also ensure that it is held together for a very long time. This can happen with no glue at all. These joints are very solid; I know because I not only built some test joints, but also installed one incorrectly on my bench base and had to drill it apart.
For the non-woodworkers who read this (and be patient, woodworkers, because there are many of them and we want them to understand our craft as much as possible), drawboring involves running a peg through a mortise-and-tenon joint. However, the holes are just barely offset out of alignment, so that the peg will pull the joint together as it is pounded through. If the join was perfect to begin with, the peg will actually flex a tiny bit and snake through the offset holes.
The actual creation of the joints is simple; simply drill through the cheeks of the receiving board:
One should properly use a block inside the mortise to avoid tearout but I was living dangerously. There was not really any splintering to speak of, but you should not do what I do.
The joint is then dry-fit:
In the above, the receiving piece has the holes bored, but the inserted piece does not. One could just insert the tenon and then drill through it all at once, but that is not quite drawboring.
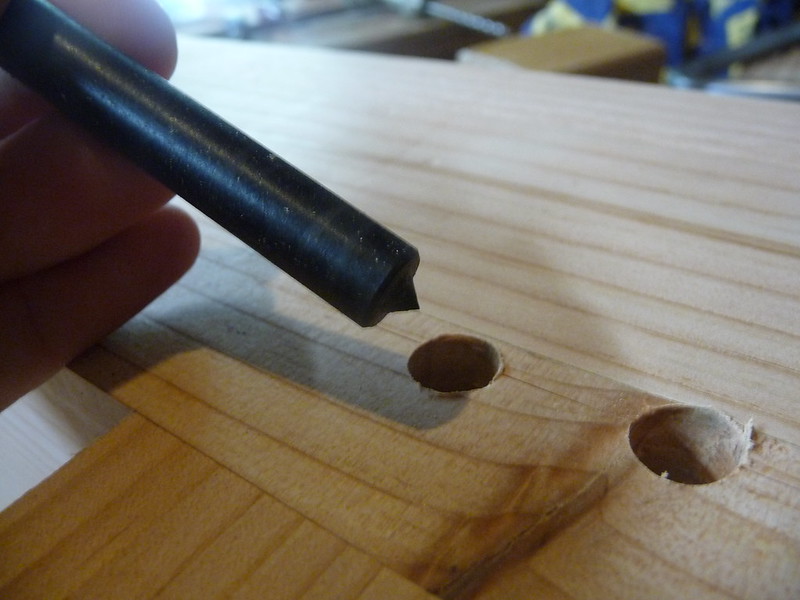
I used a punch like this to mark the hole, but you could just use the tip of a brad-point drill bit (the same one you drilled the holes with)
I did not photograph it, but this leaves a tiny spot in the center of the hole. Then, and this is the fun and fascinating part, make another mark a tiny bit (variable, but about 1/16" is what I used) closer to the cheek. Drill this, and then when the joint is re-assembled, the peg will pull the joint together with all its might.
The above process is rather straightforward, magical, and effective. The real trick, at least for me, is making the pins!
The typical explanations are pretty simple: rive (split) a bit of dry oak, and then ease the corners off this stick, and simply pound it through a set of holes in a metal plate of decreasing size.
Easier said than done.
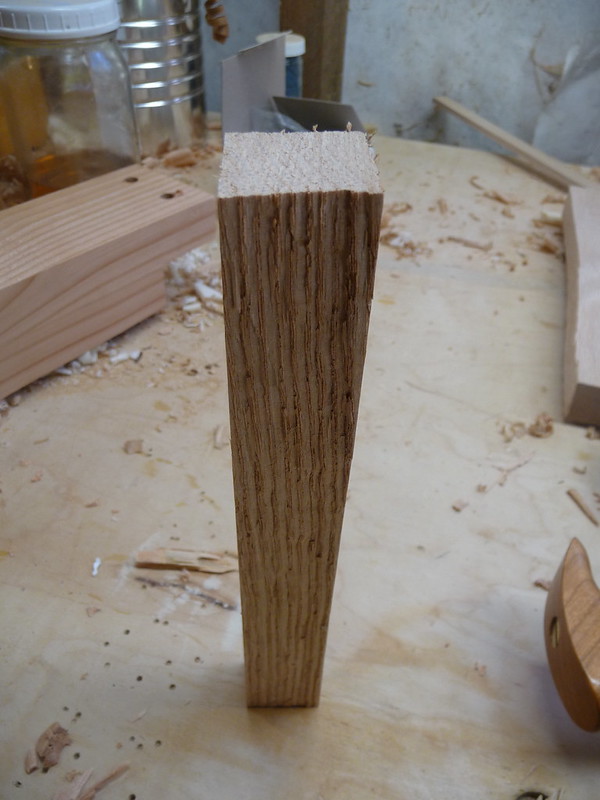
Here is a donor block ready to go:
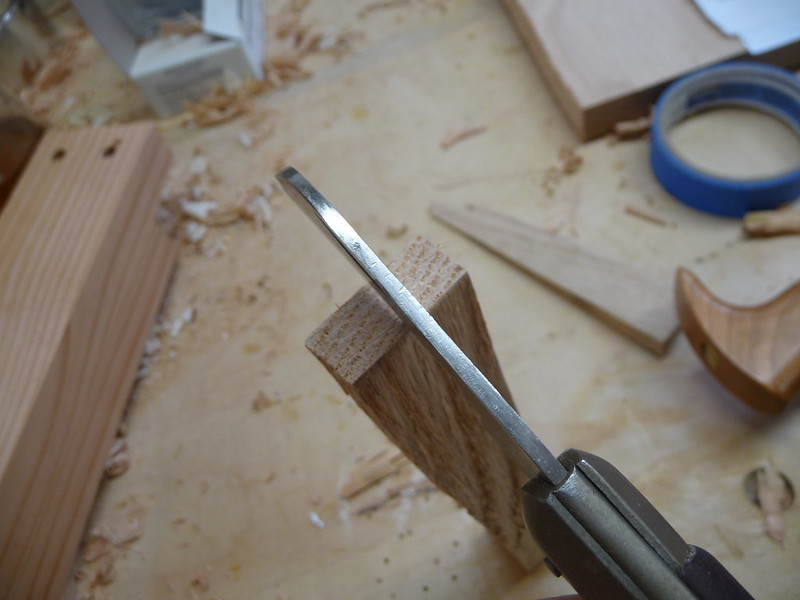
I set a little knife in the middle of it and whack it with a hammer:
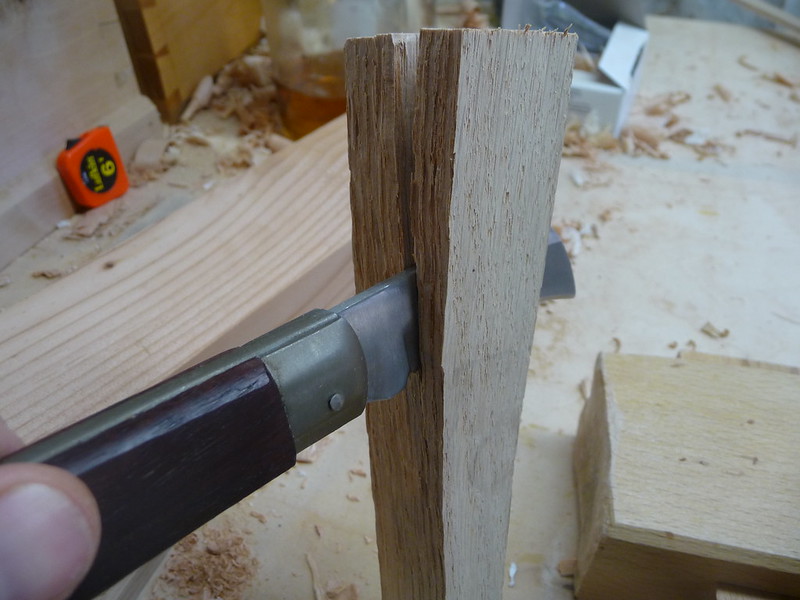
And keep whacking it:
The trick here is to let the wood split where it wants. You should have started with a straight-grained piece. Did I forget to mention that?
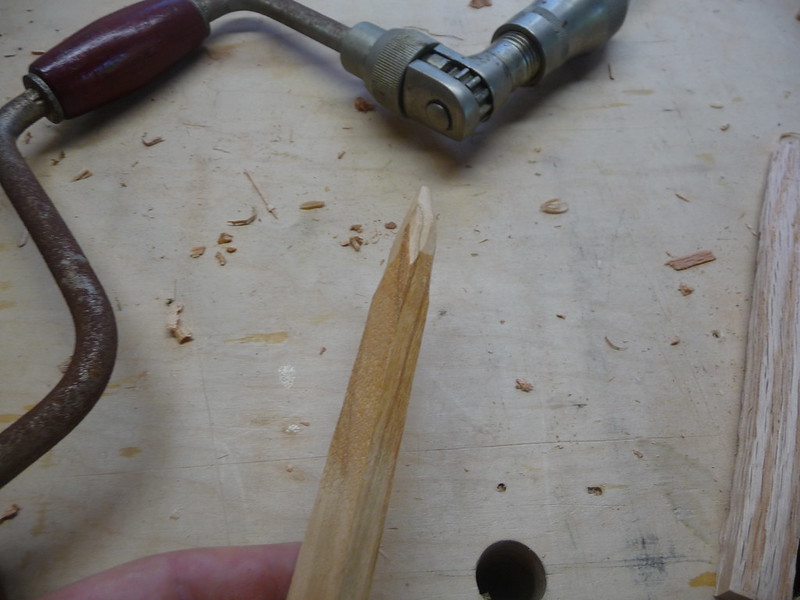
Repeat until you have a small-enough little stick. It can be bendy or twisty or ugly. Sharpen the tip a bit, kindof like a pencil:
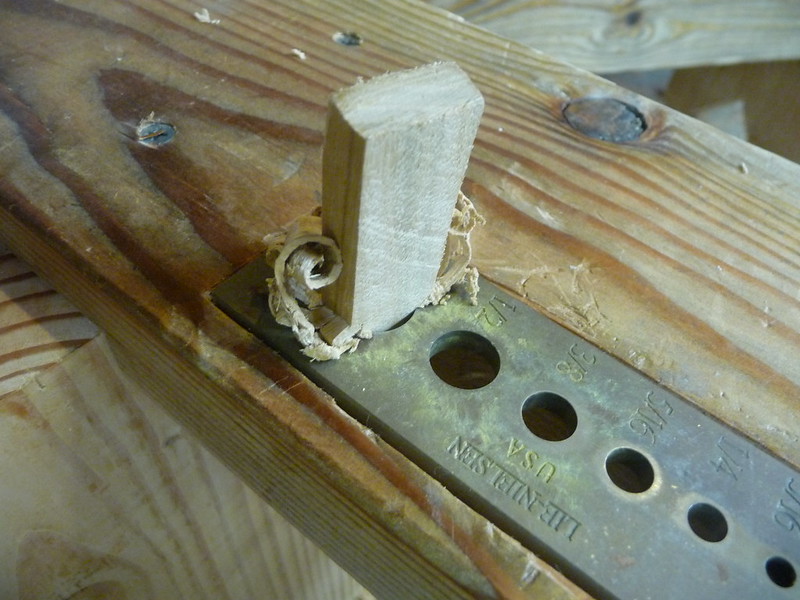
Then pound it through your plate. I am using a commercially-available one here since I didn't have the confidence to make one. I wouldn't hesitate to make one now, after seeing how brutally simple it actually is. Just drill some holes in a piece of steel, really. In fact, I will be making a new one soon since I don't think this one is granular enough. The crazy yellow residue you see is because I was playing with pegs made of ipe wood. The above photos are oak and cherry. Oak is supposedly the ideal since it is flexible enough to snake around the offset but strong enough to survive this tortuous process.
Once the peg is driven through, repeat in the next smaller hole until you are done. I use a lot of wax on each step, and chamfer the edges with a knife and keep whittling it a bit. It is easier to whittle than to pound, at least for me.
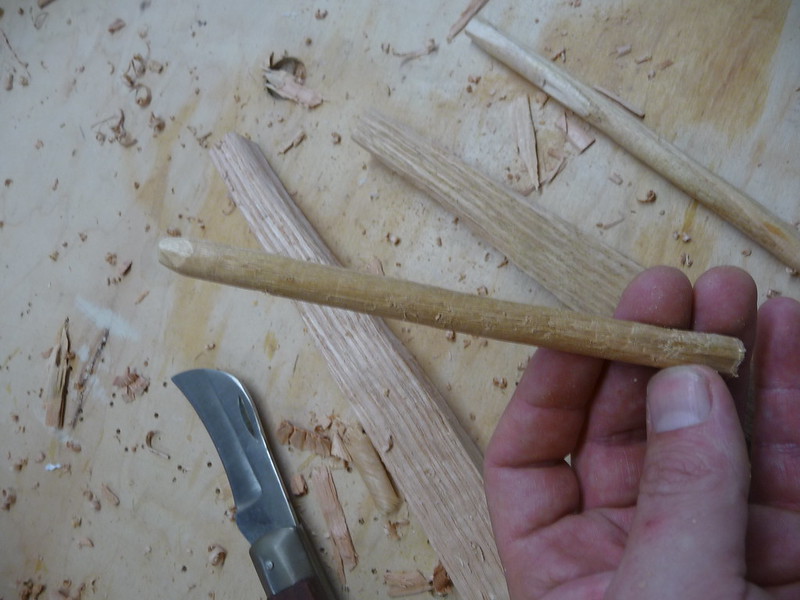
Eventually, you get your peg:
Making the pegs is simple, kindof, but not easy. It is a lot of pounding. It is pretty unpleasant work. Unlike most hand tool operations I have been experimenting worth, this one is loud and involves obvious danger. Of course saws and chisels are also capable of great harm, but force is generally not required to wield those tools. Force involves a lack of control, and lack of control is scary with any tool. This process takes a lot of force. Little taps with a hammer will get you nowhere. I wore eye protection and after a couple pegs I even used ear protection. I've already destroyed much of my hearing with loud electric guitars and want to keep what is left. Plus, hammering on these things just sounds nasty.
There is most likely some technique to learn, as I had several pegs explode on me. You cannot really sharpen a dowel plate, so that is not the issue. It is most likely wood selection. Some of my pegs went smoothly and came out nicely. Others seemed great and then collapsed at the last minute. They almost always went through the 5/8 and 1/2" holes just fine, but the step down to 3/8" from there was just too big a jump for a peg so dainty. I would be tempted to just stick with 1/2" for something like a workbench as a result, but I could use the experience since most furniture would want even smaller dowels.
I also played with using hardware store "oak" dowels to start with, and just reduce them in width. Oak is in quotes because I don't doubt that is the species, but it is not at all the same quality as lumberyard oak. These things would exlode almost immediately. I was not able to get a single dowel from that stash. This most likely varies from region to region; I have heard others have great success with this type of wood.
Some other oak I used had about a 50% success rate, and with cherry I got about 75%. Ipe came out at perhaps 90%, but I am not sure it is flexible enough for this role. The ipe dowels are really nice though! They seem very handy for other construction uses, but it is not a wood I want to do much with. They would be very good for vampire hunting or booby-trap manufacture as the resulting dowels are heavy, hard, and nicely polished without effort.
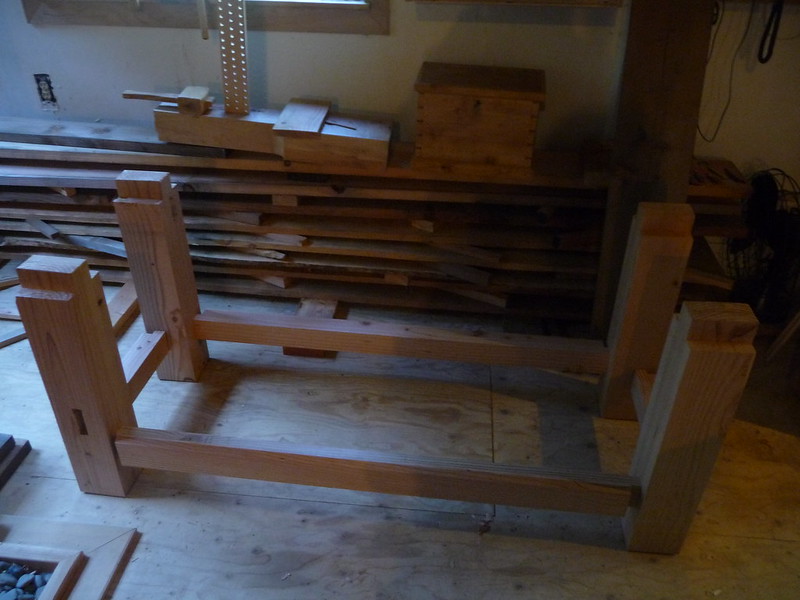
I'll have more on the actual assembly soon, after another quick bout of travel. For those who have made it this far and have no idea what I am building, here is the base of the workbench loosely put together. These drawbored joints occur on 2 faces of each leg, so that there are 16 in all. The legs will also be drawbored to the top of the bench:
Thursday, September 13, 2012
Otis's Leg Vise
This week I was up in Port Townsend, WA for the Wooden Boat Festival. I took photos, but a spectacle like this calls for photography skills I do not have. A simple search will yield tons of photos if you are interested. Suffice it to say there were scores of wooden boats, and all of them were things of beauty. Lie-Nielsen was there, as was Lee Valley, among several other interesting tool and boatmakers.
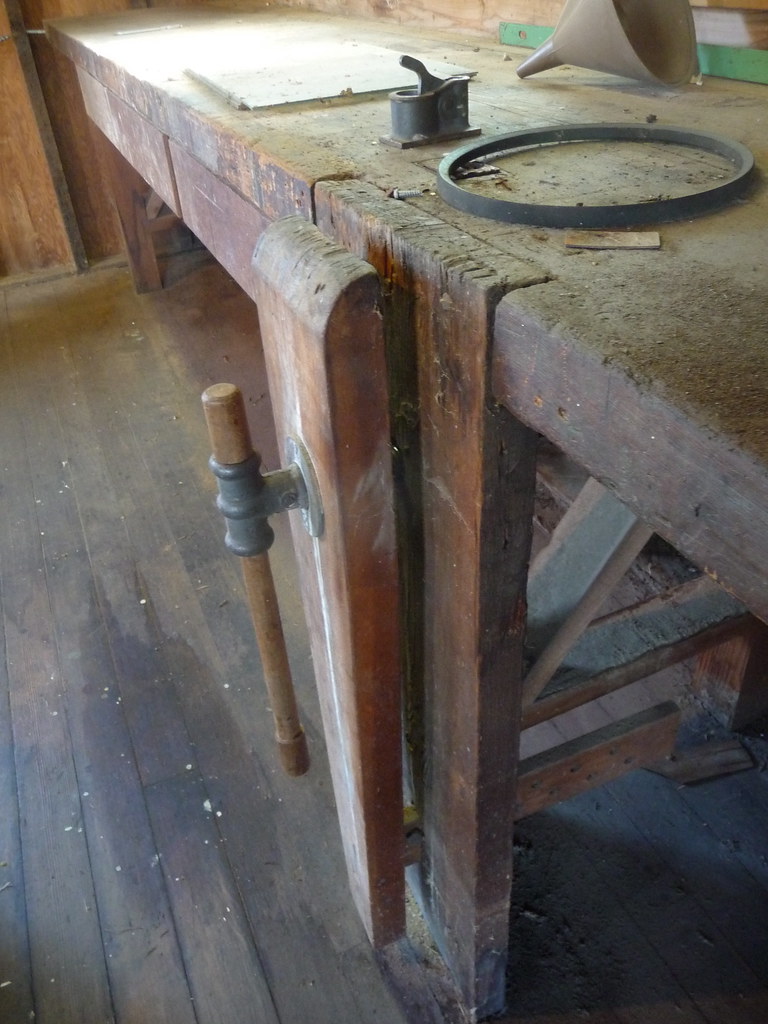
While exploring some homes for sale in the area, we happened upon one with a large shop. I was delighted to find this leg vise on one of the benches:
It seemed to have not been touched in decades, and most likely wasn't. The original owner was a cabinetmaker who retired in the 1970s. The parallel guide was held in place using a lag bolt. You may also note that this vise is on the right leg of the bench. Sure enough, just to the right of the vise was a pop-up metal planing stop inset into the bench. Otis was a southpaw. Judging from the height of the bench, he was taller than I am. Looking around at his bench and shop, which is perfectly laid out by scholarly standards, I had a feeling of comfort and familiarity with a man I never knew
There was not much other evidence of his trade left in the empty shop, but I liked knowing of the history of this space. Neighbors who remembered him revealed the locations of some of his work around town, and I look forward to tracking it down.
We liked the shop (and the attached house) enough that we may very well acquire it if all goes well in the next couple months. It will be an honor to continue my work in a space which is already broken-in with a cabinetmaker's passion and energy. I might have to do some surgery to move that vise to the other leg, and it will likely remain an auxillary bench or assembly table because of the height, but I feel very fortunate to have a chance to dust it off and keep Otis's vise going for several more years.
There will surely be updates as this moves forward, and in the meantime I am still working on the bench for my current shop. Of course now I think I should have made the bench 10' long instead of 7'6" since there will be room for it, but perhaps my next bench will be longer...
Friday, September 7, 2012
[Offtopic] The Littlest Shop Dog
As is often the case this time of year, the shop is not getting quite as much use as I would like. A stream of visitors, some travel of our own, and sadly, the loss of my tiny shop dog, Poppy:
She was a rescued Boston Terrier, who in a former life had been squeezing out puppies in a shady breeding operation. We tried our best to rehabilitate her and gave her a pretty good life on the farm for the past 4 years. She had been dealing with cancer for a year or so, and finally found ultimate rest. She will be sorely missed.
In happier news, this weekend we are off to the Port Townsend Wooden Boat Festival where I hope to meet up with Jim Tolpin and Tim Lawson of the Port Townsend School of Woodworking. When I return, I'll update with workbench progress. The base is almost complete, and I am just waiting for the vise hardware to show up. I've been learning a lot about creating dowels for drawboring. You probably already knew this, but do not bother trying to use mass-produced oak dowels. They explode more than 75% of the time. My riven (rived?) oak, cherry, and other dowels have closer to a 80% success rate.
More soon!
Thursday, August 30, 2012
[Workbench] Vise
The stretchers are all complete and believe me I am eager to put the base together. However, it is easier to do some operations on the legs while they are still loose; namely, the hole for the vise screw, the mortise for the parallel guide, and the holdfast holes. To properly place the hole for the vise screw, I first needed to build the chop.
Here it is roughed out:
That is 4 inches of cherry, and it was not easy to rip nor to shape. Why so thick when the usual is closer to 2 inches? It will become clear.
I also cut the mortise for the parallel guide, and built the guide:
This is made of some hard maple(?) I found on the streets of Portland in someone's trash pile. It is extremely dense and heavy. Not the most interesting grain patterns, but that is perfect for this task.
I've been having trouble finding oak straight enough for my drawbore pins to attach the guide, but I am not done sifting through my stash yet, either.
Tuesday, August 21, 2012
[Workbench] Legs and Stretchers
There is little to say about laminating, planing, and gluing up the legs and stretchers for the Roubo workbench, but that is what has been happening. The only note I have really made is that the inner boards, which make up the tenons, should be planed to exact finished dimension but th outer boards should be left fat so that they can be planed in the end. This is probably obvious to someone who has done this kind of thing before (or is smarter than I am) but it did occur to me after the first leg, so only one of them might be a few hairs under spec; the rest are good to go at 5" square.
Not photographed because there is not much to see yet is the vise chop which I am making out of wild cherry lumber. It will be much thicker than most, because I intend to create a mortise for the roller guide to slip into (a la Jim Tolpin).
I did use the tablesaw to chamfer the track for the sliding deadman. Every time I use that thing, I think "I do not want to do this anymore". I should listen to myself at some point, but I still suffer thinking that powertools are faster. It may have been, in this case, since it took just a second to set it up and cut the two chamfers, but I was tense and uncomfortable the entire time. Planing, on the other hand, is fun and relaxing. Maybe I should just sell the tablesaw and be done with it. "But what if I need to install another floor someday?" I ask myself... Even I do not relish the thought of ripping dozens of floor boards by hand. Renting might be the answer here.
Here's the front stretcher, with deadman track, glued up:
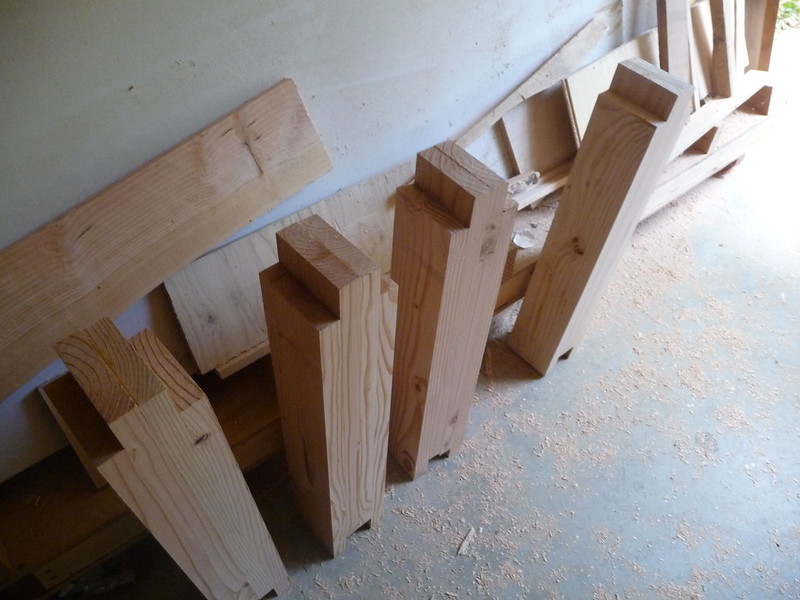
Anyway, the legs are essentially complete, although the tenons need a little tuning despite using nailed-on spacer blocks to align them. They also need to be trimmed to length (or is it now "height"?).
Here are some legs:
Next up will be boring holes and mortises for holdfasts, vise, stretchers, and parallel guide in the legs. Then the front and rear stretchers will be installed, and then the side stretchers.
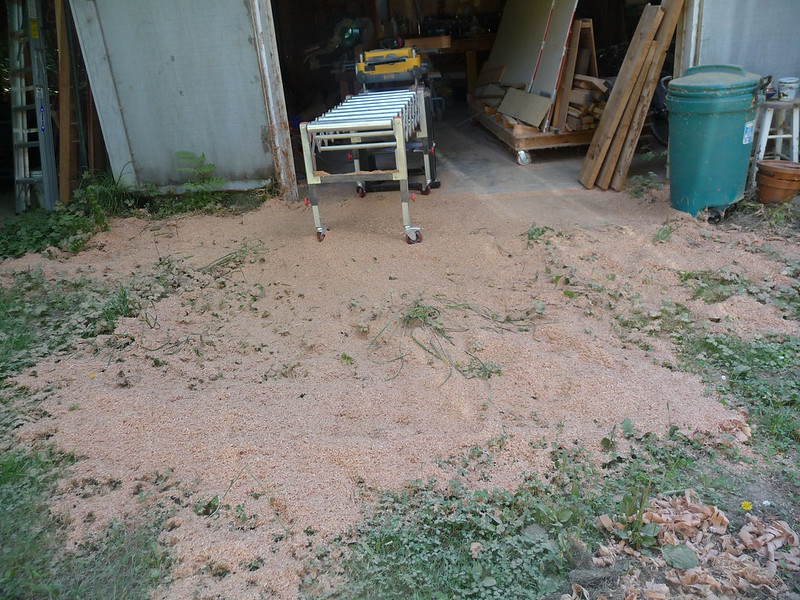
All of the planing has made quite a pile of dust. The wood-loving mushrooms in my yard are going to have a very good year:
Thursday, August 16, 2012
[Workbench] Flattening and Patching
The two large beams I created, being about 11.5" apiece could fit through my planer. However, they are very heavy and I would certainly need some assistance feeding them through. I would like to say that my work ethic and commitment to traditional methodology prevented me from using the planer, but in fact it was a kind of impatience and laziness. I went ahead and joined the two hunks into the final 22 3/4" bench top.
I then realized how much work it would be to flatten the whole thing with a jack plane, so I got my 2.5 year old daughter to do it. I told her that it would be fun, and she believed me!
Once she had the top relatively flat (although quite scalloped since it is a jack plane) I was able to trim the ends. Again, I was tempted to use a circular saw but decided to use my coarse crosscut saw. It was way easier than I had thought, and did not take very long. Following the cutline was not a problem and the result is fairly square. It will need a tiny bit of truing once the bench is all assembled but not a lot. This is a good thing because trimming 4" of end grain doesn't sound all that fun.
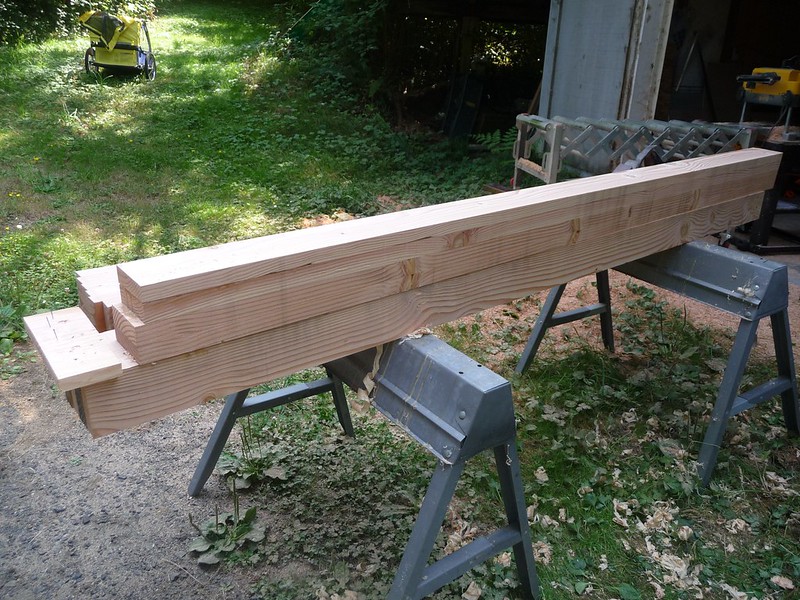
Here's the top, at its final dimension of just over 4" thick, 22 3/4" wide, and 7' 6" long:
You can see that despite intentionally choosing the clearest wood possible, there are still a number of gnarly areas. Ignoring the very good wisdom of testing materials before implementation, I mixed up some epoxy and added food coloring, a bit of orange and a more substantial dose of brown, thinking it would look vaguely like juices from a fir tree. The result is more like something from a horror film, but it will mostly be planed away and hopefully not too bad:
Next I will flatten the bottom (since that is where the legs will attach) and build the legs. I've ordered vise hardware and now need to design the chop.
Sunday, August 12, 2012
[Workbench] Laminating Beams and a Little Something Extra
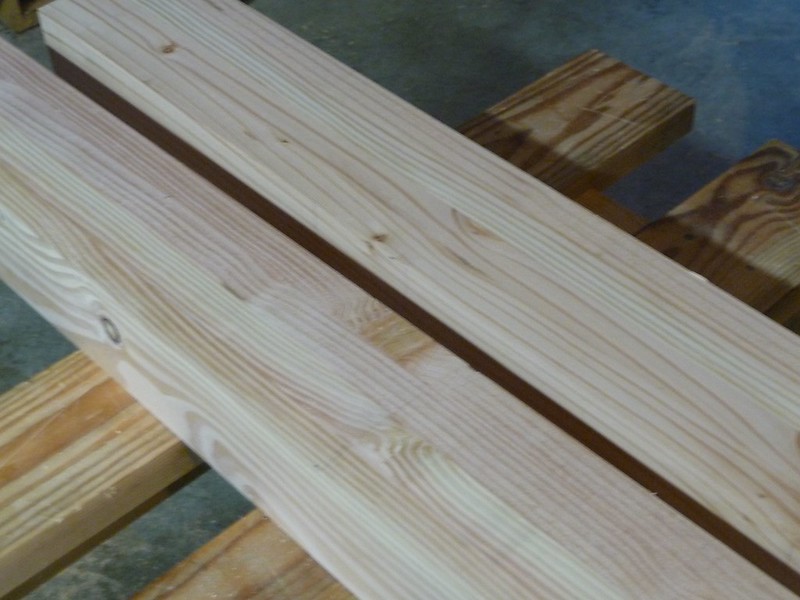
The workbench top is coming together, literally. All the boards have been glued into groups of 2 and then 4. Those four are now joined into roughly 12" wide groups of 8. One more glue up and planing and the top will be complete.
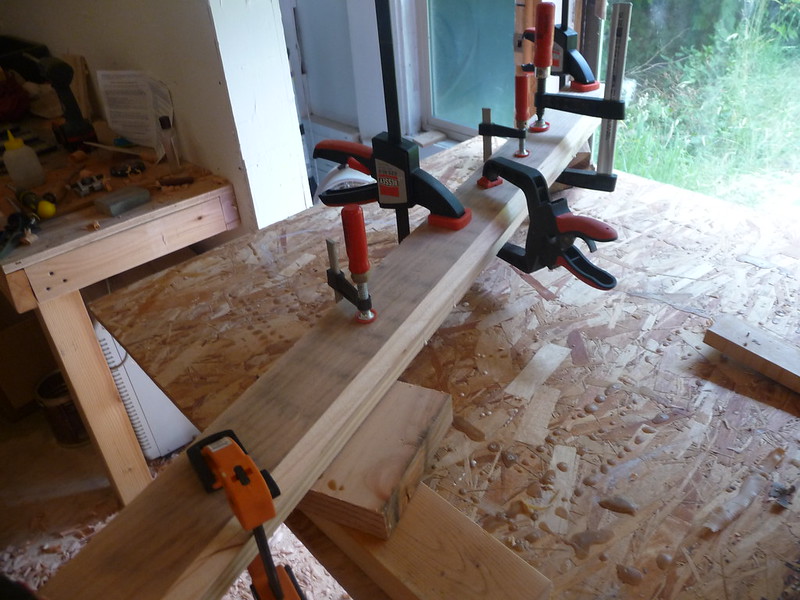
To get the beams to fit nicely together, I had to do some jointing. I lack a power jointer, and would have used it in this case. Instead, I had to figure out how to plane these long beams since they would not fit on my current bench. The simplest answer I could come up with was to clamp the other beams together, creating enough mass to hold still, and then use that resulting hunk as the workbench. That's what it is, after all! I nailed on a simple planing stop, and this worked perfectly.
I've been really enjoying this wooden jointer plane, and that is what I used for these:
The resulting beams were square and ready to be glued up into superbeams. One is dry, the other is in clamps still. Needless to say, they are quite heavy and I am not sure if I will try to run them through the power planer or not. I will be finishing them by hand regardless.
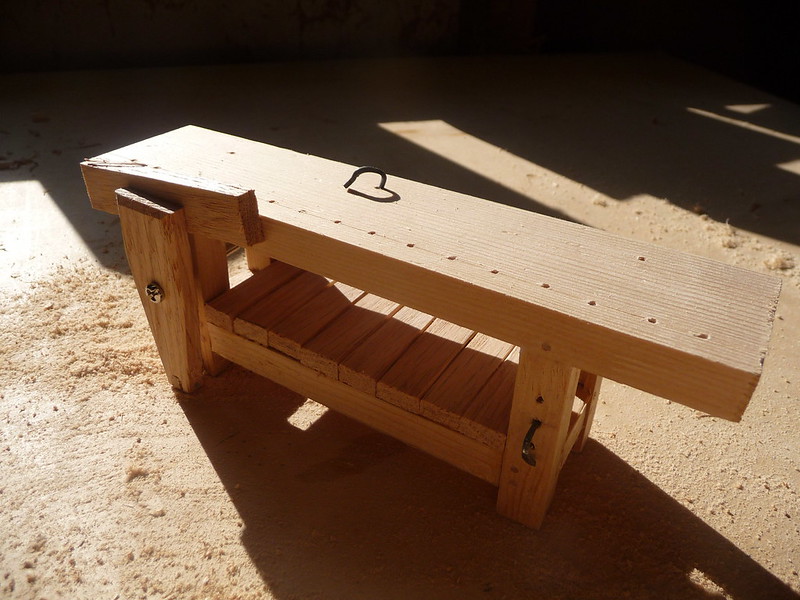
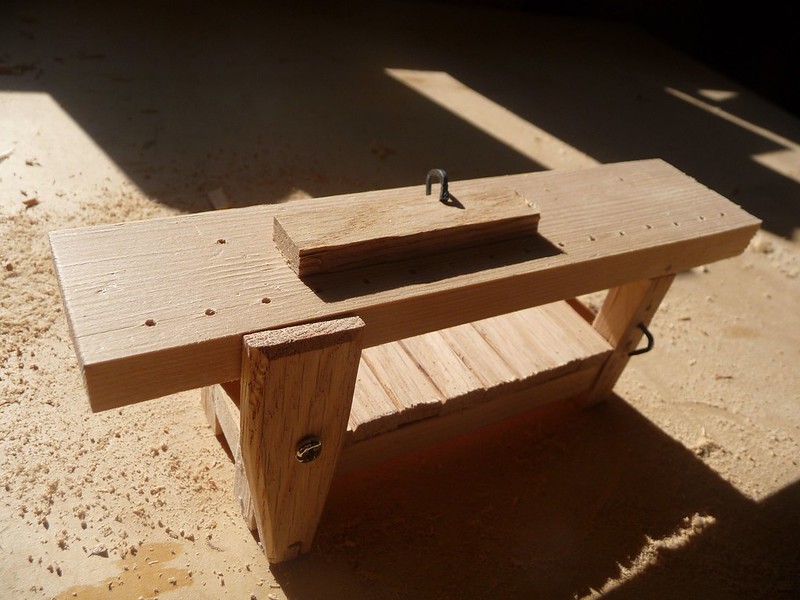
While the glue was setting, I started to think about the rest of the construction of the bench, and even did a practice run, ironing out a lot of the kinks in my understanding. Here is the result:
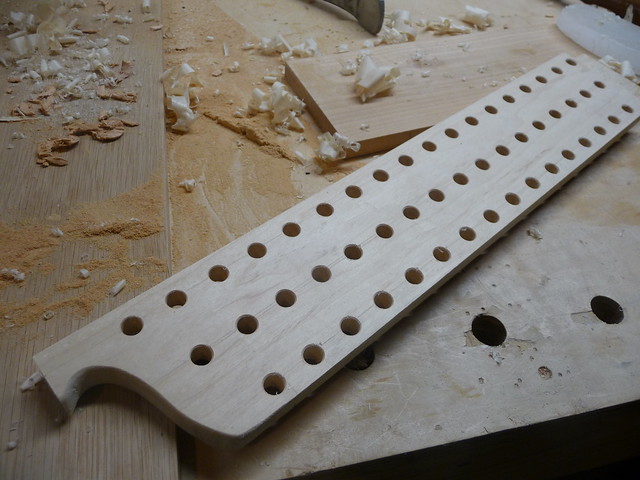
The vise is wholly functional, but it definitely needs a new handle. I will also admit that there is only one hole in the parallel guide, since I do not anticipate adjusting the capacity all that often. The vise is otherwise a pretty faithful version of the common leg vise. The guide is pegged into a mortise in the chop. The holdfasts are also functional, but not as finely made as the others I use. These were fine finish cut nails in another life.
Yes, I even pegged the tenons. I did not go so far as to drawbore them, but I did create pegs from toothpicks and they improved the rigidity greatly:
Subscribe to:
Comments (Atom)


