Friday, November 23, 2012

Thank You!

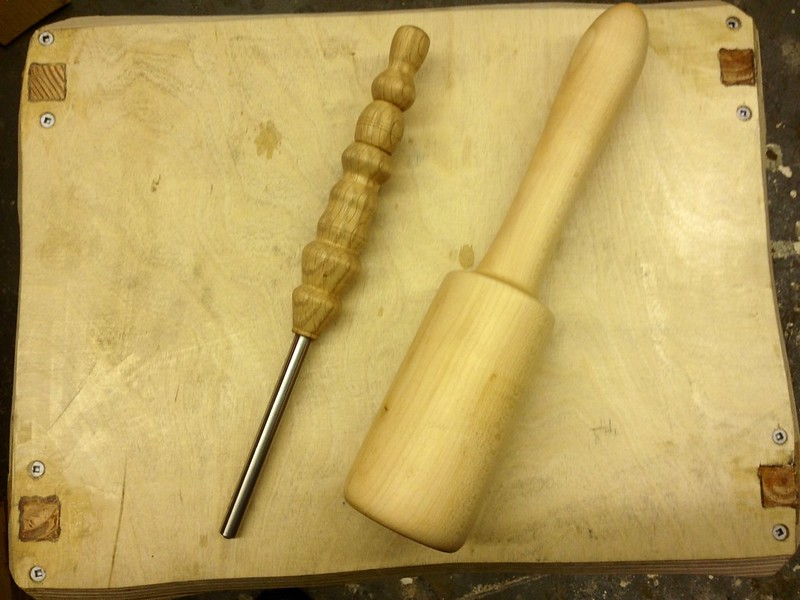
A fellow woodworker found some of my images on flickr and we started a conversation. Eventually, I saw he made a mallet from a St Louis Cardinal's baseball bat. I mentioned being a native St Louisian, and so he felt I should have it (the tool on the left is a burnisher):


Also, this was a gift from Mom Apprentice:


Thank you for your continuing support, everyone!

Actual woodworking is on its way, promise.

Monday, October 22, 2012

[WIA] Thoughts from those who attended (and did not)

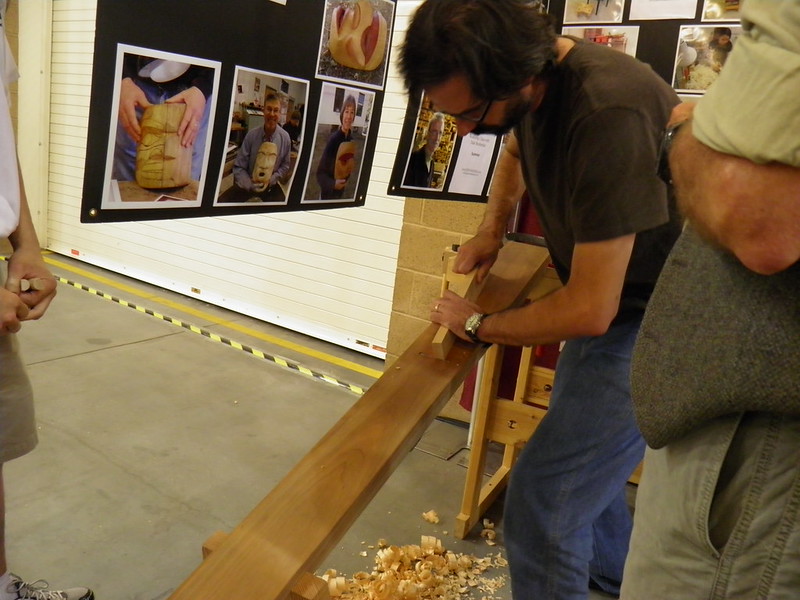
Everyone enjoys playing cooper!

I am planning to share some of my thoughts on Woodworking in America with the organizers, and would love to hear what you would have them know, as well.

What would you look for in a woodworking conference?

If you did attend, what did you most and least enjoy? What would you like to see change?

Part of my feeling was that the seminars themselves had an appealing focus; lots of nitty gritty discussion of traditional techniques, methods, and contexts. However, there was very little discussion about plugging this into the modern real world.

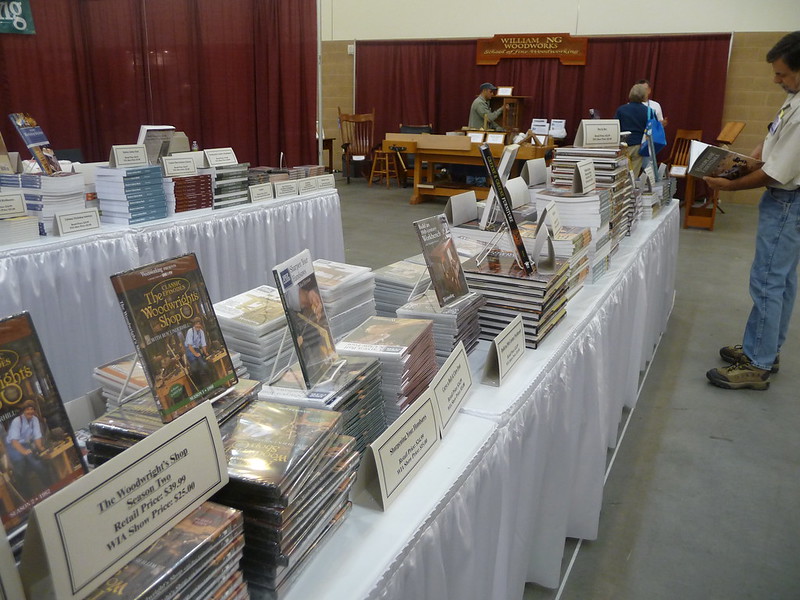
The marketplace had the usual suspects as far as hand tools go, but there was not as much hands-on or demonstration type exhibits as I would hope. I could do something about this, personally, and plan to if I return. I think a tiny joinery bench, a simple toolkit, and a stack of boards would go a long way to letting people see (and feel for themselves) the beauty of traditional methods.

One of my favorite aspects of the event was connecting with a couple younger woodworkers who had the passion and interest but simply did not know where to start. Next time I am there, I would like to have some better answers than I did this time. I feel it is vital to the community and the craft in general that younger people are taken seriously and welcomed earnestly. They need mentors available and I feel like the clock is ticking all too rapidly.

I certainly have some other, more complex reactions to the event and some of them I might flesh out here over time, others need a bit more thought and introspection. Nonetheless, these events are, in my opinion, very important to helping rebuild the networks of real-world interaction that are lost as a craft becomes a mere "hobby", often with only websites like this one to provide any sense of personal connection.

If you have anything to say about the event, or what your ideal event would be, feel free to post a comment here or send me a note. I will compile your thoughts and present them to the event organizers in hopes that the options for building woodworking community in the future will only improve.


a new old shop

In other news, I am excited regarding a new shop space (hinted at in another post). It looks like this is moving forward and I will have a spacious new shop available in the future.

Ironically, perhaps, is that I will not be doing a lot of woodworking in this shop despite living next to it, because I am happy to announce that this winter I will be attending the Port Townsend School of Woodworking's intensive program. 3 months, 5 days a week, 9-5 (or more) of solid woodworking instruction and practice, meaning I will not be doing a whole lot outside of that. I'll still be updating the blog, and detailing what it is actually like to be immersed in a traditional woodworking program.

Much more soon.

This is the time of year when many of us can finally get back into the shop a little more earnestly, and also when the reading becomes more interesting for the armchair craftspeople. I hope that as this year winds down, health and peace are with you!


Thursday, October 18, 2012

[WIA] Pasadena Pics

I'm finally home after a long trip to Woodworking In America West, in Pasadena. This had a side-trip to Port Townsend, WA tacked onto the end.

My trusty Lumix camera finally gave up the ghost, but Tim Lawson saved me by letting me borrow his, so I was able to get a few shots.


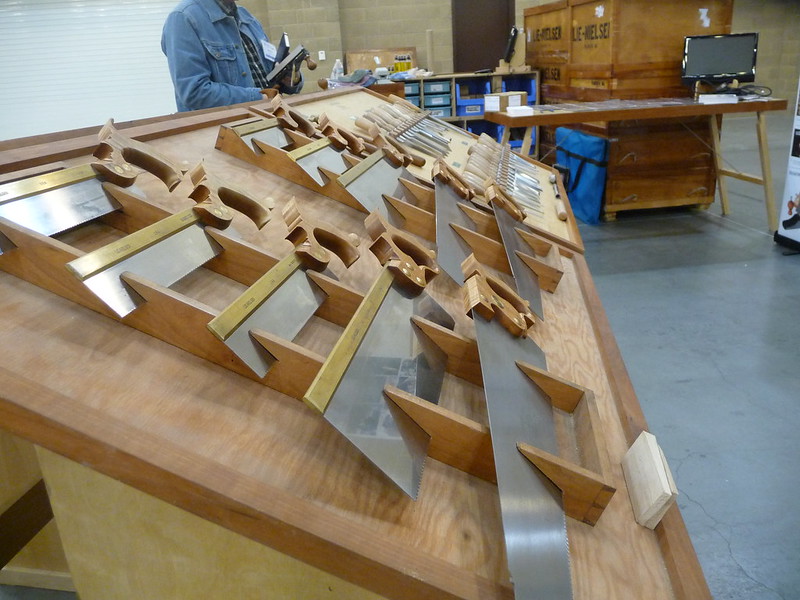
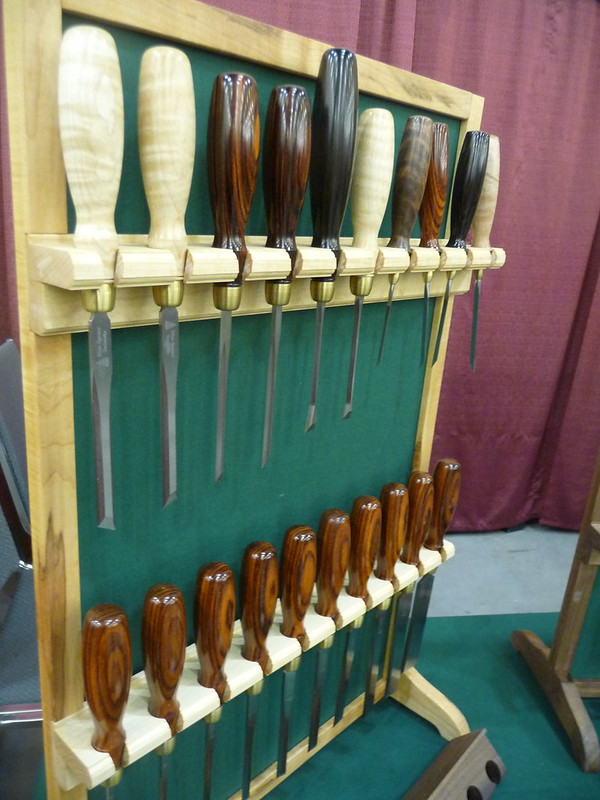
Blue Spruce tools always impress, and it is always a joy to talk to Dave Jeske, their maker.


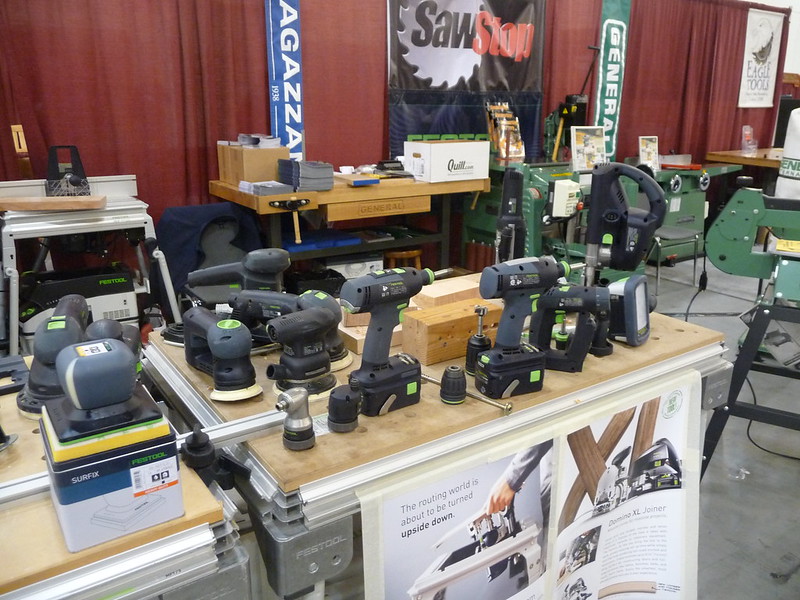
There were some power tools, too.


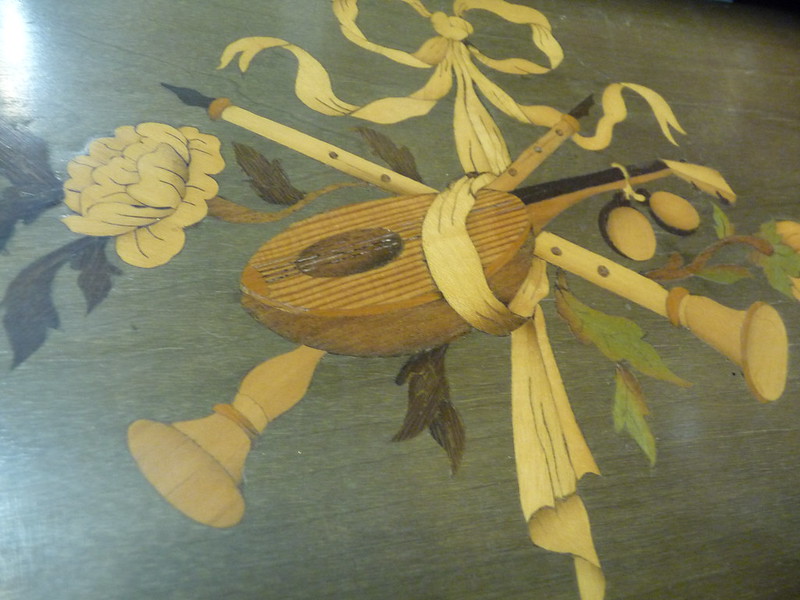
An example of marquetry:


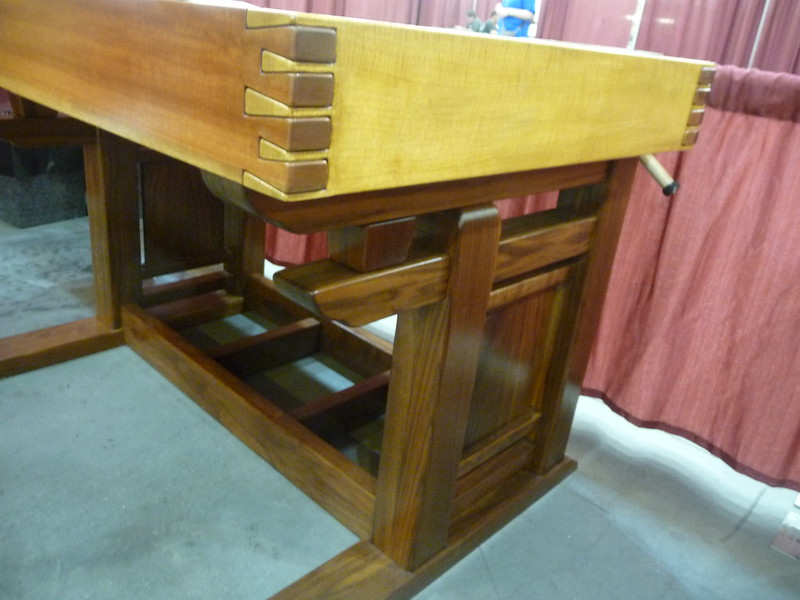
A bench almost too nice to use:


It was especially great to meet and speak with Chris Vesper, an Australian toolmaker. It is not possible to word how lovely his tools look and feel. They are not cheap, but he explained that he basically makes minimum wage because of the labor involved in producing them. I want one of the bevel gauges.


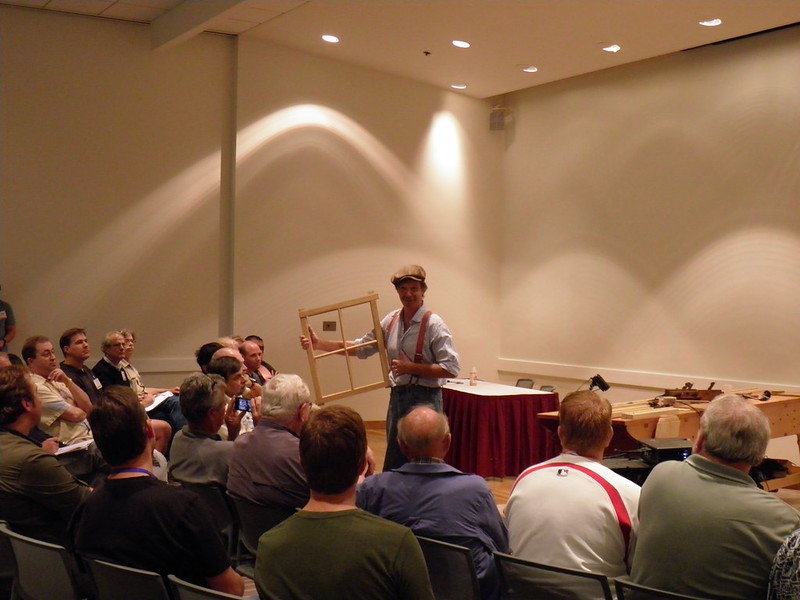
Christopher Schwarz led a talk on rapidly building a saw bench without having a sawbench to use. He also stuck with hardware-store tools. He did this atop an amazing bench built by Erik Mortensen, but refused to use the holdfasts, vises, and other workholding features as he was prentending to be using a "kitchen table". Erik was justifiably proud of his bench and I think found this hard to watch.


Roy Underhill is just the same in person as he is on his show.


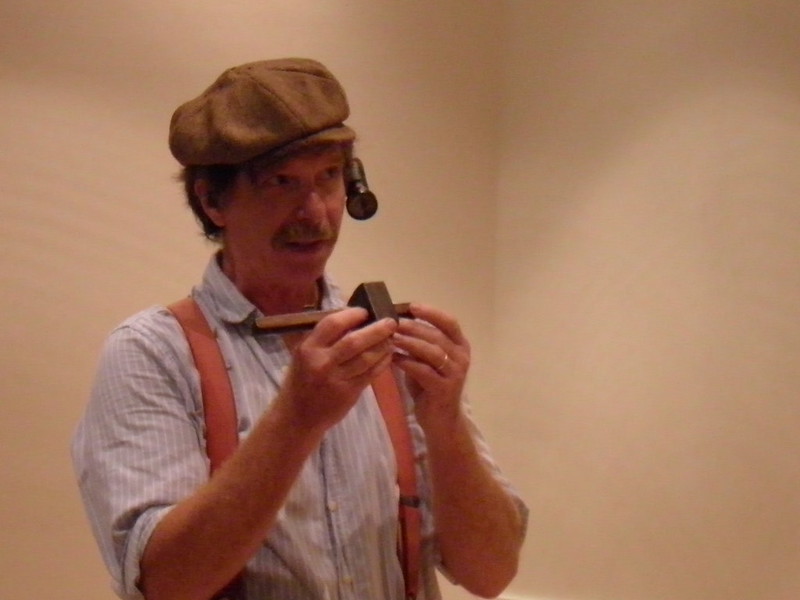
He was trying out a POV camera, giving him an odd cyborg appearance and a very interesting video backdrop, especially when he looked at the screen and ripped a hole in the spacetime continuum via video feedback.


Dinner with friends


I had a number of complex reactions to the event and where it could or should go in the future, but that will be another post. I just wanted to get some images out there while they are somewhat fresh. There will be more to come, but for now I am glad to be home and will hopefully get a little shop time in after all of this talking about woodworking and not doing any!

Sunday, October 7, 2012

Woodworking in Pasadena


I'll be traveling to Pasadena to attend Woodworking in America later this week. I'll be spending some time helping out at the Port Townsend School of Woodworking table, and will also be attending the First Annual Feast of the Ribald Society of Old Moxonians on Saturday evening. Come say hi!

In workshop news, the workbench is getting pretty close to complete, although I am still waiting on the vise hardware which is holding up the final assembly since I want to drill the leg in advance. I've learned a lot about drawboring and boring in general. It is not boring.

I also had a chance to talk with Chappel Ellison at the Etsy blog about my experiences with learning traditional woodworking. She seemed to really get it, and I was pleased with the resulting story.

Not sure if I will be able to provide timely coverage of WIA, but I will if I can. Otherwise, more on the other side!


Monday, September 17, 2012

[Workbench] Drawboring the Base

Drawboring is a fascinating technique to not only make assembly of a joint easier, but also ensure that it is held together for a very long time. This can happen with no glue at all. These joints are very solid; I know because I not only built some test joints, but also installed one incorrectly on my bench base and had to drill it apart.

For the non-woodworkers who read this (and be patient, woodworkers, because there are many of them and we want them to understand our craft as much as possible), drawboring involves running a peg through a mortise-and-tenon joint. However, the holes are just barely offset out of alignment, so that the peg will pull the joint together as it is pounded through. If the join was perfect to begin with, the peg will actually flex a tiny bit and snake through the offset holes. 

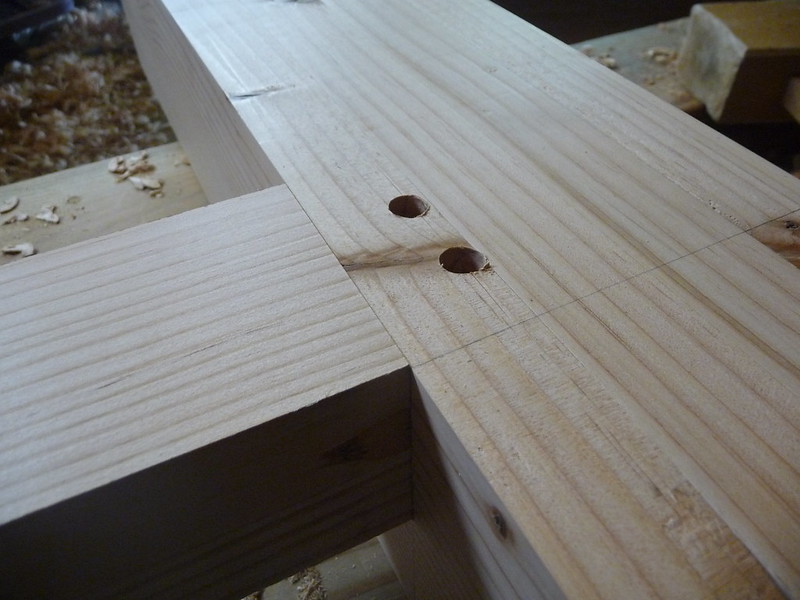
The actual creation of the joints is simple; simply drill through the cheeks of the receiving board:


One should properly use a block inside the mortise to avoid tearout but I was living dangerously. There was not really any splintering to speak of, but you should not do what I do. 

The joint is then dry-fit:


In the above, the receiving piece has the holes bored, but the inserted piece does not. One could just insert the tenon and then drill through it all at once, but that is not quite drawboring.

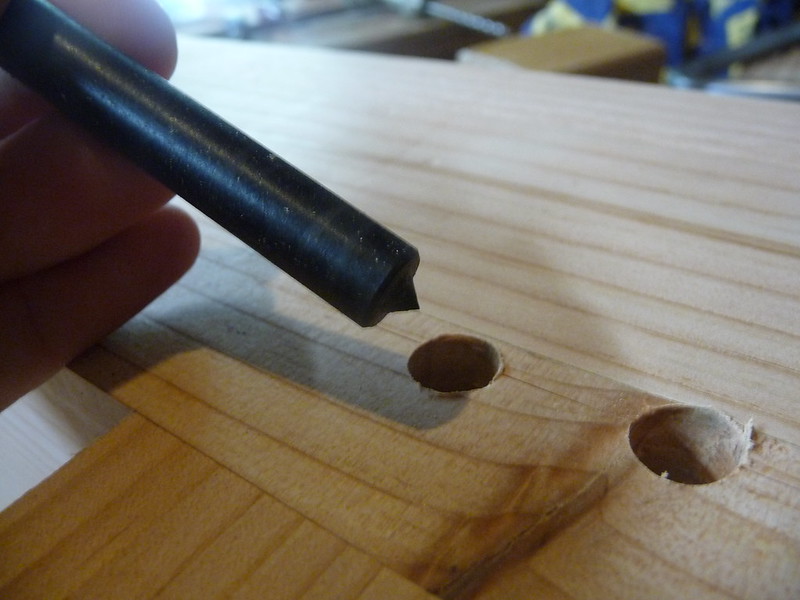
I used a punch like this to mark the hole, but you could just use the tip of a brad-point drill bit (the same one you drilled the holes with)


I did not photograph it, but this leaves a tiny spot in the center of the hole. Then, and this is the fun and fascinating part, make another mark a tiny bit (variable, but about 1/16" is what I used) closer to the cheek. Drill this, and then when the joint is re-assembled, the peg will pull the joint together with all its might.

The above process is rather straightforward, magical, and effective. The real trick, at least for me, is making the pins!

The typical explanations are pretty simple: rive (split) a bit of dry oak, and then ease the corners off this stick, and simply pound it through a set of holes in a metal plate of decreasing size.

Easier said than done.

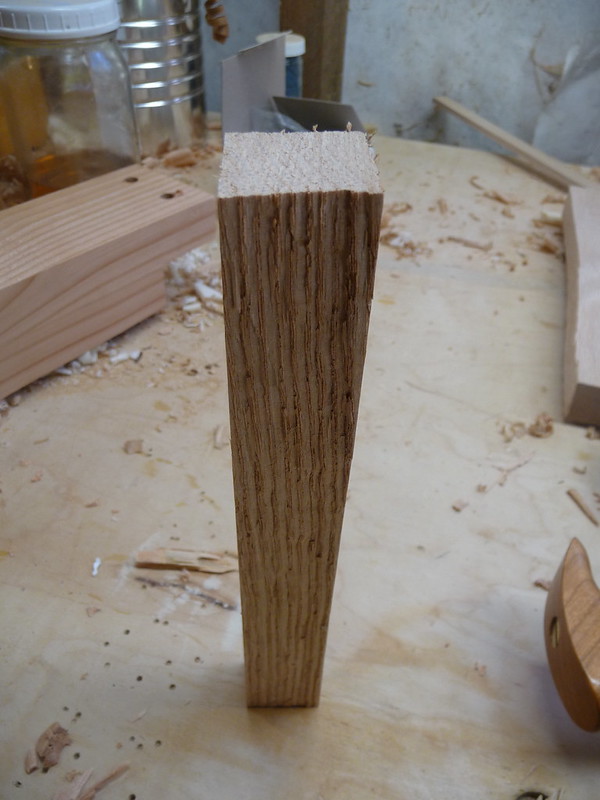
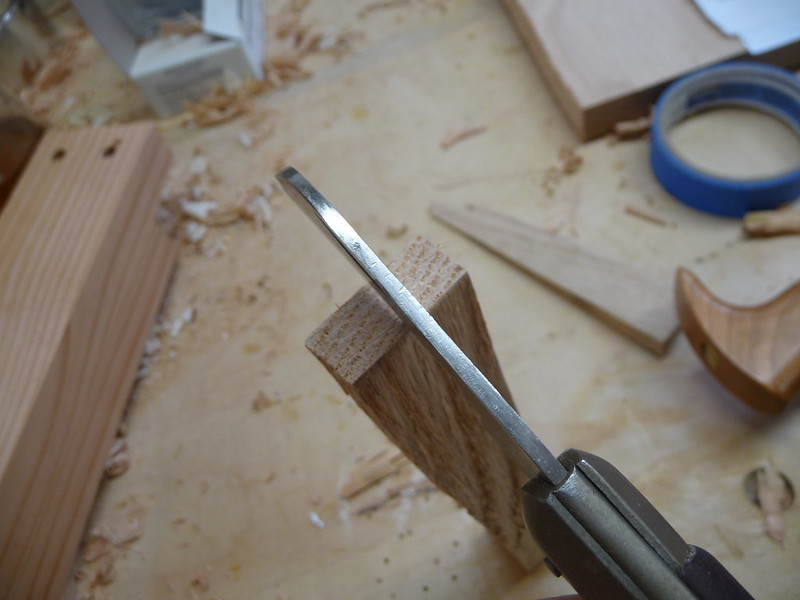
Here is a donor block ready to go:


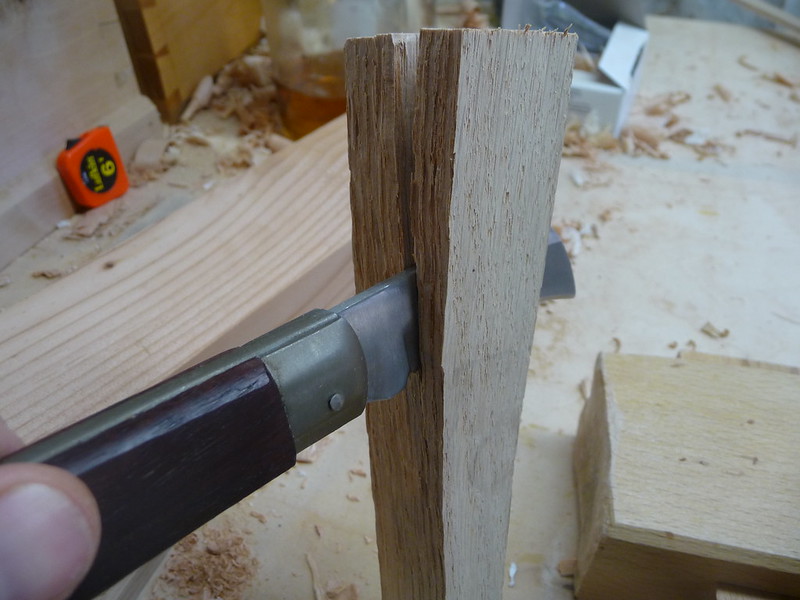
I set a little knife in the middle of it and whack it with a hammer:


And keep whacking it:


The trick here is to let the wood split where it wants. You should have started with a straight-grained piece. Did I forget to mention that? 

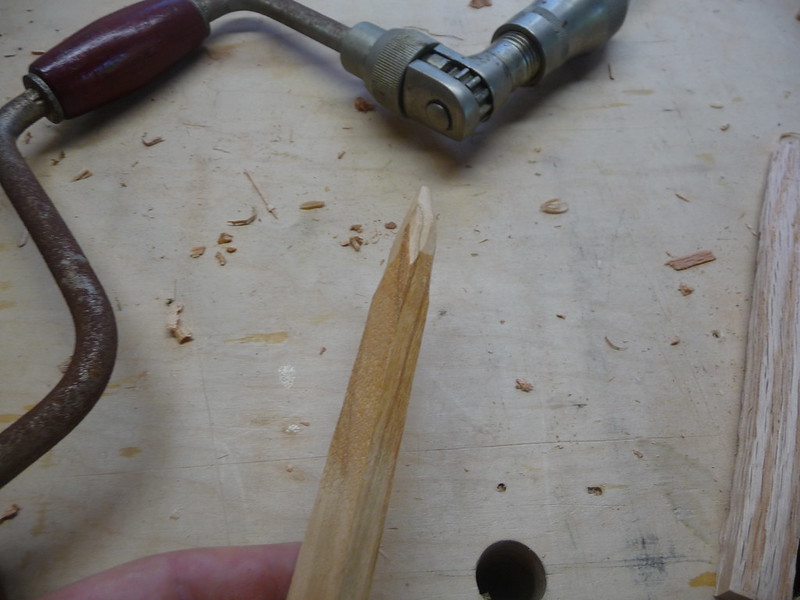
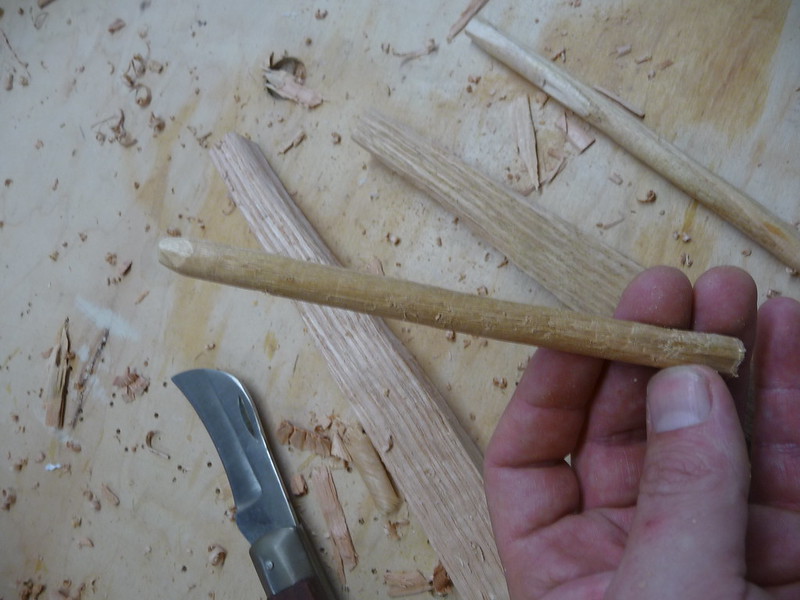
Repeat until you have a small-enough little stick. It can be bendy or twisty or ugly. Sharpen the tip a bit, kindof like a pencil:


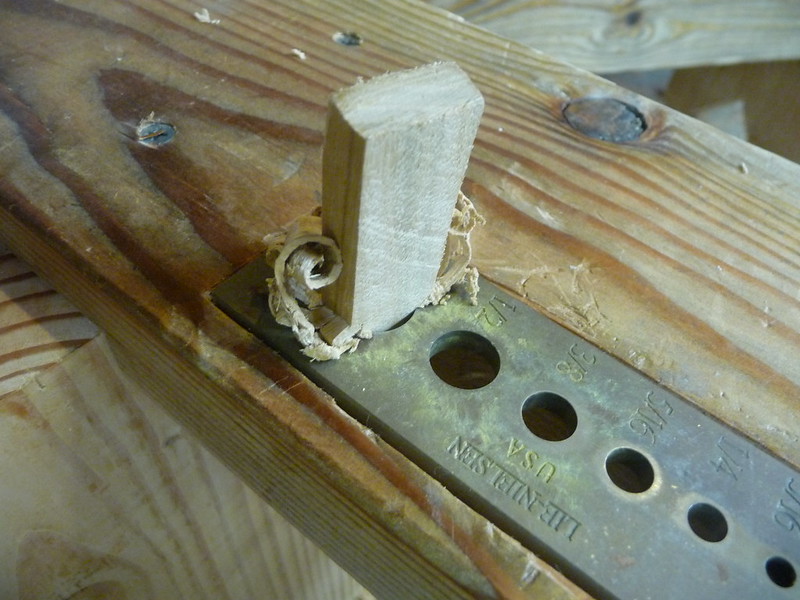
Then pound it through your plate. I am using a commercially-available one here since I didn't have the confidence to make one. I wouldn't hesitate to make one now, after seeing how brutally simple it actually is. Just drill some holes in a piece of steel, really. In fact, I will be making a new one soon since I don't think this one is granular enough. The crazy yellow residue you see is because I was playing with pegs made of ipe wood. The above photos are oak and cherry. Oak is supposedly the ideal since it is flexible enough to snake around the offset but strong enough to survive this tortuous process.


Once the peg is driven through, repeat in the next smaller hole until you are done. I use a lot of wax on each step, and chamfer the edges with a knife and keep whittling it a bit. It is easier to whittle than to pound, at least for me.

Eventually, you get your peg:


Making the pegs is simple, kindof, but not easy. It is a lot of pounding. It is pretty unpleasant work. Unlike most hand tool operations I have been experimenting worth, this one is loud and involves obvious danger. Of course saws and chisels are also capable of great harm, but force is generally not required to wield those tools. Force involves a lack of control, and lack of control is scary with any tool. This process takes a lot of force. Little taps with a hammer will get you nowhere. I wore eye protection and after a couple pegs I even used ear protection. I've already destroyed much of my hearing with loud electric guitars and want to keep what is left. Plus, hammering on these things just sounds nasty.

There is most likely some technique to learn, as I had several pegs explode on me. You cannot really sharpen a dowel plate, so that is not the issue. It is most likely wood selection. Some of my pegs went smoothly and came out nicely. Others seemed great and then collapsed at the last minute. They almost always went through the 5/8 and 1/2" holes just fine, but the step down to 3/8" from there was just too big a jump for a peg so dainty. I would be tempted to just stick with 1/2" for something like a workbench as a result, but I could use the experience since most furniture would want even smaller dowels.

I also played with using hardware store "oak" dowels to start with, and just reduce them in width. Oak is in quotes because I don't doubt that is the species, but it is not at all the same quality as lumberyard oak. These things would exlode almost immediately. I was not able to get a single dowel from that stash. This most likely varies from region to region; I have heard others have great success with this type of wood.

Some other oak I used had about a 50% success rate, and with cherry I got about 75%. Ipe came out at perhaps 90%, but I am not sure it is flexible enough for this role. The ipe dowels are really nice though! They seem very handy for other construction uses, but it is not a wood I want to do much with. They would be very good for vampire hunting or booby-trap manufacture as the resulting dowels are heavy, hard, and nicely polished without effort.

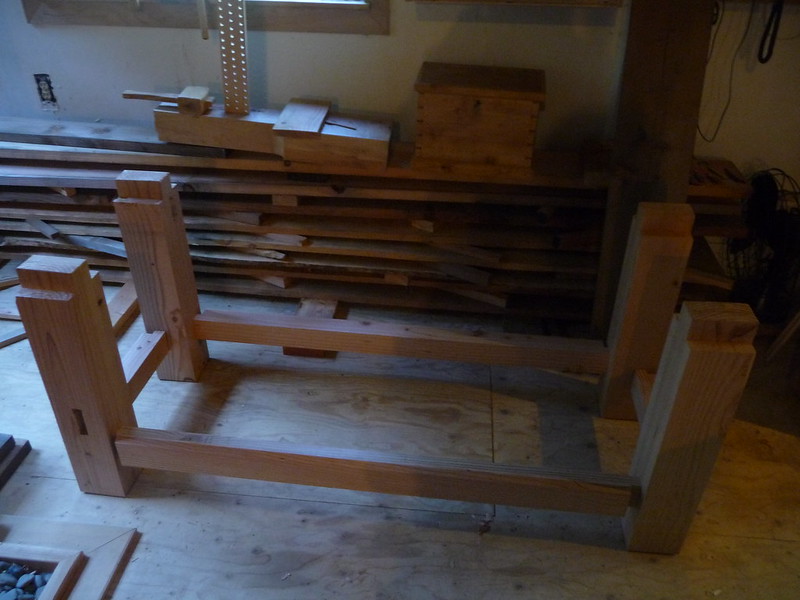
I'll have more on the actual assembly soon, after another quick bout of travel. For those who have made it this far and have no idea what I am building, here is the base of the workbench loosely put together. These drawbored joints occur on 2 faces of each leg, so that there are 16 in all. The legs will also be drawbored to the top of the bench:

Thursday, September 13, 2012

Otis's Leg Vise

This week I was up in Port Townsend, WA for the Wooden Boat Festival. I took photos, but a spectacle like this calls for photography skills I do not have. A simple search will yield tons of photos if you are interested. Suffice it to say there were scores of wooden boats, and all of them were things of beauty. Lie-Nielsen was there, as was Lee Valley, among several other interesting tool and boatmakers.


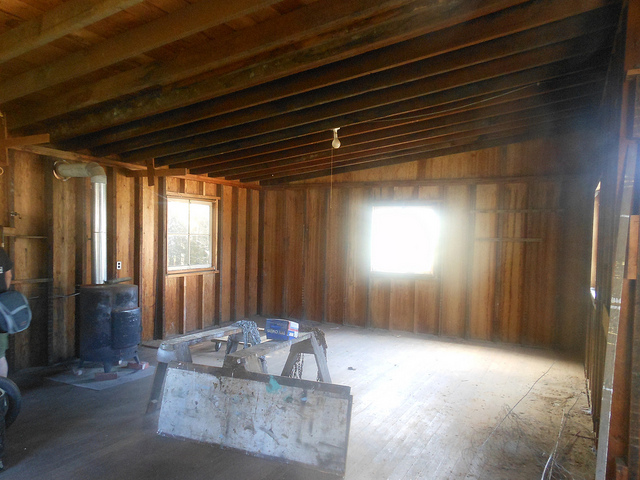
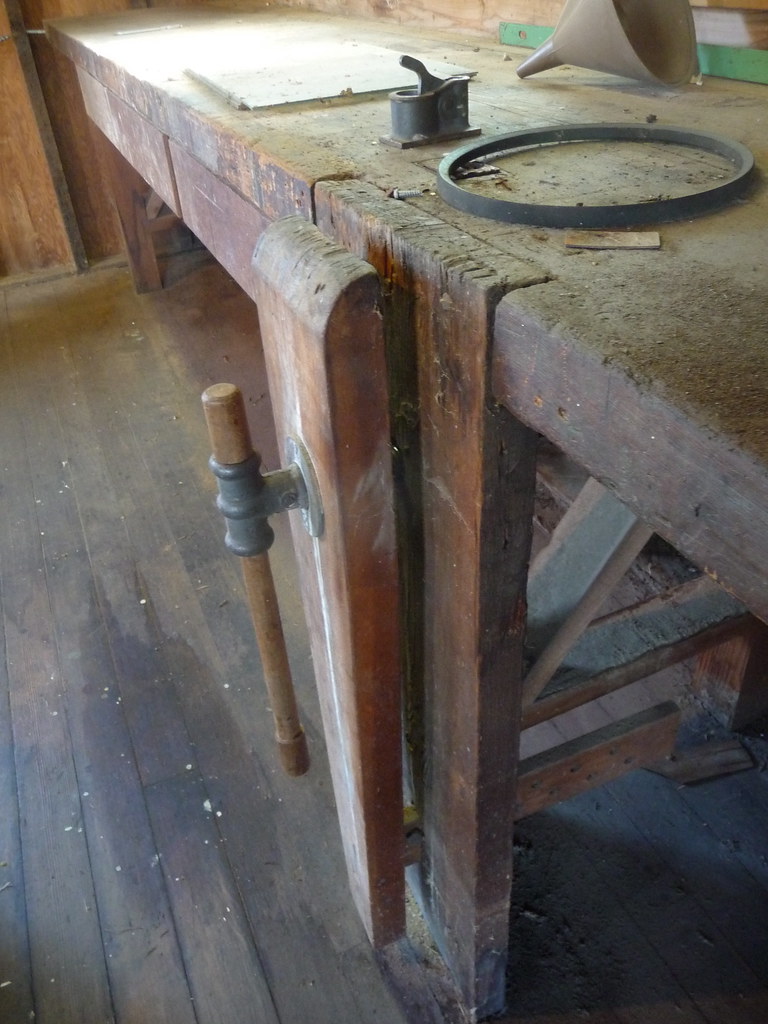
While exploring some homes for sale in the area, we happened upon one with a large shop. I was delighted to find this leg vise on one of the benches:


It seemed to have not been touched in decades, and most likely wasn't. The original owner was a cabinetmaker who retired in the 1970s. The parallel guide was held in place using a lag bolt. You may also note that this vise is on the right leg of the bench. Sure enough, just to the right of the vise was a pop-up metal planing stop inset into the bench. Otis was a southpaw. Judging from the height of the bench, he was taller than I am. Looking around at his bench and shop, which is perfectly laid out by scholarly standards, I had a feeling of comfort and familiarity with a man I never knew

There was not much other evidence of his trade left in the empty shop, but I liked knowing of the history of this space. Neighbors who remembered him revealed the locations of some of his work around town, and I look forward to tracking it down.

We liked the shop (and the attached house) enough that we may very well acquire it if all goes well in the next couple months. It will be an honor to continue my work in a space which is already broken-in with a cabinetmaker's passion and energy. I might have to do some surgery to move that vise to the other leg, and it will likely remain an auxillary bench or assembly table because of the height, but I feel very fortunate to have a chance to dust it off and keep Otis's vise going for several more years.

There will surely be updates as this moves forward, and in the meantime I am still working on the bench for my current shop. Of course now I think I should have made the bench 10' long instead of 7'6" since there will be room for it, but perhaps my next bench will be longer...

Friday, September 7, 2012

[Offtopic] The Littlest Shop Dog

As is often the case this time of year, the shop is not getting quite as much use as I would like. A stream of visitors, some travel of our own, and sadly, the loss of my tiny shop dog, Poppy:


She was a rescued Boston Terrier, who in a former life had been squeezing out puppies in a shady breeding operation. We tried our best to rehabilitate her and gave her a pretty good life on the farm for the past 4 years. She had been dealing with cancer for a year or so, and finally found ultimate rest. She will be sorely missed.

In happier news, this weekend we are off to the Port Townsend Wooden Boat Festival  where I hope to meet up with Jim Tolpin and Tim Lawson of the Port Townsend School of Woodworking. When I return, I'll update with workbench progress. The base is almost complete, and I am just waiting for the vise hardware to show up. I've been learning a lot about creating dowels for drawboring. You probably already knew this, but do not bother trying to use mass-produced oak dowels. They explode more than 75% of the time. My riven (rived?) oak, cherry, and other dowels have closer to a 80% success rate.

More soon!