Wednesday, April 30, 2014

Walnut... an almost perfect wood

I love how walnut behaves. It has a subtle but rich chantoyance, the figure can be absurdly amazing, and the chocolately color is gorgeous long before any finish is applied. It is tough and durable, holds crisp details very well, and despite that, it is not all that difficult to work. It grows somewhat abundantly in North America, making it one of the best alternatives to imported tropical hardwoods. It is always on my short list of choices for furniture projects.

However, I am slightly bothered by it. Rather, my body is.

I am not allergic to nuts, but I definitely know when I have been working with Walnut. I discovered this in depth while preparing stock for a walnut rocking chair course. A truckload of planks had to be milled into various sized almost-complete components so that the students could focus on details, not stock prep. This involved many days of cutting, planing, routing, and sanding the walnut. I was fine for the first couple days but quickly noticed that my lips and mouth would be tingling afterwards (no, I did not lick any of the sawdust, and yes, I work dust protection). I found this amusing more than anything else.

As wood sensitivity goes, however, these things tend to get worse over time. So it has been with walnut. It seems that each exposure bothers me a little more. Today I merely ran a board through a thickness planer and cut it with handsaws, and I have had the tingle all day. It feels like I am thirsty and need to brush my teeth, but it is unshakable.

I'm not giving up on walnut, I love it too much. I do wear a respirator when machining it, but don't think I can handle that while using handsaws. If it doesn't get much worse, I will just consider it one of the aspects of working with it... I do hope I do not have to drop it from my list, as many have done with yellow cedar, for example.

Another small chest is on it's way...


Monday, April 21, 2014

Apothecary Chest

A while ago I mentioned building an apothecary chest based on a design from a book about their history. I learned a great deal in building it, but was not satisfied with the end result. Part of the carcase shifted during glue-up (It was square, I swear!!!) and so despite tweaking the hinges, planing the bottom, and other emergency fixes, the thing was just frustrating. I shrugged and promised myself to rebuild it someday.

In the meantime, the cabinet just languished. One of the pulls I hastily made for it broke, and I was not motivated to fix it. Well, I have been in the mood to tie up loose ends lately, so I finally adjusted it.

There is nothing I can do about the carcase being misshapen, short of rebuilding it. I did, however, disassemble it and plane it enough so that it opened and closed sweetly. I built a new latch and pulls for the front, and outfitted the shelves with a lip to help secure the contents. I created and installed a little pull for the maple drawer face, and I built a shelf for the whole thing to sit on.


The dark wedge-shaped shadow on the top right shows clearly how out of square it is.

Part of me wanted to treat it like a Japanese ceramic student... to destroy the botched item and move on to the next one. However, I instead mounted it next to my bed to serve as a reminder every day that I need to work at my work. Besides, its still perfectly serviceable.

One of my frivolous pursuits is that of incense and, in particular, tree resins. As these can be pretty pricy, I tend to buy the smallest sample quantities available. I have quite a little pile of myrrhs, copals, frankinsenses, sandalwoods, and other aromatic resins.

Given the spirit of the original chest is to organize tinctures, herbs, and medical paraphernalia, an incense cabinet seemed a fitting purpose.


The inside offers plenty of storage space, and was designed around a module of some glass apothecary jars I purchased. These will serve to hold the various treasures. The narrow slots on the sides of the center section are perfect for the tongs, scoops, and other implements used when melting aromatic saps. My electric incense heater sits comfortably atop the cabinet.


Much nicer than the shoebox I was using before, imperfect as it is.

Soon, back to making new things.

Monday, April 14, 2014

School Chest + Packing Cabinets

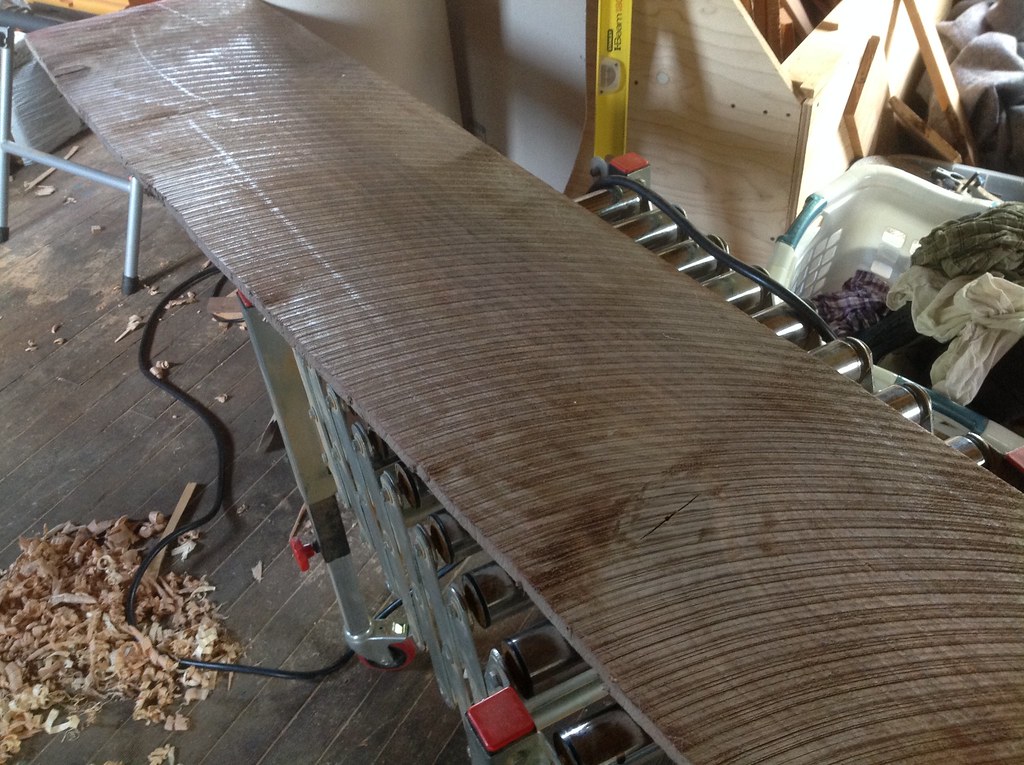
A while ago, I made the Joiner and Cabinet Maker Packing Boxes out of poplar, since it was the only thin stock I could find in the area. It turned out to be a good exercise on many levels, but the deepest lesson took a while to reveal itself. I now know how unstable poplar can be. The packing box lids are held down with a beefy batten and clinched nails... they should be quite strong. However, these warped like crazy. I had them nailed shut for a while, so they seemed flat, but as soon as I pulled the nails out, the doors sprung back into a saddle shape. This makes for an unsatisfying box.

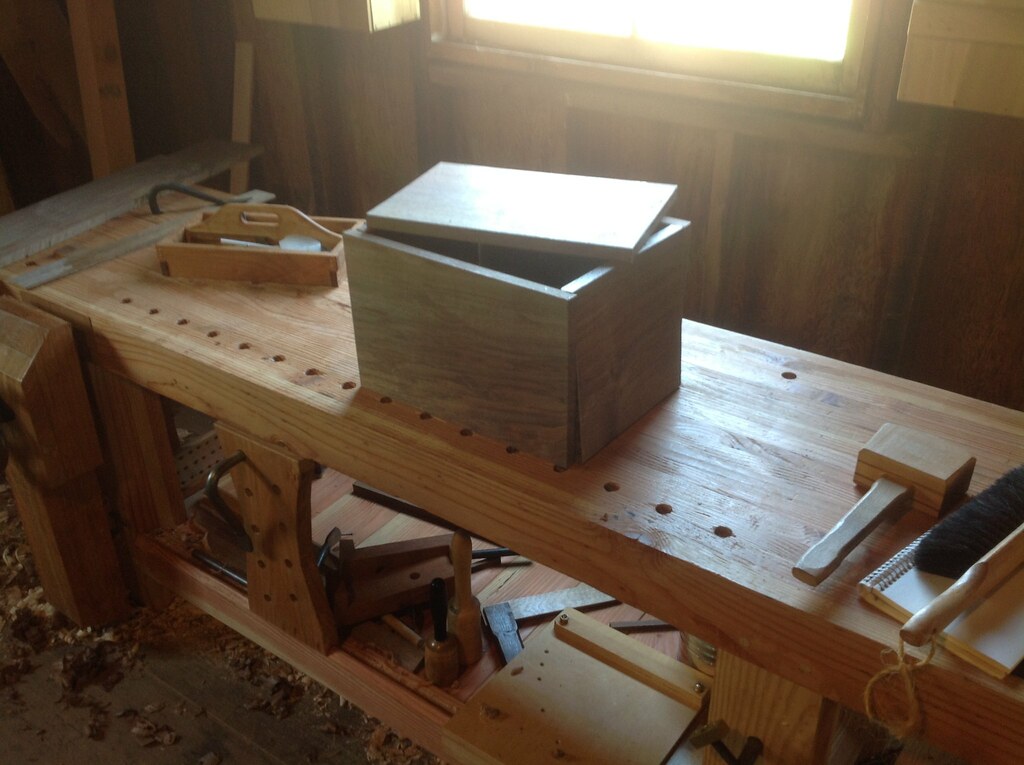
However, it does not matter for shop cabinets!  The doors still do not close satisfyingly crisply, but I put some of those hokey cabinet magnets in them, and they work just fine. I realized that while I do enjoy working right out of the tool chest, I do not like working out of tool rolls. That has been remedied, as I now have a place for auger bits, gimlets, and eggbeater drill bits. The other cabinet is awaiting it's purpose, but I am certain it will prove handy.


The bit holder is maybe temporary, I simply drilled holes in a piece of pine. It might be ok. I would maybe like to add a support for the shafts of the bits, or maybe hang them. Dunno yet but I am glad I don't have to dig out the roll and unroll it each time I need one now. I will also note that I do use gimlets pretty frequently, at least the small ones. They are quite handy for pilot holes, and possibly faster than setting up the eggbeater drill. I would use the drill if there were more than a couple holes. I've also been thinking about improving my gimlets by adding some sort of loose sleeve to hold onto, their crude finish is not comfortable.

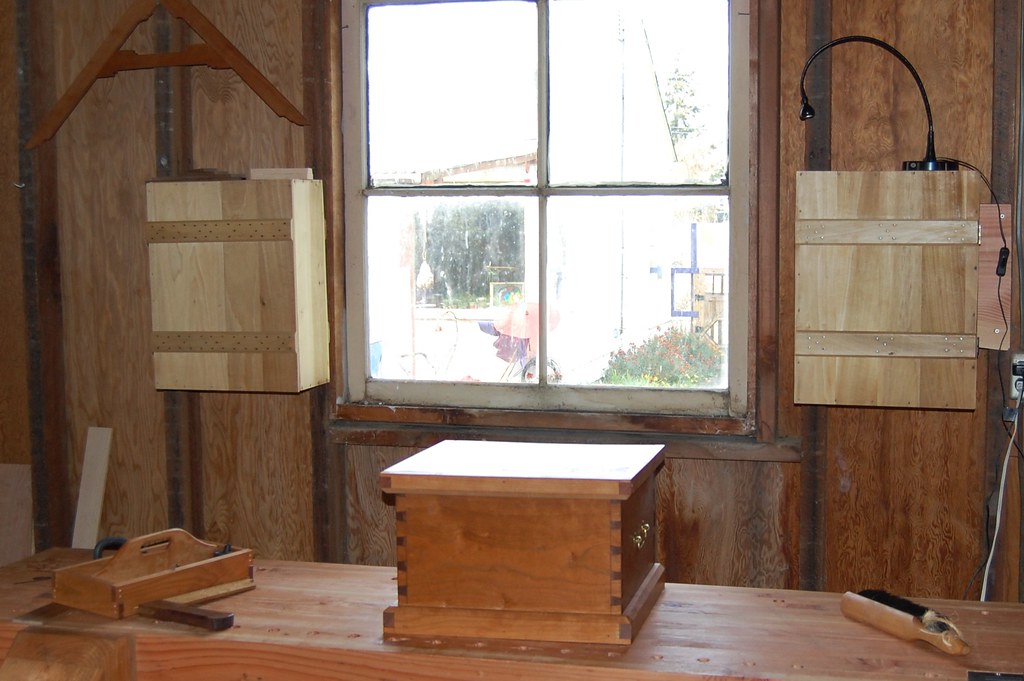
Here is the pair of "packing cabinets" in their newfound orientation:


And what is that overgrown School Box there, you say? What a great question. That is what I called the Anarchist's School Box  back in October when I started it. It is finally warm enough in the shop again so I have finished it up. Here is a closer look:


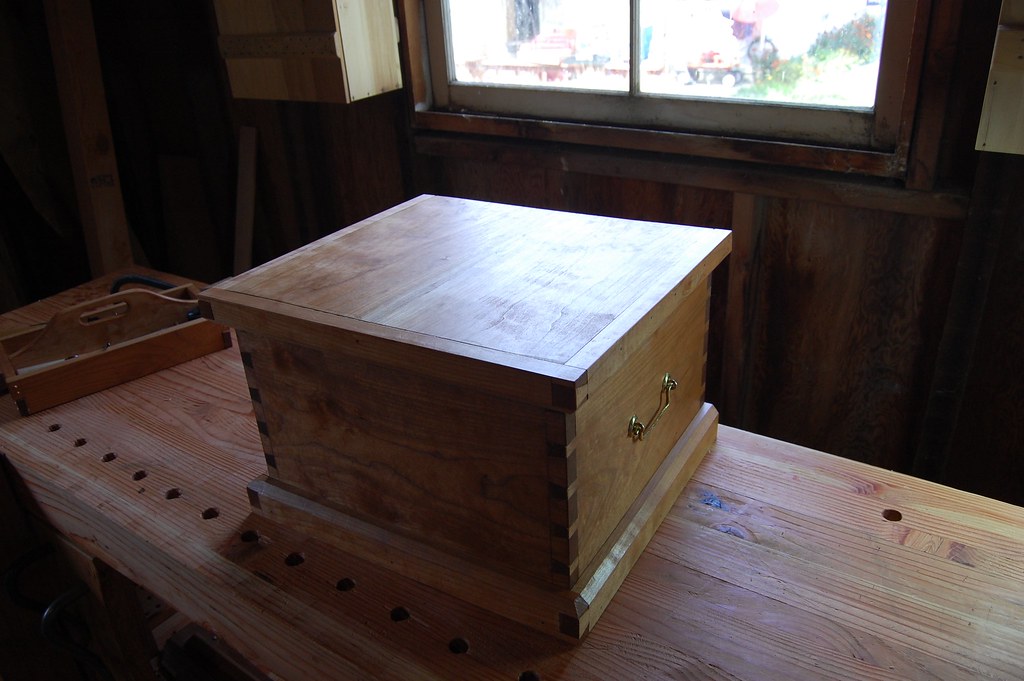
This is a bit larger than the J&CM School Box, and so I felt it needed lifts. After quickly flirting with some wooden versions, I felt that more elegant brass fit the bill a bit better.

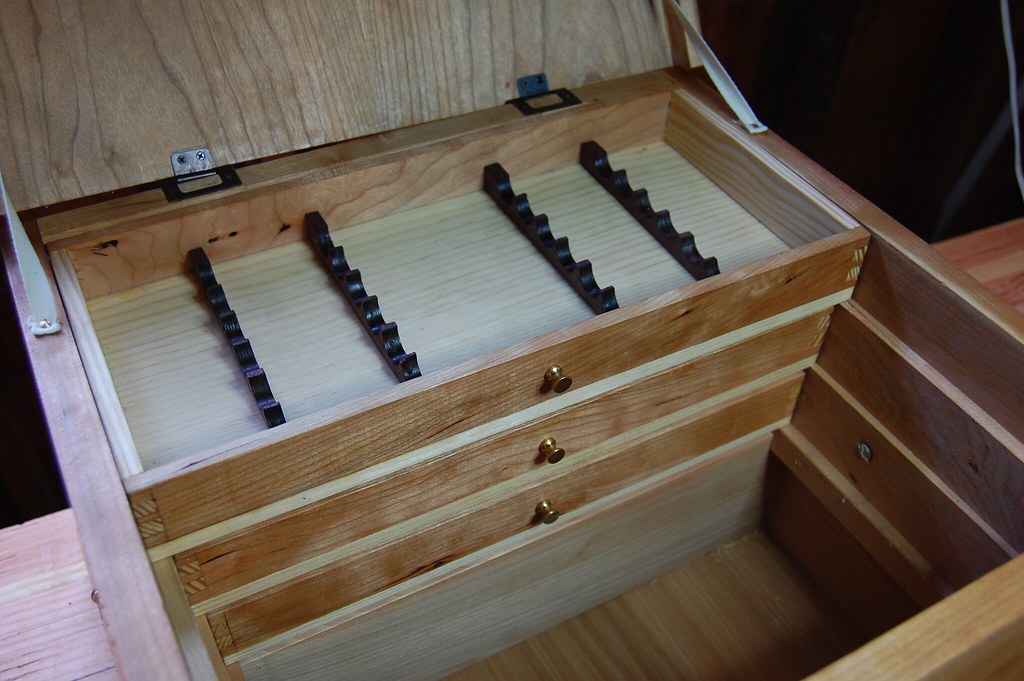
This box is for a fountain pen collector, and so it has 3 tills for the pens, which reveal room below for ink, notebooks, and other supplies.


The top till has pen holders made of walnut. I simply bored 6 holes into a small scrap, which I then resawed to make it thinner, and then ripped those in half. The other tills are empty for the user to outfit as he wishes.


The body is made of cherry, while the tills have cherry fronts and backs with pine sides. The box bottom is cedar. I am pleased with how it turned out, and now want a miniature toolchest of my own! Instead of Anarchist's School Box, I think it might be more appropriate to call this a School Chest. I hope it is enjoyed, as I certainly enjoyed building it.


Tuesday, April 1, 2014

Tolpin's Tool Tote

With the weather finally turning favorable (my shop is currently unheated) and the addition of a drawknife and spokeshave to my tool kit, I did some long-overdue woodworking this week.

I've used a little dovetailed box for a few years to hold my benchtop essentials: marking knife, marking gauges, square, folding ruler, dividers, lead holder + sharpener, shims (for stabilizing a not-yet flat board during planing), and paraffin. Maybe a bench dog or two will hang out in there. The problem is that my box is too deep, stuff just piles up, and it is always feeling possible to stab myself on divider points or marking knife if not careful.

And so whenever I watch Jim Tolpin work, putting his marking knife back into his little benchtop tote, never needing to dig to pick it up again, I am always a little envious. It is one of those projects that probably everyone needs to do, but it never really rises to the top of the list. While doing some Spring cleaning, I decided enough was enough and put one together.

It's a fun little project, and does not take long. It is also a good exercise in harmonic design. I have no idea how many inches long or high or deep it is, the members were all sized relative to each other using whole-number ratios and stepping out onto a story stick using dividers. The base module was my handspan, which, more often than not, is agreeable to hand tools and other objects intended to be held in a hand. I did not want to make it too large, or it would be tempting to really fill it up... this is just for the essentials.

The handle (mildly figured maple in my case) was fun to shape with the drawknife, and pretty quick, too. I always need more practice making fair curves and doing symmetrical work, and I learn a great deal each time. This was no exception... Slowing down and creating a good template out of the right material is, for me, mandatory.

One design detail if you do decide to build one of these, is that ideally the short ends-- which the divider is rabbeted into-- should have their lap-fingers on the bottom. In this way, as the tote is lifted, the fingers will then lift the sideboards. With something this small and light it probably does not matter, but Jim did notice that in his book he shows a version with them oriented the less-ideal way.

I'm looking forward to seeing the cherry sides and ends darken and contrast more with the maple as time goes on. The bottom is pine, which was beveled just enough to fit into a groove which travels along the lower inside faces of the side and end boards.