I started the day by boring a large hole for the planing stop:
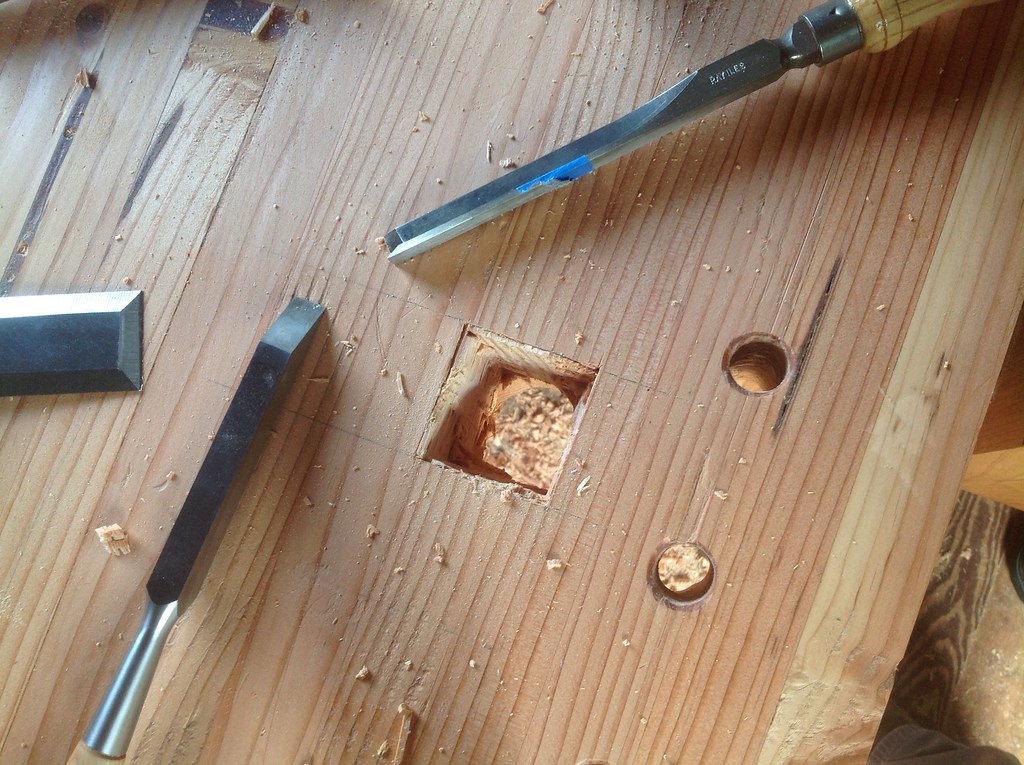
You can see the tools I used for the chopping. A mortise chisel, a corner chisel and a wide bench chisel. It was slow going, but I got there.
The stop is a 2" square of cherry, which is whacked up or down with a mallet. I waxed it a bit to make it a little easier to adjust, it will take some acclimating and time to get the perfect fit, but it works great now. Extremely solid.
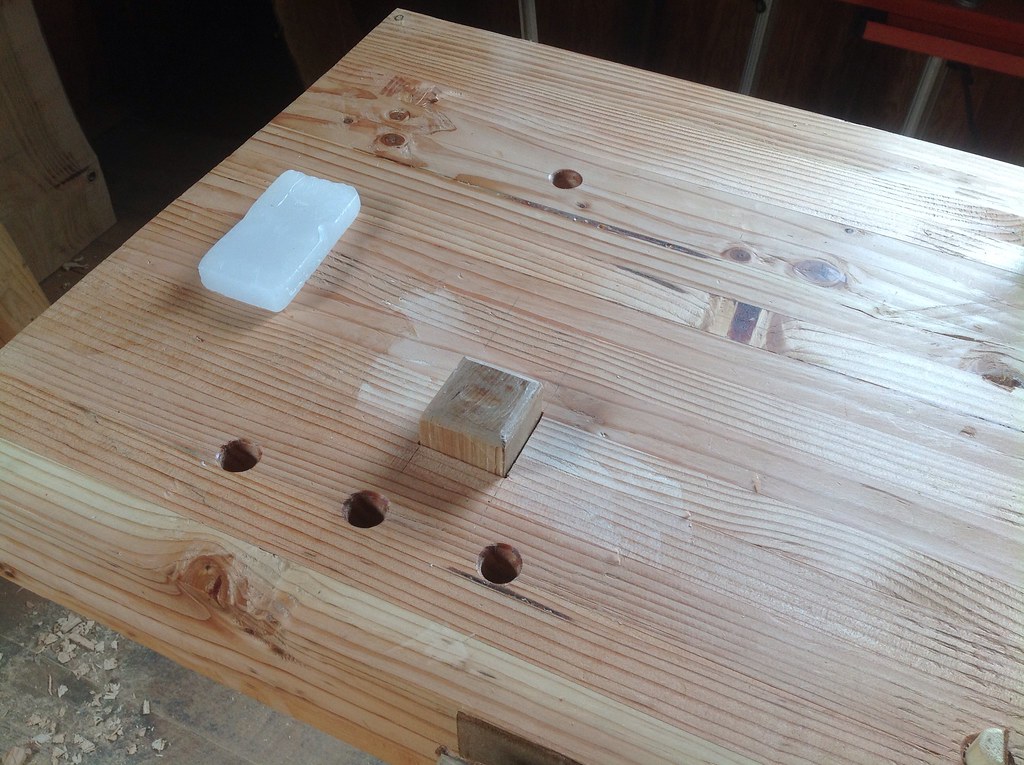
I started to plane around the hole to remove my layout marks, then decided to leave them as a bit of history. The freshly exposed grain will soon weather to match the rest of the bench top.
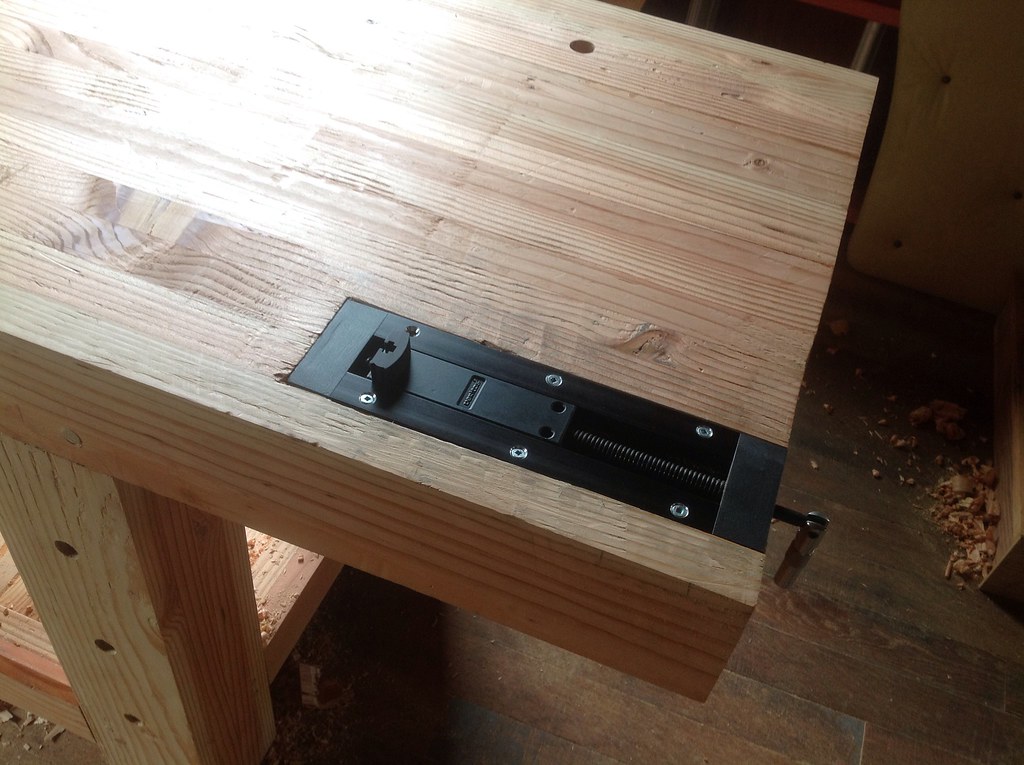
I also installed a Veritas Inset Vise, which is a permanent and glorified wonderdog. This takes place of a wagon vise, and so far I really like it:
Here is the "complete" bench, with holdfases, sliding deadman, inset vise, leg vise, planing stop, and shelves. I doubt I will add the crochet, but it would be fun to try at some point.

I did have to overbore the dog holes, just as I did on my last bench. It seems that 3/4" holdfasts are really only good in about 2" max thickness of bench. For 4" slabs like this, the holes need to be opened up more underneath to get more of an angle on the holdfasts. This is the kind of thing that should be done before assembly, but I am typically late to such parties.
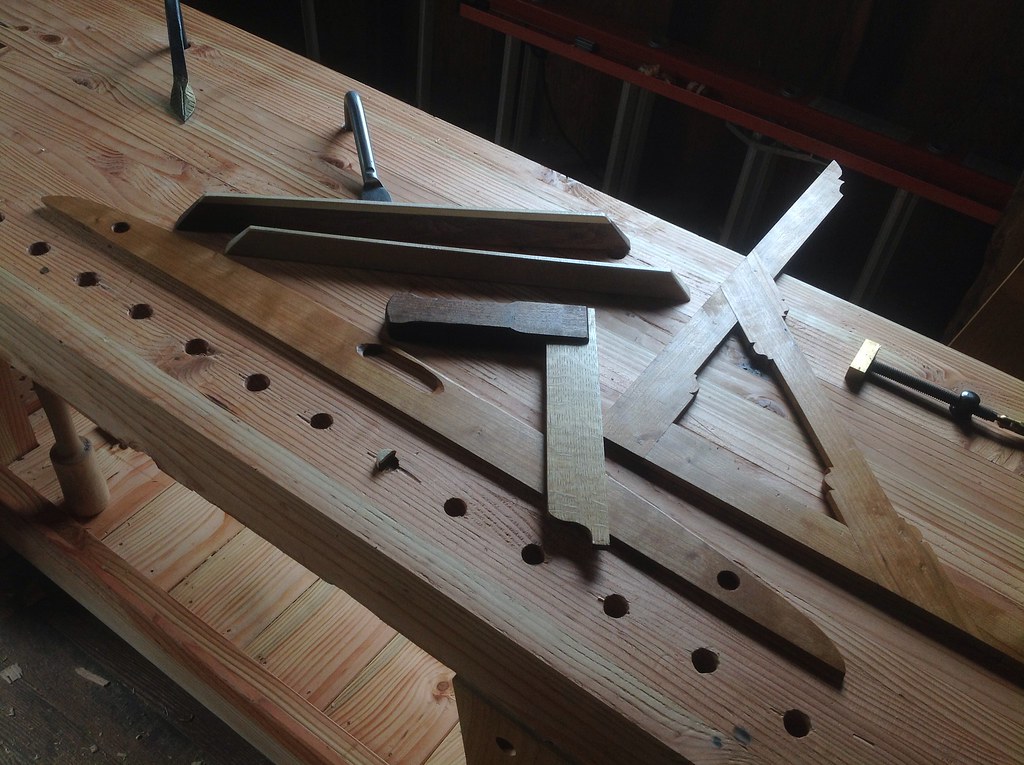
On my final day in the Foundation Course, I had some extra time so whipped together an English Layout Square. I've been using it a lot. It is made of cherry, and is in fact rather square. It was a blast to make, highly recommended for anyone who has been considering the project:
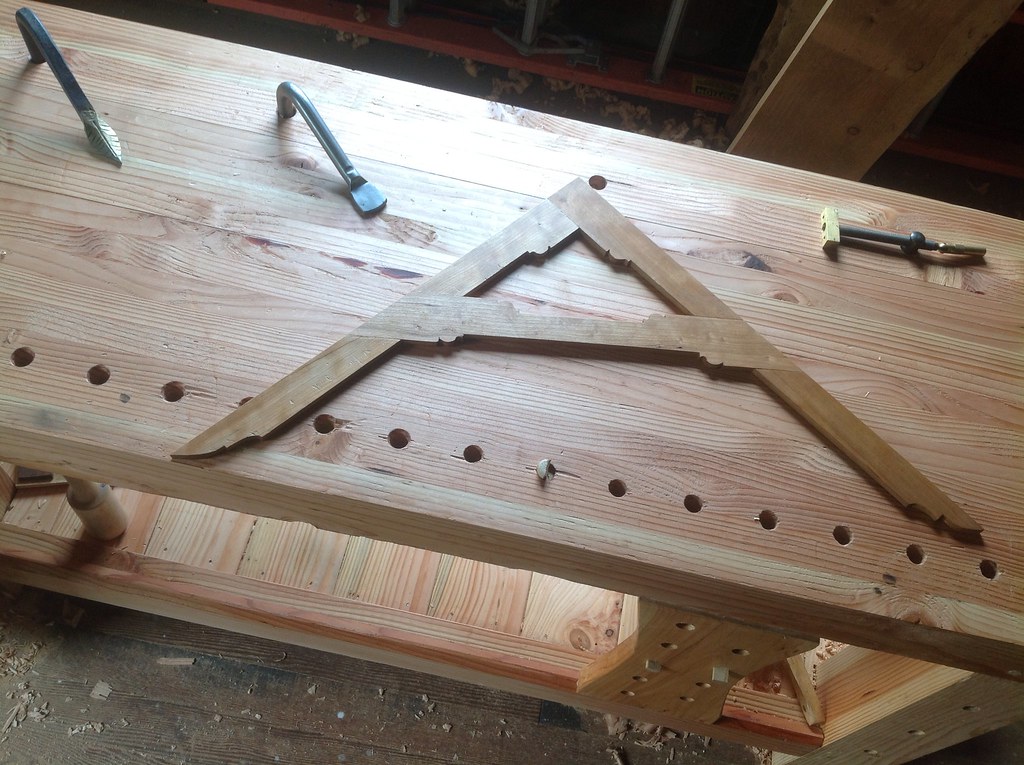
These are the other joiners tools I have made: winding sticks (walnut and basswood), try square, English layout square, and straight edge. It is a great feeling to make your own tools, and inspiring to realize how accurate they can be. It helps to know how to test and true them, but these are both simple to pick up:
It is just about time to get back to making stuff, instead of making stuff to make stuff! That said, I do need a sharpening table and a grinding station...
Fantastic job on that bench. It has some really nice features. Your layout tools also look great. I am hoping to make some similar tools in the near future.
ReplyDeleteI've been thinking of putting that same vise on my bench. Not liking my current tail vise. I like the idea of the piece laying on the workbench and not being suspended over the edge of the bench.
ReplyDeleteYour current tasks: "making stuff to make stuff" sounds oh so familiar. I have moved shop all too many times in the recent past. I finally have a permanent one, but there is so much to do. Shelves, clamp racks, sharpening station, stands for the grinder and the drill press, joinery bench... I'm almost done with everything, except the Roubo inspired bench. Leaving the best for last?
ReplyDeleteThat joiner's workbench is a thing of true beauty. Great job on it! Definitely going to show this to our young joiners in Nottingham.
ReplyDelete