Wednesday, October 12, 2011

Nailing the Strengthening Pieces


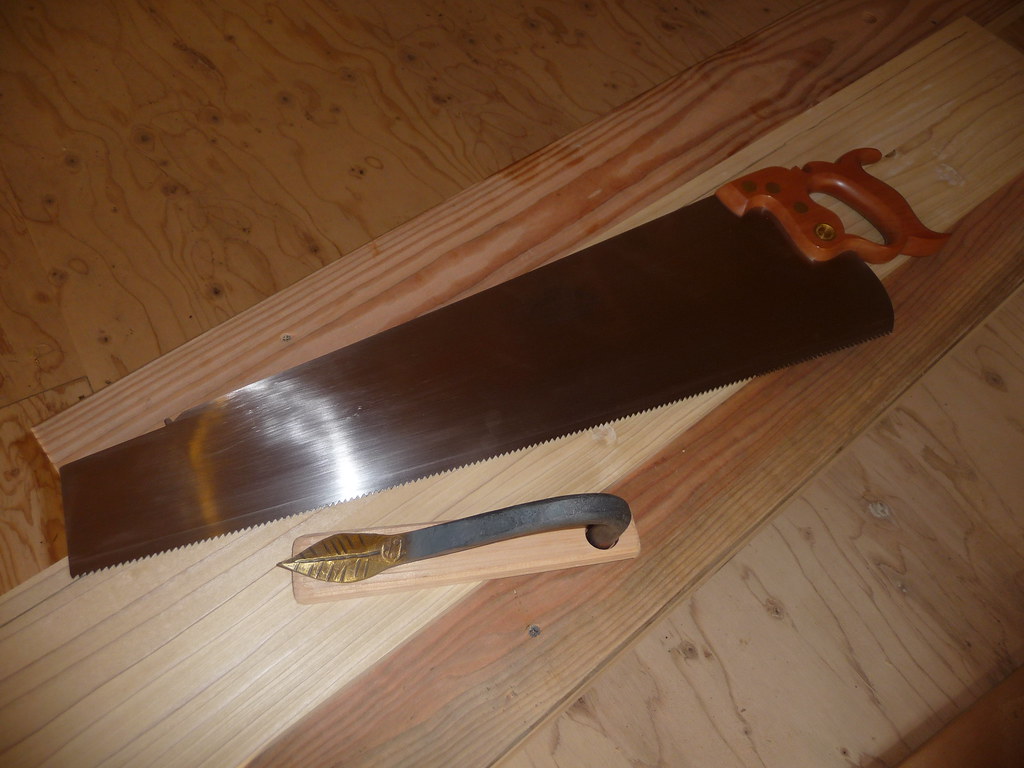
The box is wanted to pack some books which Mr Green has been getting bound for a friend in the country.  It need not be planed either inside or out, as the nicely-sawn wood is quite smooth enough for a packing box. It is to be eighteen and a half inches long, fourteen wide, and six deep, all inside measures; and it is always better to make a box for such a purpose a little too large than a little too small. Half-inch deal will be quite strong enough, if we put two strengthening pieces across the top and bottom.


-- The Joiner and Cabinetmaker, 1839


Saturday, October 8, 2011

Imageless

Today was a good day in the shop, and I took tons of great photos of the work.

However, I just experienced a "card read error" and now the memory card is wiped, all images are gone.  Bummer!  Its taking a bit of the fun out of reporting, but I will still labor to recap the events.

I was very sick this week so did not get to do as much as I had hoped, but today had me feeling fine and I continued work on box #2.  This time around, my glue-up was not as nicely fitted as the first batch, and I had to do a lot more planing.  This ended up in a little game of back-and-forth as I struggled to get the 2 pieces planed to the same thickness.  I kept telling myself to stop at the line, but sure enough I would realize I had gone too far.  I did this 2 or 3 times before getting the boards to agree.  All is now well...

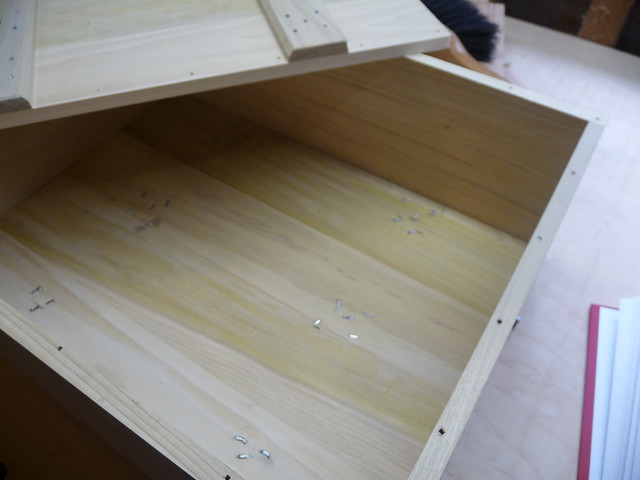
I took mostly photos of the nail-clinching operation.  This is where the nail goes through both boards, and is then bent back into the board, like a staple.  Its ridiculously strong, but not all that sightly.  Still, this is how Thomas did it and so this is how I did it.  Its a lot easier to explain with images, so I will endeavor to do it again on upcoming box #3 (the final packing box).

The cross-strengtheners are now all nailed on, something which seems to take a lot longer than it should.  Maybe my cross-peen hammer is too light?  Maybe I am not strong enough?  I used a 16-ounce claw hammer a bit, too, but no matter how much I clean it, it seems to cast aside all kinds of funk onto the wood.  Maybe I should keep my eyes out for a new(er) one.

I also used the table saw.  Let me expain!  I used the cast-iron wing of the saw as a bench for hammering the nails.  Clinching takes a lot of force, and if done on the wooden bench, the nails might just back out and go into the bench.  Using the table saw's table keeps them in place and forces the blow to be absorbed back into the clinching, where it should.  I started off using a small metal block under the boards, like a little anvil, but has the same problem as the hammer - it leaves rusty residue on the wood so I nixed it.

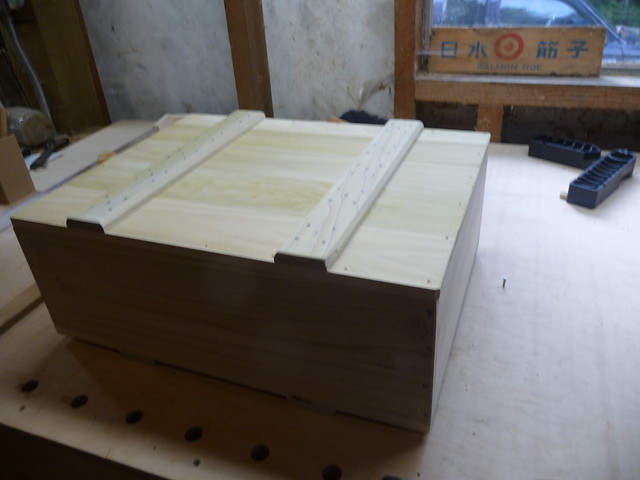
The bottom is now on the box, so one more lid and its a done deal.  It is indeed a little nicer than the first one, although I have also done some learning on this one (in other words, made different mistakes).    Maybe the third one will be a charm?

I will get my camera situation straightened out and post images next time!


Saturday, October 1, 2011

Flattening Glued Boards, Motion Towards Packing Box #2

Work has begun on Packing Box #2.  It starts with gluing up boards to make them wider, although this is not part of the project in the book.  I simply could not get ahold of 9" boards like I needed, so I have glued together 2-3 smaller boards.  This is standard (and is done in the School Box project) but it bears mentioning that isn't properly part of the Packing Box project.

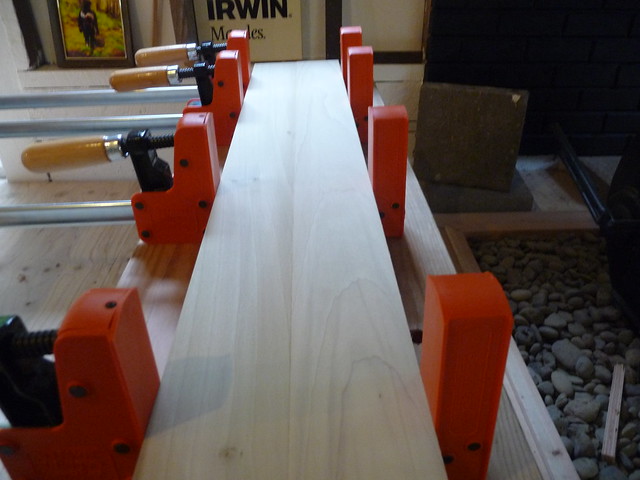
The glue-up starts off by ensuring the edges of the boards are square and true.  I didn't bother to photograph it this time.  Next, they receive a bit of glue and are laid side-by side in the clamps:


There they rest a few hours.  I like to leave them at least overnight, to be sure the glue has fully cured.  This becomes an issue when there are not enough clamps and the boards are needed quickly.

Once the glue is dry, there can be a bit of "squeeze out" remaining.  Its visible in this image.  A little run down the seam with a chisel removes most of it, and the planing will get rid of the rest.  The boards are not exactly in line with each other (one is slightly higher than the other), as can be seen in this photo.  This will soon be corrected with the planes:


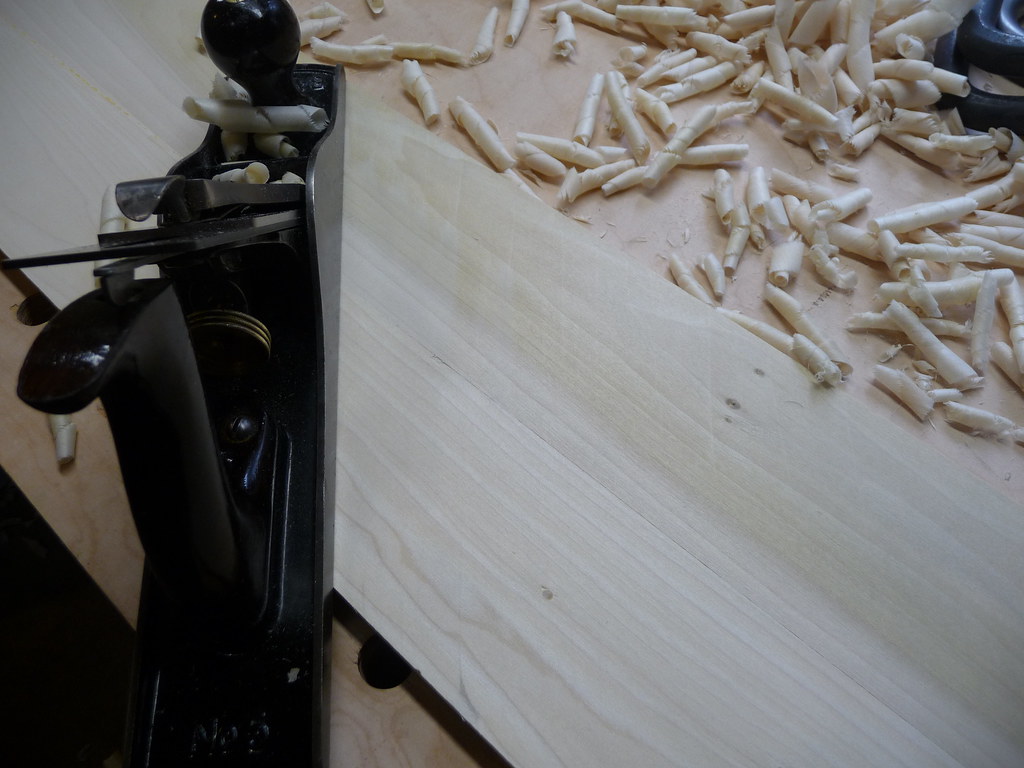
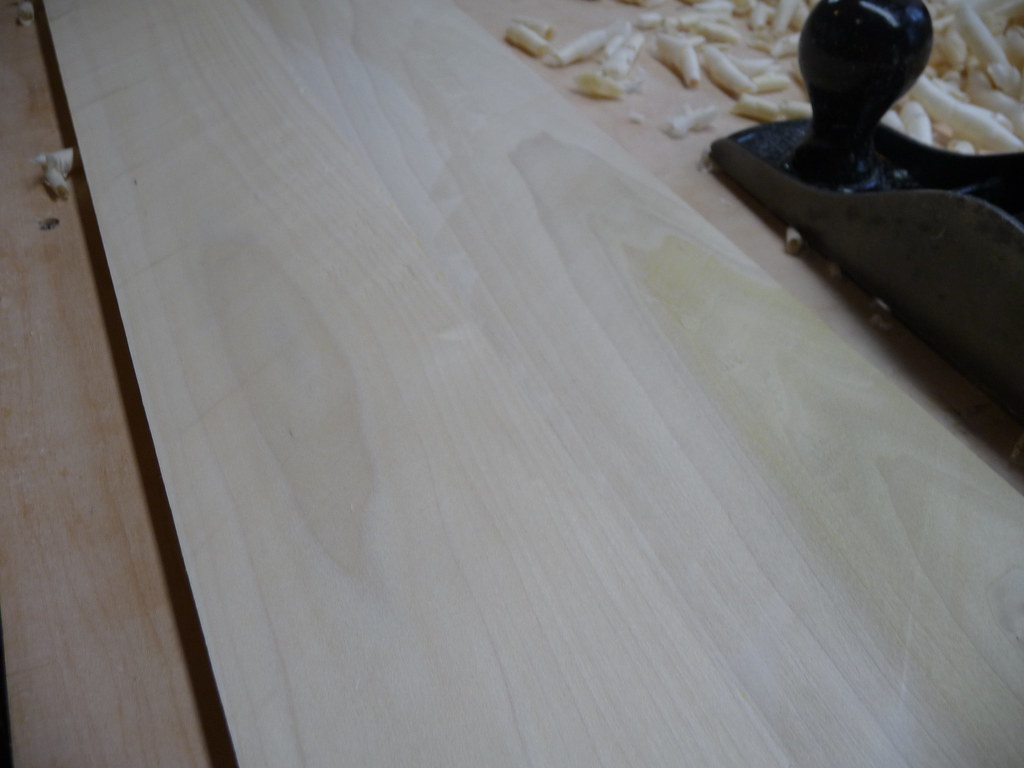
The now-single board is then traversed with a jack plane, fitted with a curved iron.  This allows it to take deep scoops out of the board, quickly bringing it all to the same level, though it leaves a gently undulating pattern which has been likened to Atlantic Ocean waves.  They feel great, simultaneously smooth and broadly rippled.  They do not show up well in this photo, but a keen eye can see some diagonal lines around their edges:


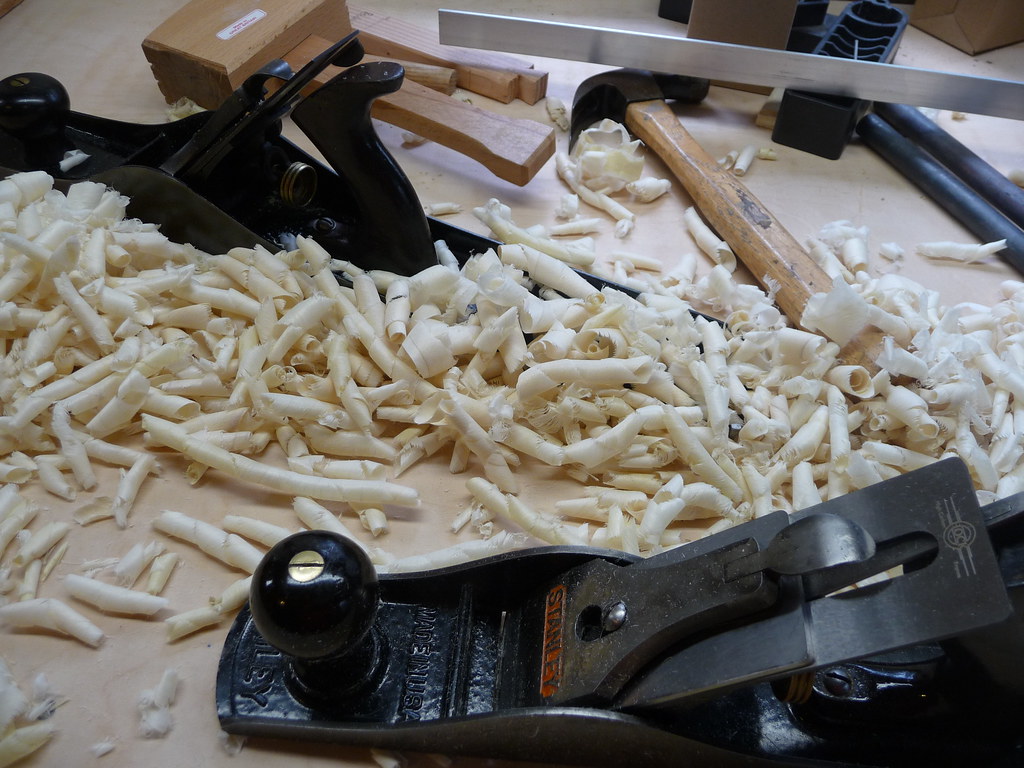
This process generates tons of curls.  Treating 3 boards like this involved sweeping the workbench several times, filling large tubs.  The shavings look like some kind of pasta, or maybe I was just hungry:


When complete, it is very difficult to tell where the seam is (unless the differing grain pattern gives it away).  I like to check the whole seam with my eyes closed to find tell-tale gaps or ledges.  The scallops mostly go away also, using the jointer plane and a bit of the jack with a straighter iron, a sortof improvised smoothing plane.  The insides of the box won't get any more attention, so the echos of the ripples will be there for someone to discover.  The outside will be smoothed after assembly, ideally bringing them totally smooth to the touch.


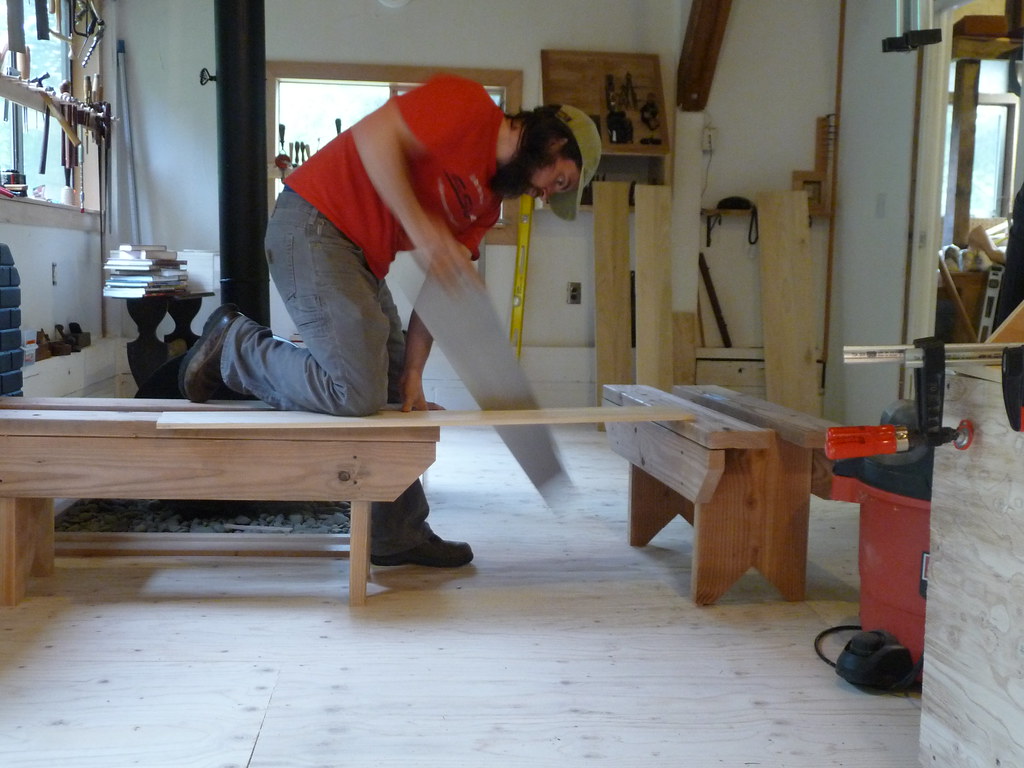
With the board flattened, its edges are trued, and some of that new width glued onto them comes right back off.  Its marked to its new width, and the waste is ripped off with a hand saw.  I've been trying all kinds of various positions on the sawbenches, they all work equally well so I move around to keep from fatiguing the same muscles.  I'm still very impressed with the Wenzloff and Sons panel saw - its not difficult to track the cut line and its relatively fast.


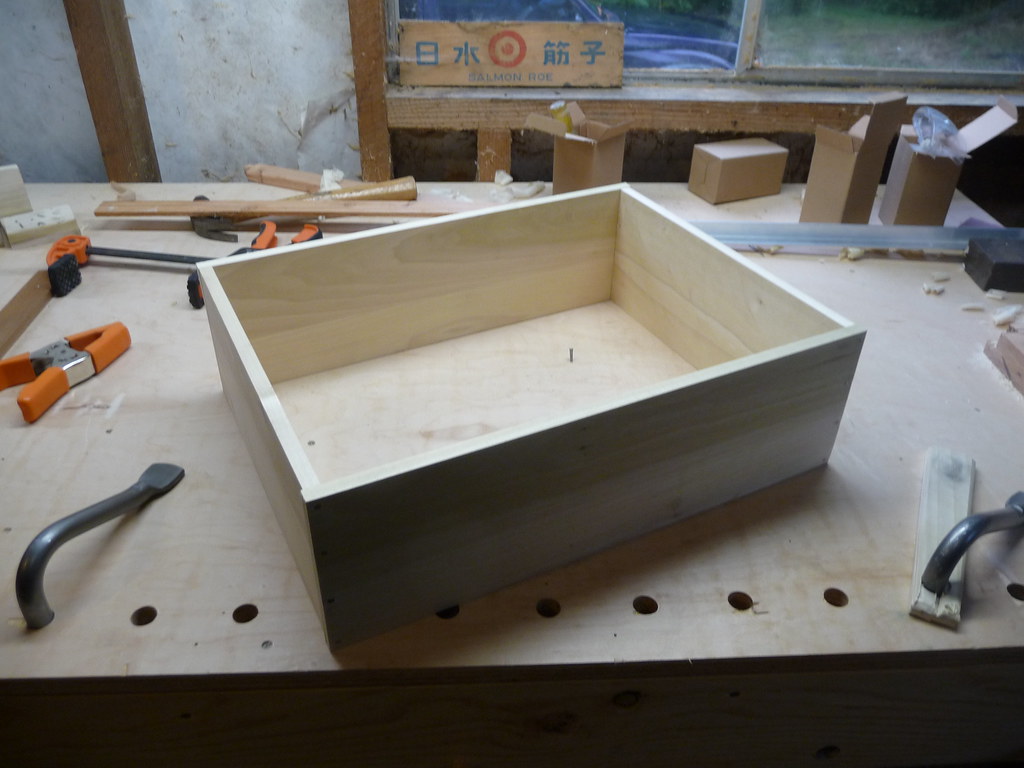
The board is then marked into the seperate pieces for the ends of the box, and cut.  A second board is ripped, and both are planed to re-true the edges and ensure they are of the same width.  Then, the 2nd board is marked and cut to produce the sides of the boxes.  The sides marked to indicate the position of the end boards, and its all nailed together.  This process is a bit of work which I failed to photograph.  Maybe on box #3.  Here's the results of today, the shell for Packing Box #2 is complete.  Soon the bottom and lid will be assembled, and the box will be done (but unfinished!).


Tuesday, September 27, 2011

Hello Mother Earth!

Lots of traffic from Mother Earth News today, which threw me for a loop, until I saw that Lloyd Khan had reposted a letter I sent him.  It wasn't written as a standalone blog post, and is not all that clear upon re-reading, so let me welcome all of you with a little summary of what this is about:

Woodworking has interested me since I first encountered it as a kid.  My grandfather and great uncle both had awesome shops.  My father had the interest, but we never had a good shop space available.  I'd mostly shelved my interest or reduced it to reading and watching Roy Underhill until we moved out to Coastal Oregon and finally had some space available in an outbuilding.

I then started taking my shop design seriously, and noticed a common phenomenon: the more complex your tools are, the more supporting accessories you need, the more problems need solutions (noise, dust collection, etc) and the snowball rapidly gets out of control.  There were two pivotal moments for me: the first was when thinking out loud about jointers (the machine) to a friend, he said "why not spend that money on a jointer plane (the hand tool) instead?" and the second was an episode of The Woodwright's Shop, which is referenced in Lloyd's blog post . You can view that episode on the PBS site.  I started to read all I could by Roy Underhill and Chris Schwarz, and the rest is history.  Literally.  I started reading woodworking history.  Its a slippery slope, like all good things.

To save you a lot of trouble, here's my digest:  As the Industrial Revolution gave way to the Great Depression, and then the Great Rebuilding of the post WWII era, people forgot how to make items from wood without electric tools.  There have always been some old timers, duck decoy carvers, traditional chairmakers, and museum restoration experts, but much of the common knowledge is gone forever.  It seems to have reached a low spot in the 80s and 90s, but for a complex mix of reasons, there has been a revival.  Old tools that were literally a dime a dozen are now quite hard to come by.  Collectors and users have both sucked the market dry.  There is a thriving business now for artisinal toolmakers who make reproductions of historically accurate tools or (to my thinking, even better) improvements on them.

This is where I come in.  I wanted to be part of this, and I wanted to make sure that this craft remains possible for my daughter in case she decides it's something more than quaint.  I'd also like to take full advantage of the fact that my family lives in a forest, and do something with the wood which loggers leave behind as waste.  These all conspired to hatch the Joiner's Apprentice experience, which is probably best understood by looking at my Kickstarter project page.

Needless to say, the fundraising went very well, and I have been having a blast digging in and working on the projects that Thomas the Apprentice did in 1839.  I've had lots of surprises, difficulties, epiphanies, and revelations.  I look forward to more of all.  This blog will hopefully convey the best and worst of these.

So thanks for taking a look, and if you have any questions or comments, please let me know.  I will talk endlessly about this stuff to all who are interested, but am not used to meeting people who are.

With that, I remain your loyal apprentice.

rob

Packing Box Done (but Unfinished)

The first packing box is complete!  I do intend to add an oil finish to it, so it is "unfinished", yet its structure is complete.  Its far from perfect, but it came out rather well.

Here's an image of the packing box from the book, followed by how mine came out:


Here you can see the clinched nails on the bottom's top, I tried to hammer them as smooth as possible but one may not want to put the most delicate of items in here without a liner.  I'll do a post on clinching when I make box #2:


Here it is loaded up.  It is actually quite ideal for books because it matches my golden moving tip: Don't put more books in a box than you actually want to carry.  Its easy to pick a huge box and cram it so full that its ridiculous to lift.


Box closed.  Its intended to be nailed shut, and true to the book, I drilled pilot holes for that.  Modern folks would probably want hinges and a hasp added.

I have 2 more of these to make, plus a possible 3rd one which will be sized according to the scraps.  I hope to add a little more detail with the different lessons learned and the basic operations involved with each iteration, so stay tuned and if you have questions about how/why, please leave them in the comments.

Sunday, September 25, 2011

Action Shots

A smattering of visuals to hopefully convey the nature of several operations.  Without further ado:


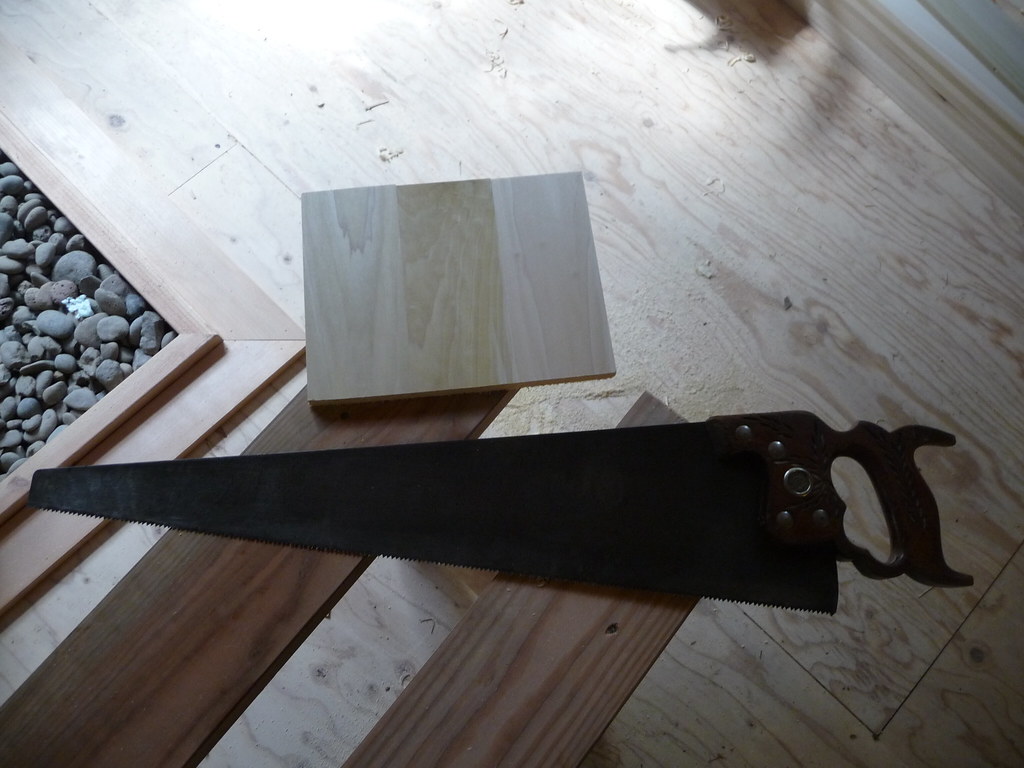
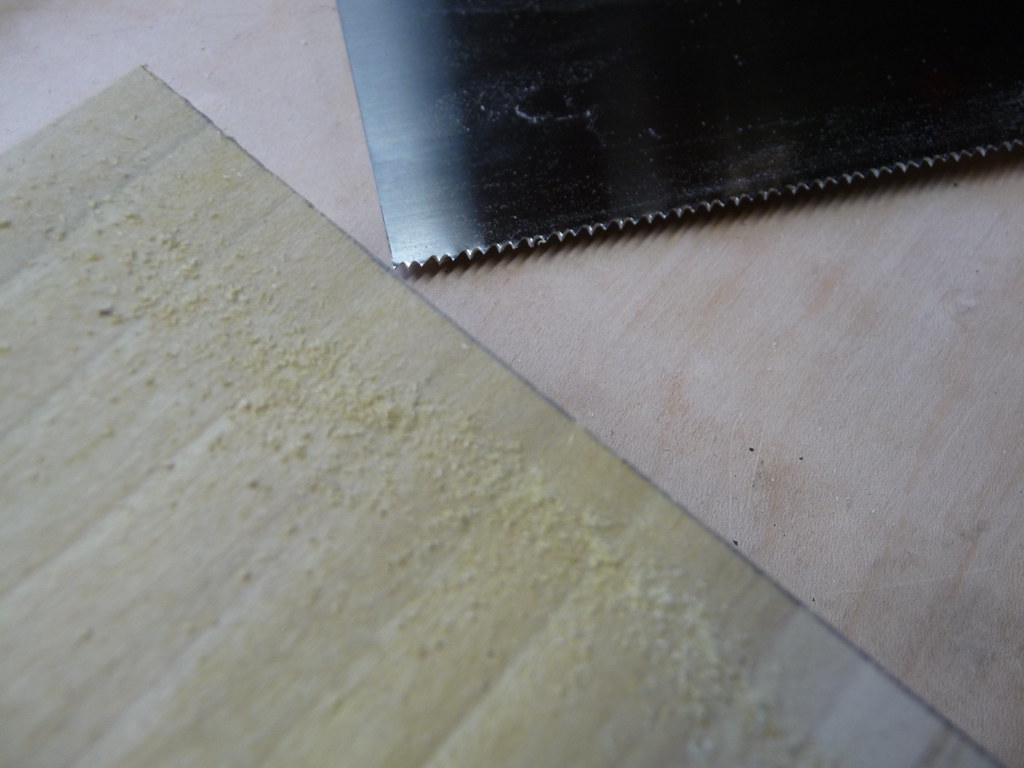
This is the Disston D12 saw that was rescued from a garage sale for $1.  Thats right.  It needed a kink hammered out, and a sharpening, but now its comparable to saws that sell for $200.  I had to use it to crosscut the 10" wide glued-up boards because my bench hooks are only about 8" deep, and they are squirrelly enough as it is.  They work best in conjunction with a holdfast, but this board was wide enough to obscure the dogholes, so D12 it was.  This saw is fast. I highly recommend Bob Rozaieski as sawsmith if you are in need of servicing a similarly neglected antique.


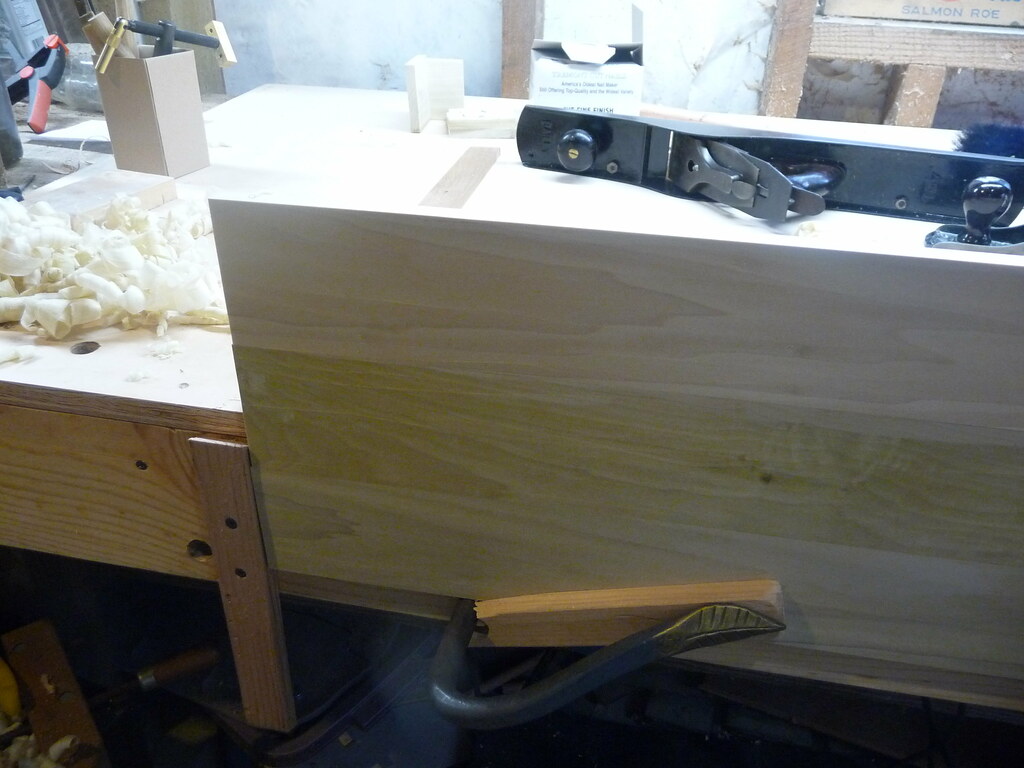
With the board crosscut to final length, here its seen set up for edge truing.  I screwed a quick and dirty  planing stop to the front face of the bench.  Keep in mind, this is my temporary workbench until I build a new one, so holes in it and so forth don't bother me at all.  This worked well enough.  Two holdfasts helped support the board and keep it from going anywhere.


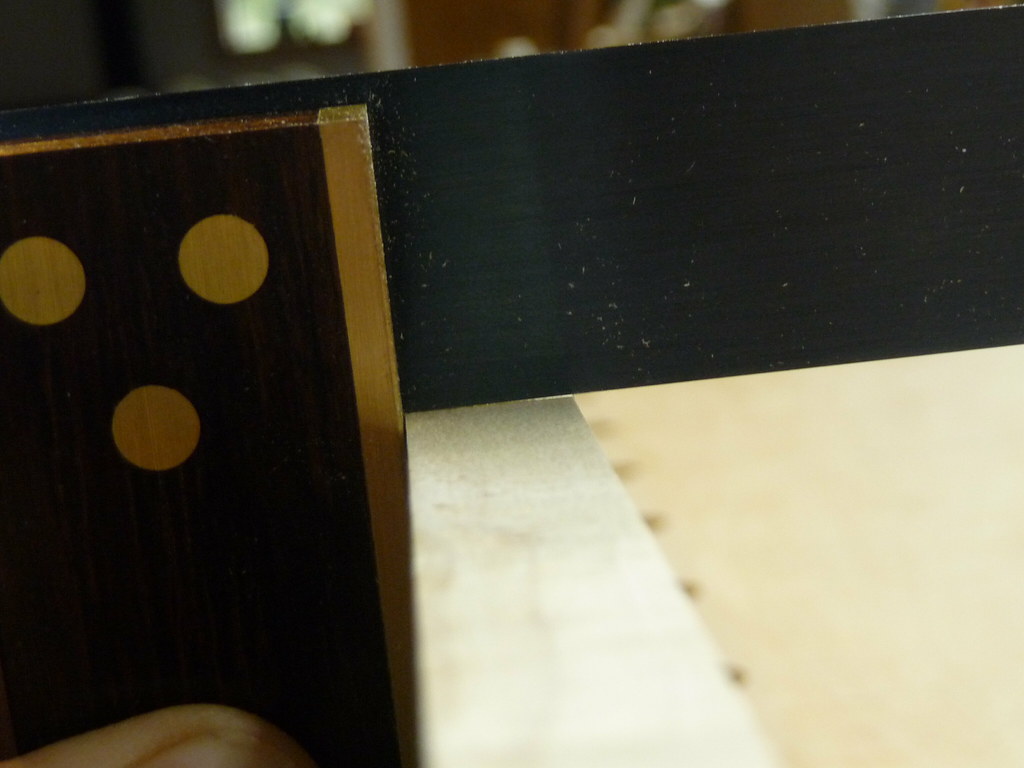
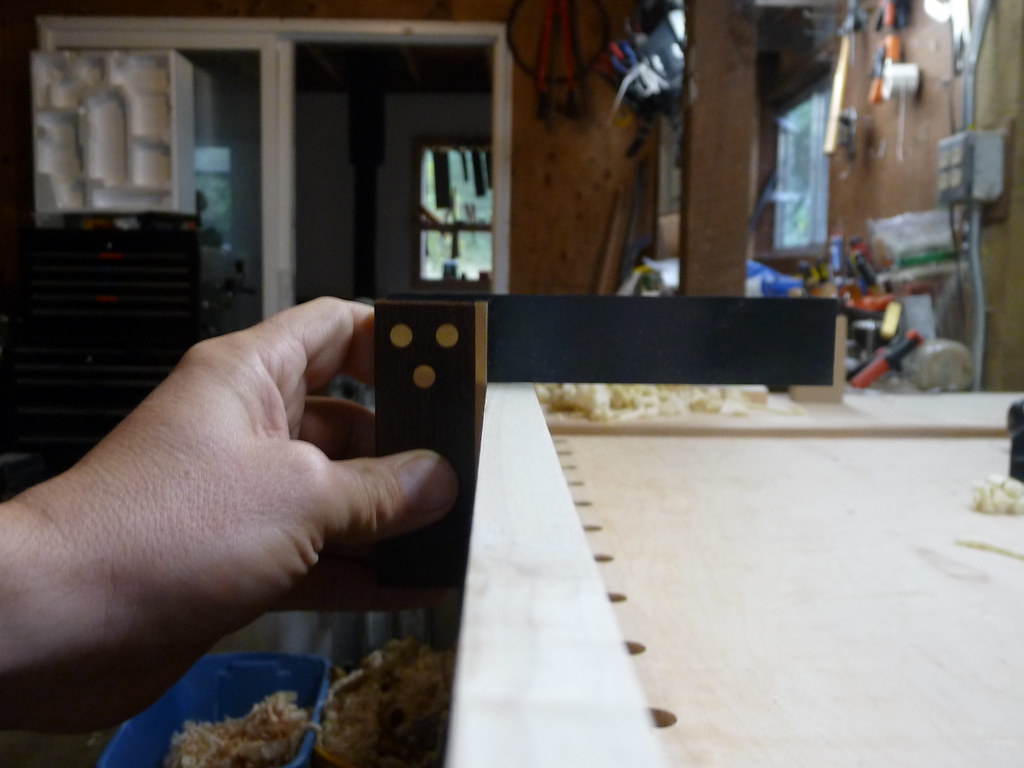
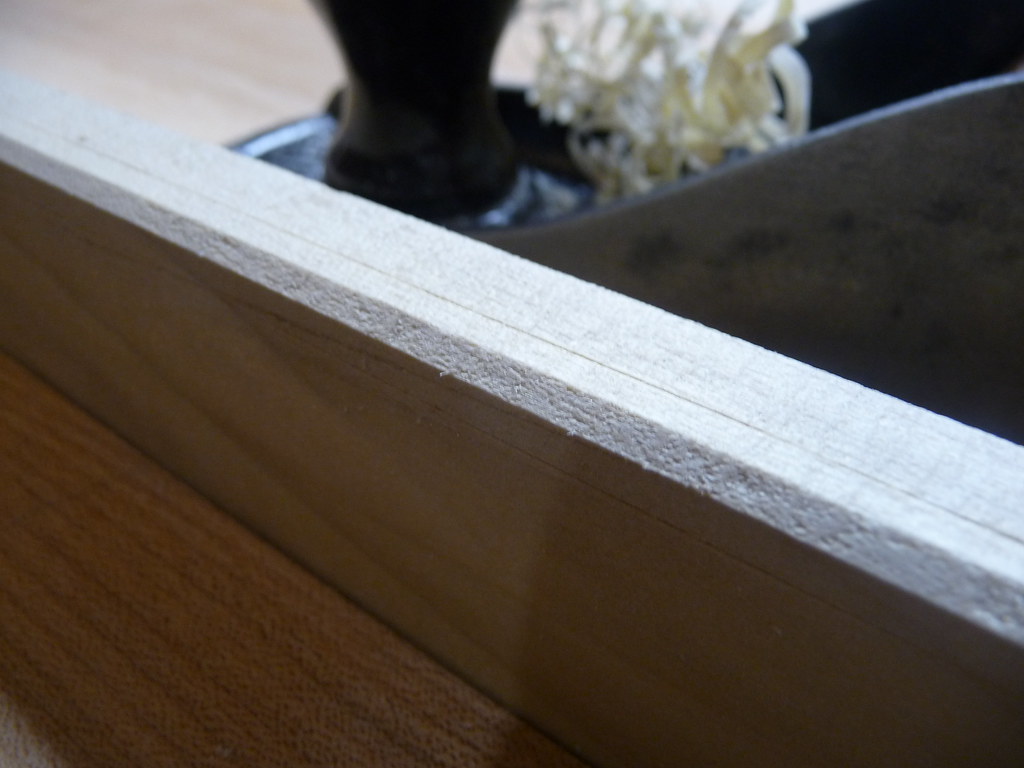
Lets see what we're up against...  See that triangular sliver of light at the right edge of the board?  Thats showing that the edge is not square.  A few passes with the jointer plane will solve that.


That's more like it!


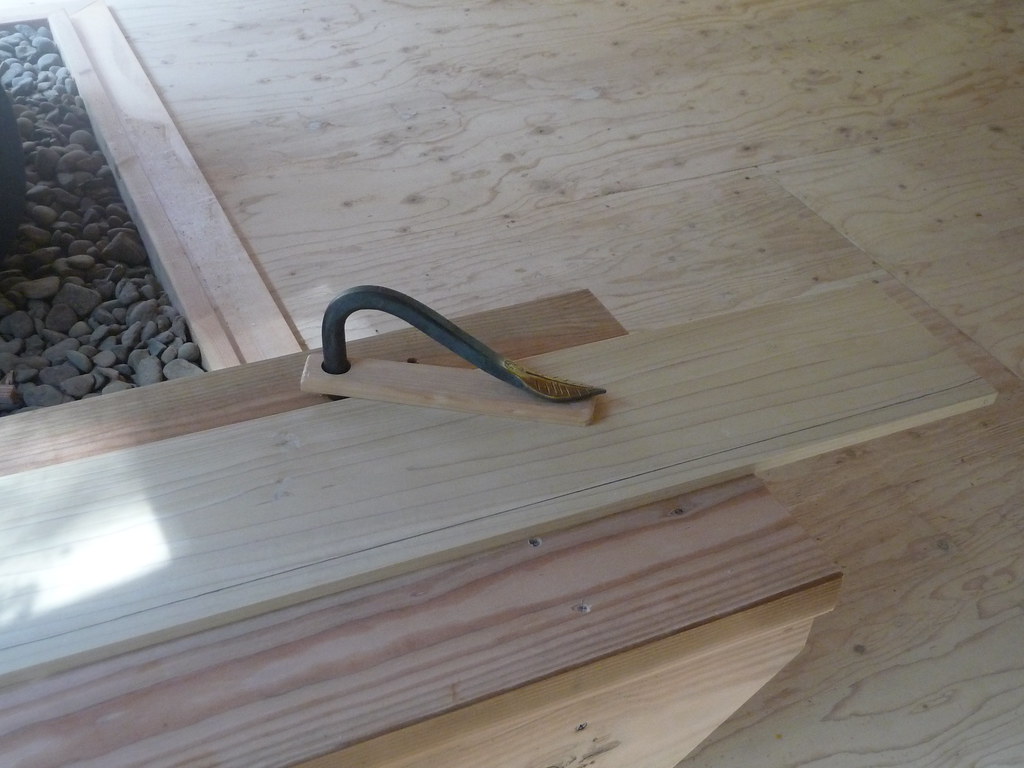
Now onto the final surfacing of the face of the board. This will be the "top" of the bottom of the box... difficult to plane once its in place.  The planing stop is, again, just a thin strip screwed to the bench.  I think this one actually nailed.  When it happens to be in the way, a prybar and a little cussin' ought to take care of it.


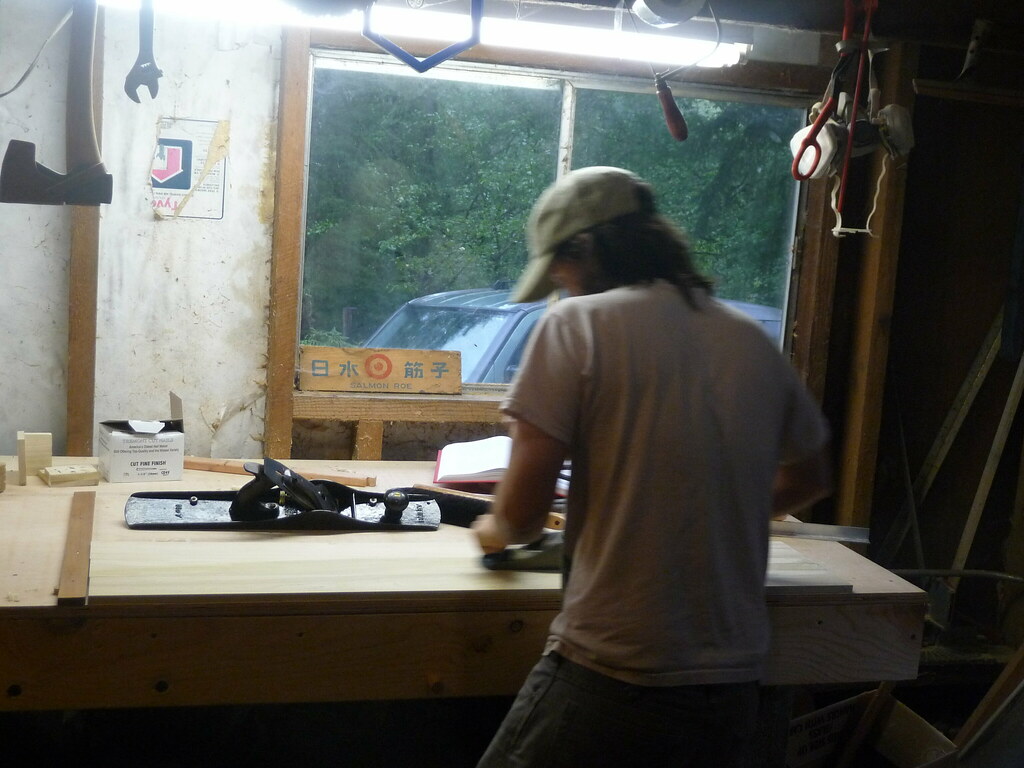
An action shot of planing.  This shows clearly that this bench is much too tall for me, but as they say: "one does what one finds oneself needing to do".  Believe me, I am eager to get the new bench done!


I'm getting much better at crosscutting with the sash saw and bench hooks, pleased to see a pencil line split in half.


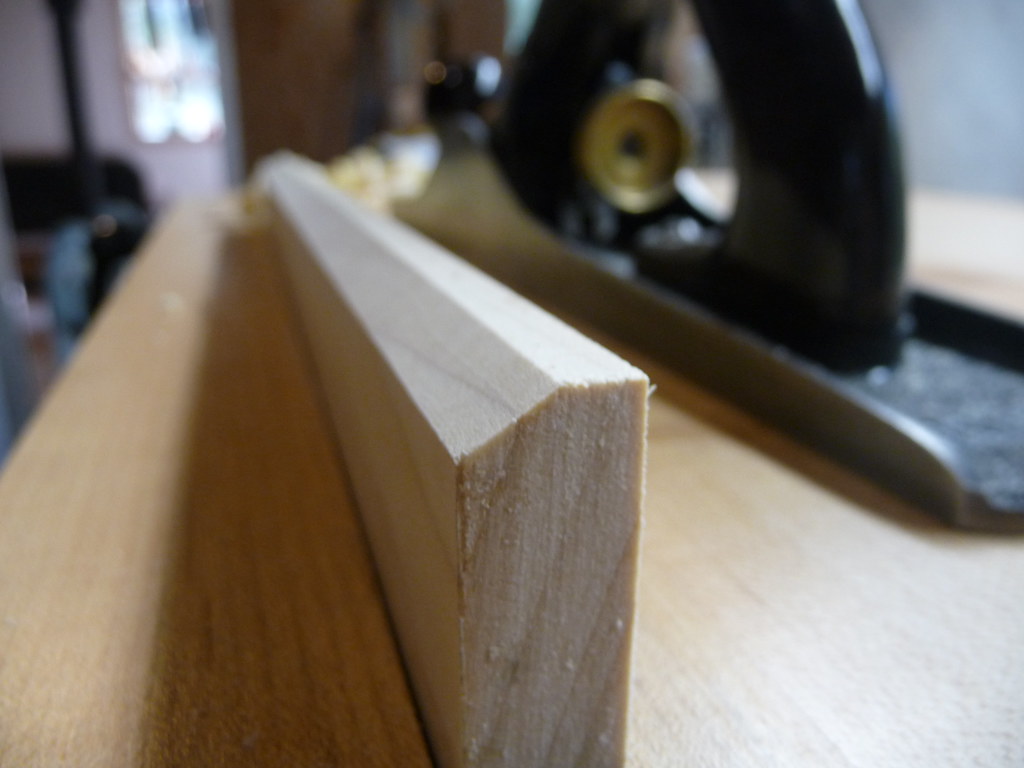
Here the lines for chamfering the corners of the "cross-strengthener" battens are marked out, and the planing has started.  It would be nice to have a dedicated chamfer plane, or a block plane with a chamfering guide, but winging it is sortof fun.


The chamfer is complete.  Close enough for me, at least this time.  Its actually not spot-on, 45 degrees is not as built-in to the human hand and mind as 90 and 180 are.


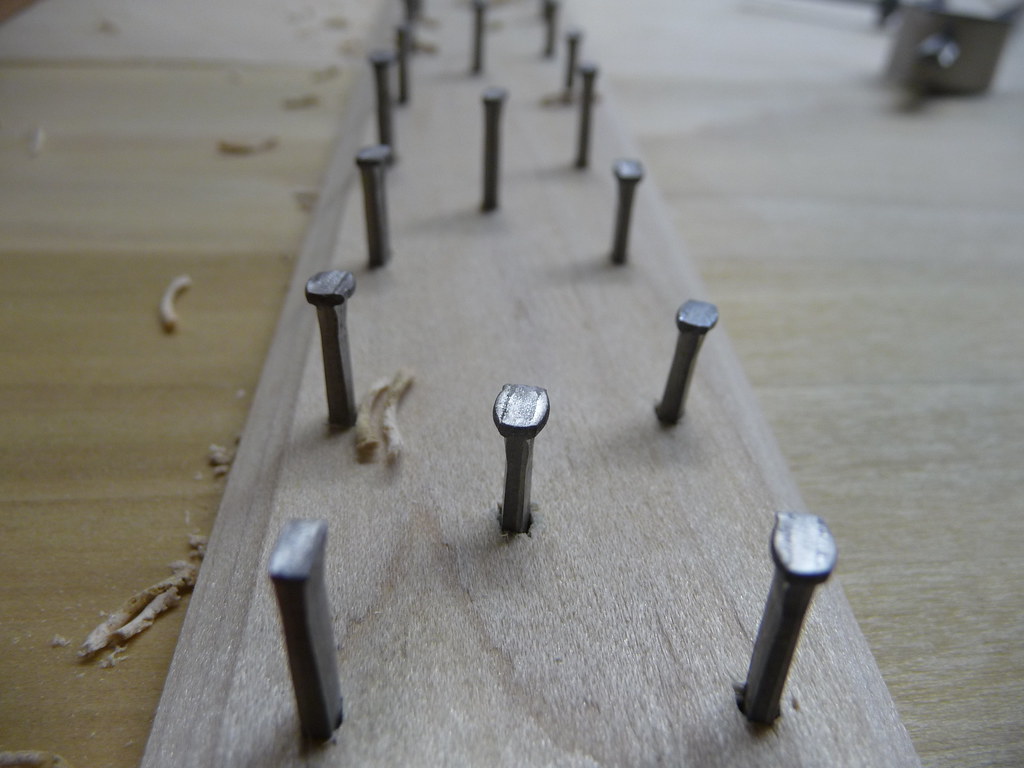
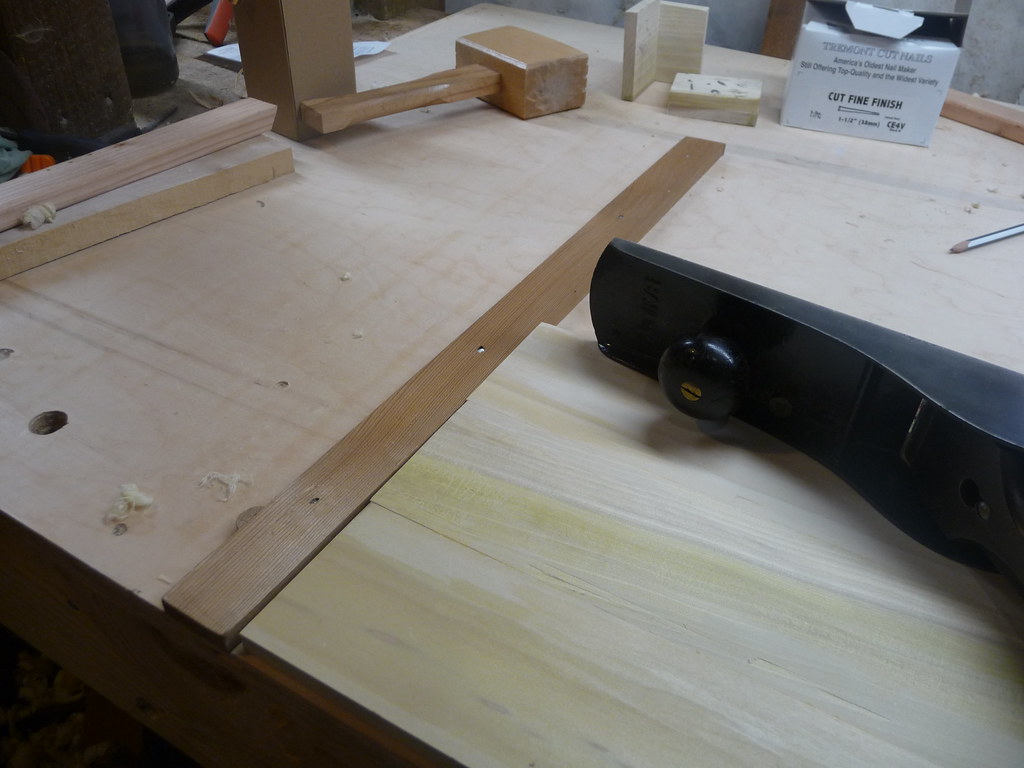
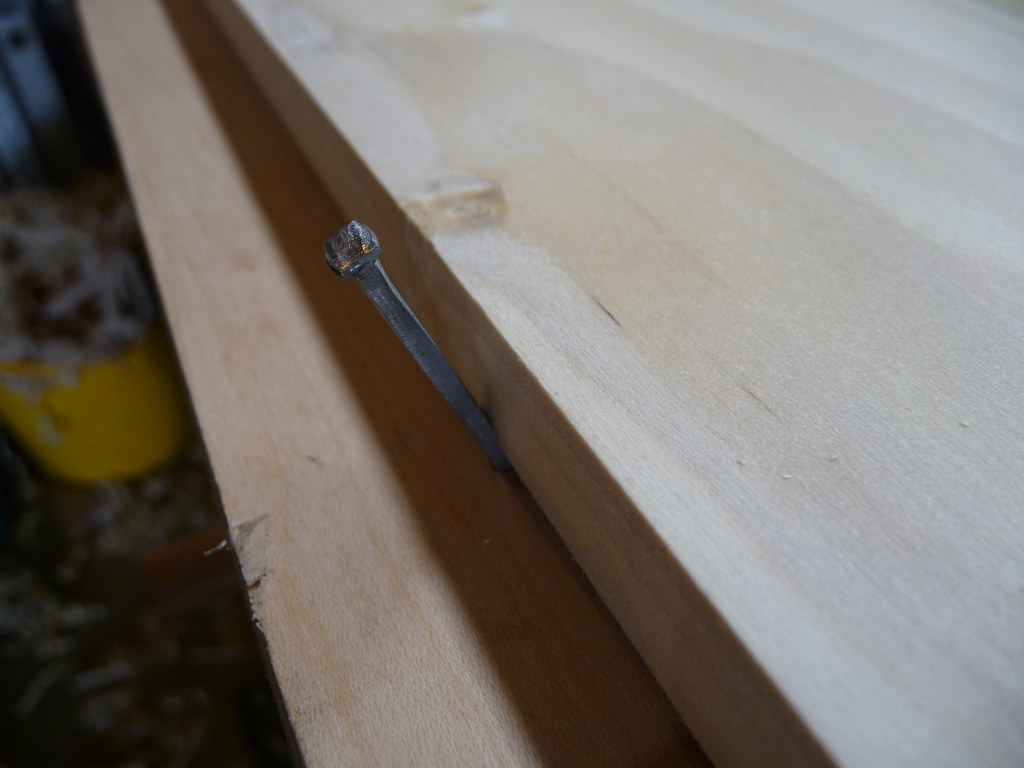
The 2 boards which come together to make the bottom and lid for the packing boxes are not glued, they are held together with nailed-on "cross-strengthener" battens.  To hold them together while the batten is nailed, nails are put directly into the workbench, wedging them together. It's actually rather liberating to use a workbench like this instead of treating it like a sacred relic, which I may be tempted to do once I complete my dream  bench this fall.


Just a detail of a cut nail holding the board in place.


And using a gimlet to make pilot holes for a change of pace.  This is the first batten being attached.  Soon will come clinching the nails on the backside, and the stuff-holding-portion box will be complete!  Then onto the lid, a bit of linseed oil, and it will be complete!

Saturday, September 24, 2011

Thomas's First Day

It is not entirely accurate to say that today was the first day on the project. However, since the project lumber was cut for the first time, and real headway was made on one of them, it feels like the first real day on the job.  Perhaps sadly, I spent more time working than documenting it, but this is one of three packing boxes so I will focus on some of the details on the next ones.

I've spent the past few days gluing up the panels to replicate 10" deal planks, scraping off the glue, and planing their edges square and true.  This is worth an entry on its own, but again I was too busy doing and haven't photographed it yet.  You readers will be better served, anyway, when I have more experience and can photograph "doing it right" rather than the process of fumbling through learning.

In any case, I certainly know a great deal more about squaring and truing boards than I did a few days ago.  Its mildly exciting to think that I will just get better and better at it, there are quite a few more to do.

Only one of the glue-ups came out less perfect than I had hoped, with a visible gap.  Its minor, but its there, on one end of the board.  Hopefully, I will segregate that portion to the scrap pile.  It was also challenging to match the grain and coloring of the board to look well-paired, but some of the high-contrast pairings have their own appeal.

With the boards artificially enwidened, it was then, ironically, time to cut them down a little!  Today involved taking 7" boards and bringing them down to 6".  As the cut was 4 feet long, this was a job for the panel rip saw.

After marking the line, the next job was to secure the board to sawbench:


You can see there a holdfast jammed down on the plank, with the cut line cented over the "ripping channel" in the sawbench.


The saw itself is from Mike Wenzloff, a near neighbor of mine (when you live in a National Forest in Coastal Oregon, 3 hours away is still considered a neighbor).  Its based on a 100 year old design, and is a real pleasure to hold, use, and even look at.  Ok I admit I am somewhat biased, but he really does do great work and the tote (handle) is several times more comfortable than the Stanley ripsaw I have been suffering.

The ripping went just fine.  The one minor hangup is perhaps my own fault, or that of my body.  Since I am somewhat short, my sawbench (appropriately designed to be knee-cap high) is only 20" tall.  The saw is a bit longer than that, so a full stroke runs the risk of ramming the toe of the saw into the floor, which could horribly damage it.  Because of this, I had to be a bit ginger.  I am debating putting a piece of tape or something on the sawblade to serve as a depth-stop.  The real answer is to get some smaller panel saws, but that is low on my list of things to spend $1000 on.  Keeping the angle shallow works well, but I like the more aggressive vertical stroke once the sawline is established.

After the boards were ripped, it was time to clean up the cuts and square the edges with the jointer plane.  This went well and produces silky smooth edges.

The boards were then crosscut into 2 lengths, using sawhooks on the bench, and a sash saw.  I'll hope to document this process at some point.  The ends of the box had to be precisely cut, and identical.  I planed them to get them exact.  Then, the side boards were cut, but this did not have to be as accurate as they are trimmed once the box is assembled.

Assembly presented its own logistic problems.  The first corner was simple to clamp and nail, but the others were not so easy.  The book simply mentions nailing them, with little mention of how.  Its possible that any 14 year old should already know how to nail a box together, and of course I had my own ideas, but I know there are some best practices.  I might have discovered some of them, at least for my workbench.  Let's just say that 4 holdfasts are barely enough for some of the jiggery I had to employ.  Eventually though, I got the pilot holes drilled (only broke one bit) and was able to get the nails driven home in a dovetail configuration without too much trouble.  I did stop to grind one of my nailsets to match the shape of the cut nail heads.  This made it much easier to sink them home, avoiding "French marks", which sounds to me like a British slur for the hammer-dents seen on much home-made furniture.  I have a feeling French joiners don't leave a lot of French marks on their work, but so it goes.

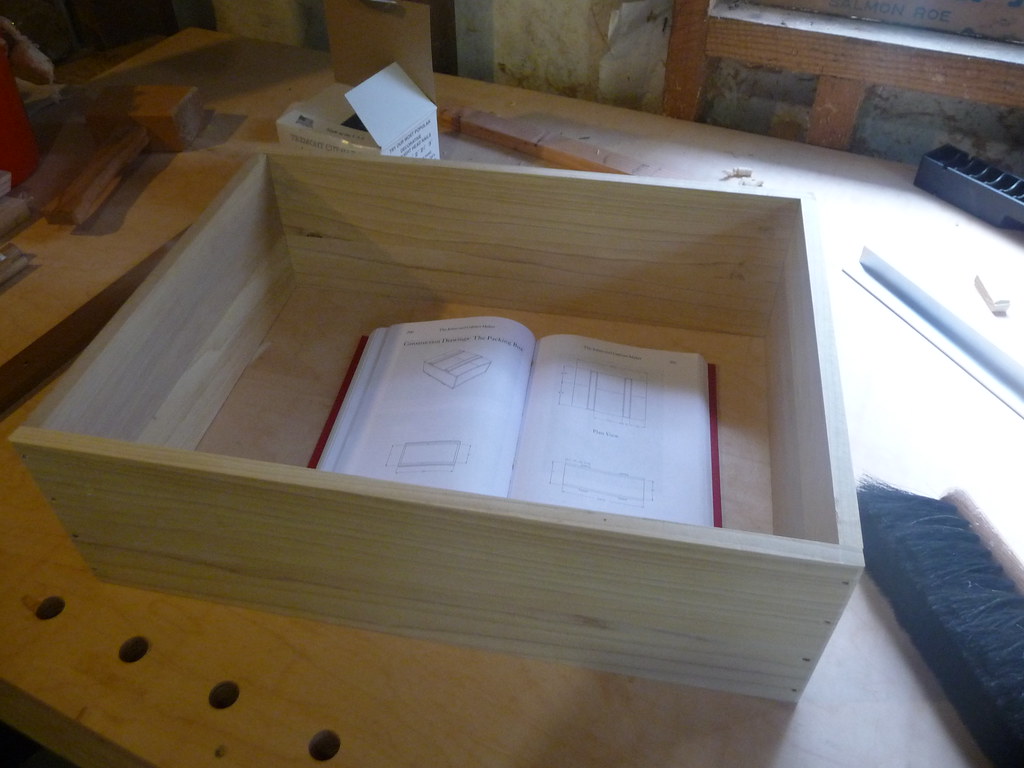
Once the shell was together, the slightly overlapping ends had to be trimmed.  This went well, and the box shell emerges square, smooth, and rigid.


If you look closely, you can see the plan illustrations of the box in the book there.  

Next up: making the bottom.  And the top.  And then making 2 more boxes.  Maybe I'll stop to take a few more pics along the way.