The glue-up starts off by ensuring the edges of the boards are square and true. I didn't bother to photograph it this time. Next, they receive a bit of glue and are laid side-by side in the clamps:
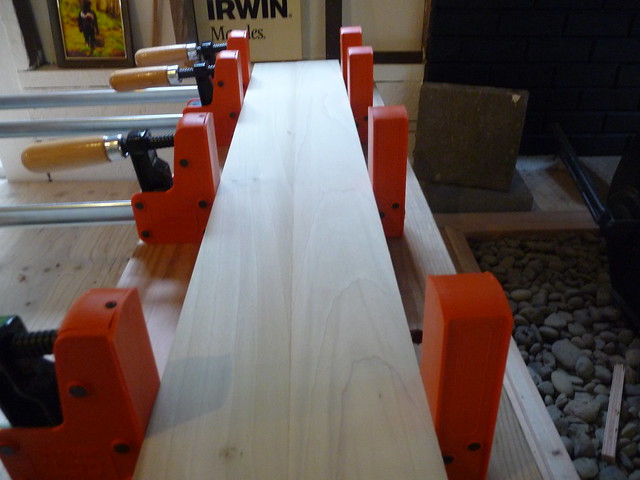
There they rest a few hours. I like to leave them at least overnight, to be sure the glue has fully cured. This becomes an issue when there are not enough clamps and the boards are needed quickly.
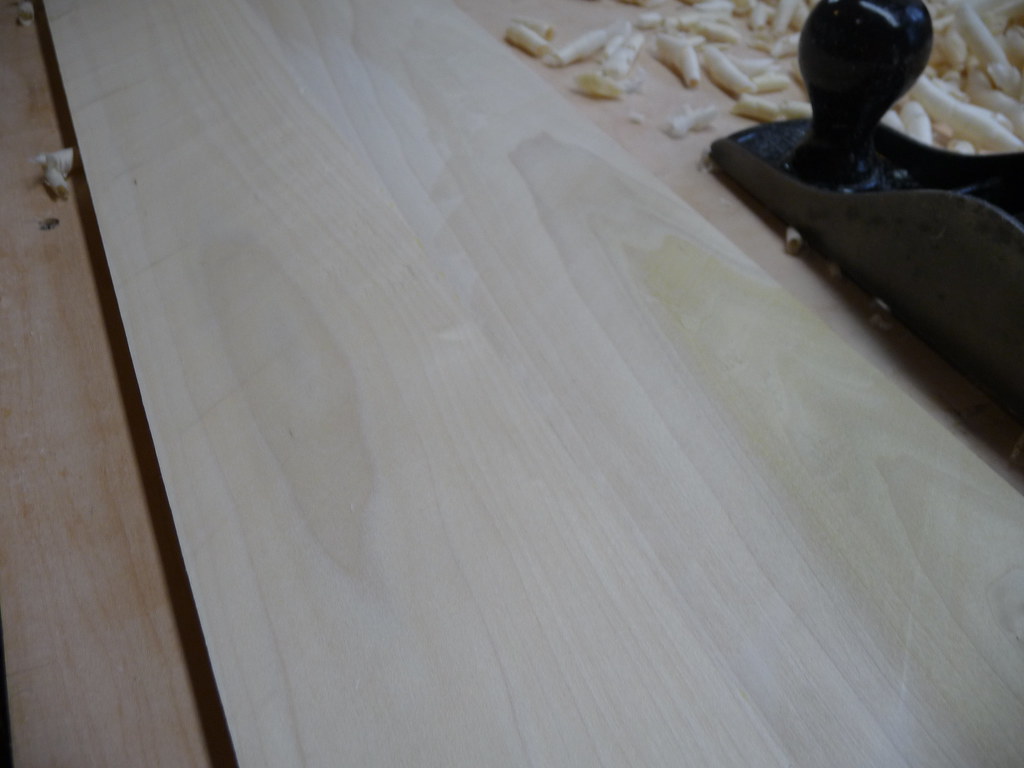
Once the glue is dry, there can be a bit of "squeeze out" remaining. Its visible in this image. A little run down the seam with a chisel removes most of it, and the planing will get rid of the rest. The boards are not exactly in line with each other (one is slightly higher than the other), as can be seen in this photo. This will soon be corrected with the planes:

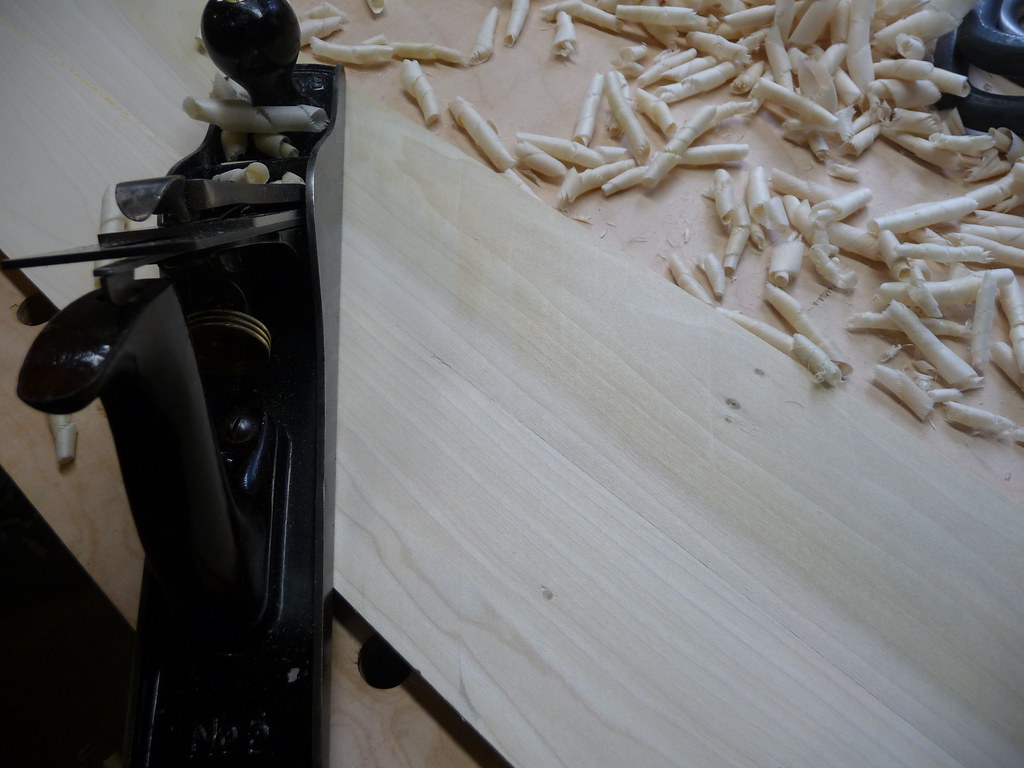
The now-single board is then traversed with a jack plane, fitted with a curved iron. This allows it to take deep scoops out of the board, quickly bringing it all to the same level, though it leaves a gently undulating pattern which has been likened to Atlantic Ocean waves. They feel great, simultaneously smooth and broadly rippled. They do not show up well in this photo, but a keen eye can see some diagonal lines around their edges:
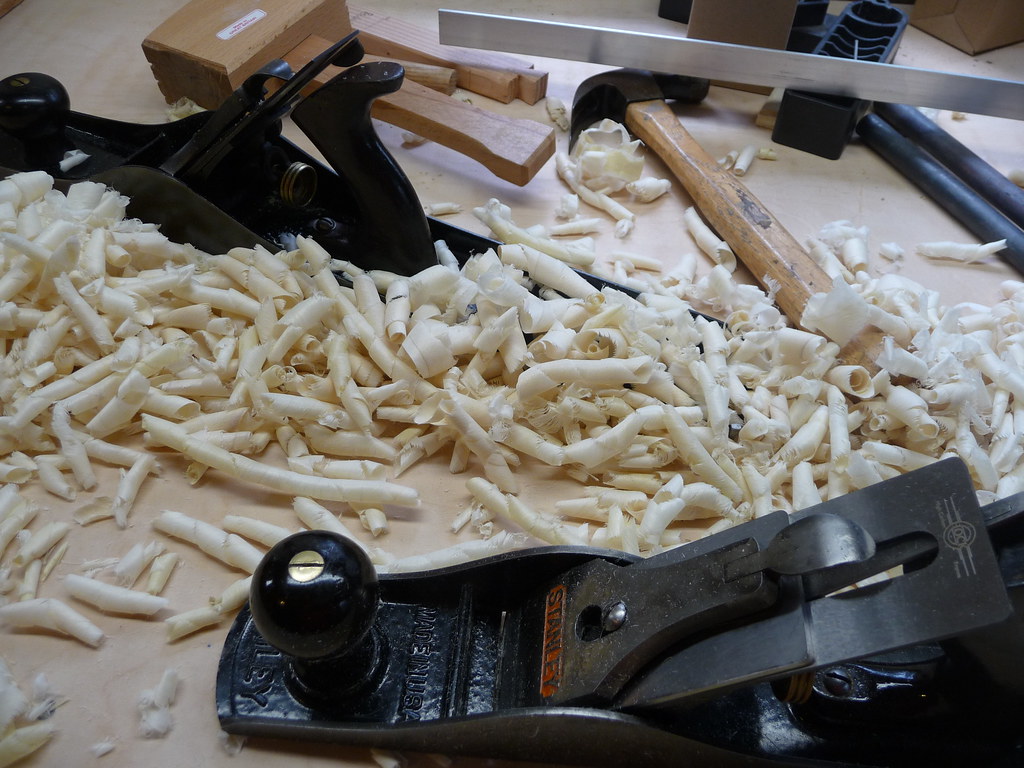
This process generates tons of curls. Treating 3 boards like this involved sweeping the workbench several times, filling large tubs. The shavings look like some kind of pasta, or maybe I was just hungry:
When complete, it is very difficult to tell where the seam is (unless the differing grain pattern gives it away). I like to check the whole seam with my eyes closed to find tell-tale gaps or ledges. The scallops mostly go away also, using the jointer plane and a bit of the jack with a straighter iron, a sortof improvised smoothing plane. The insides of the box won't get any more attention, so the echos of the ripples will be there for someone to discover. The outside will be smoothed after assembly, ideally bringing them totally smooth to the touch.
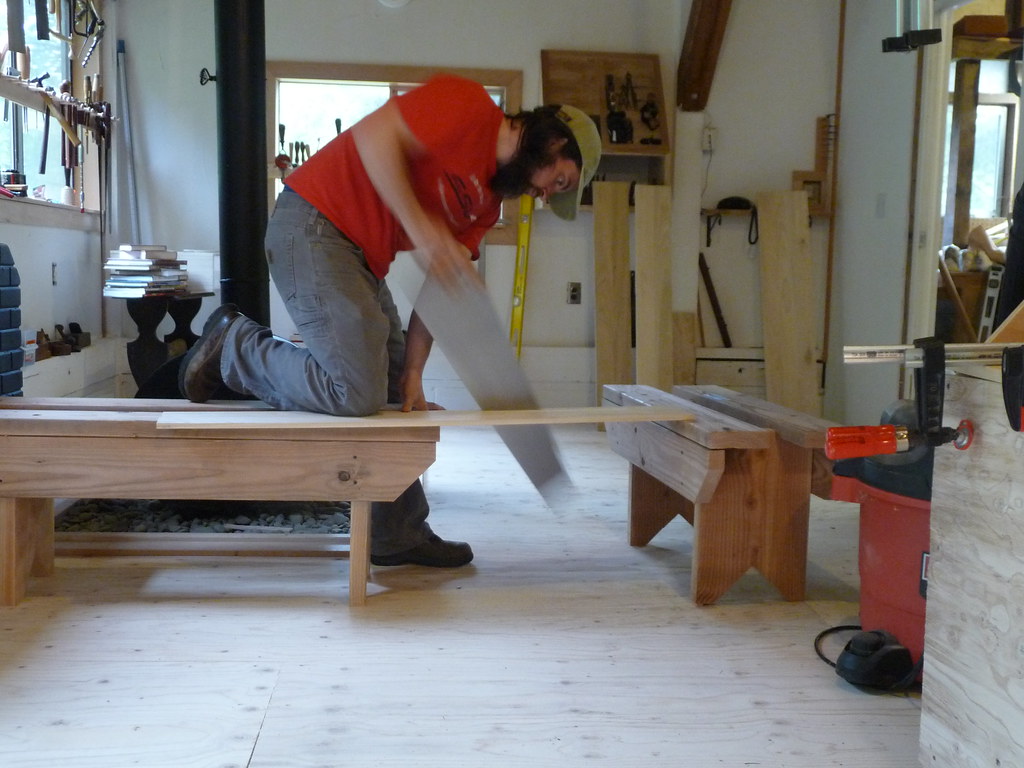
With the board flattened, its edges are trued, and some of that new width glued onto them comes right back off. Its marked to its new width, and the waste is ripped off with a hand saw. I've been trying all kinds of various positions on the sawbenches, they all work equally well so I move around to keep from fatiguing the same muscles. I'm still very impressed with the Wenzloff and Sons panel saw - its not difficult to track the cut line and its relatively fast.
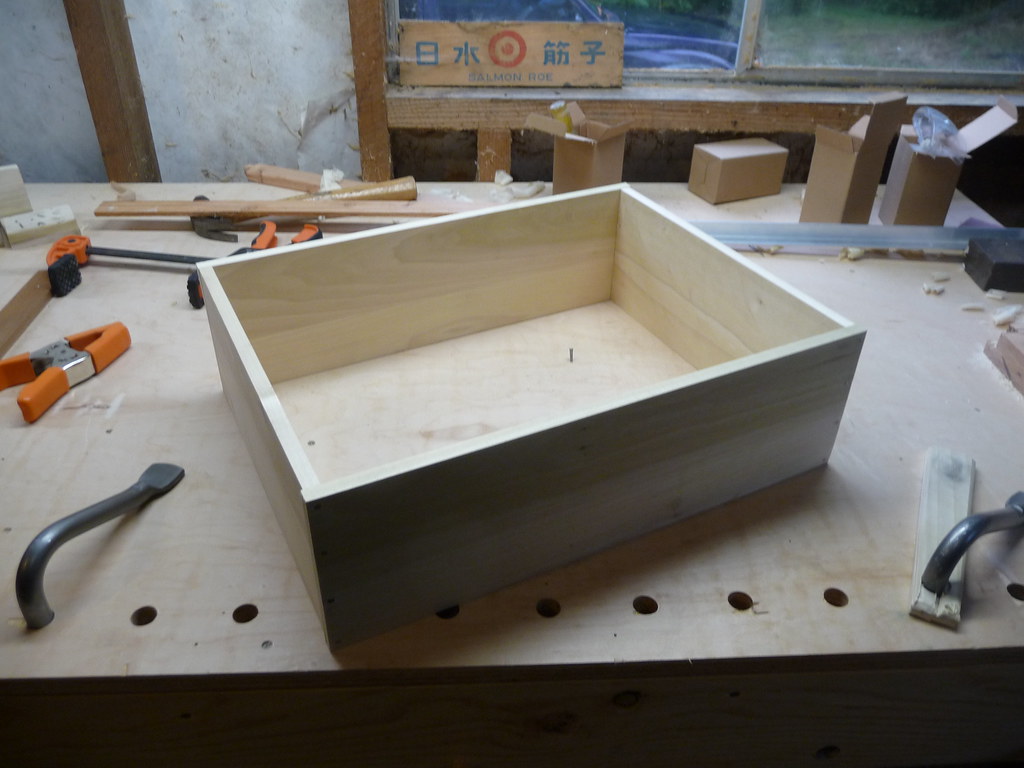
The board is then marked into the seperate pieces for the ends of the box, and cut. A second board is ripped, and both are planed to re-true the edges and ensure they are of the same width. Then, the 2nd board is marked and cut to produce the sides of the boxes. The sides marked to indicate the position of the end boards, and its all nailed together. This process is a bit of work which I failed to photograph. Maybe on box #3. Here's the results of today, the shell for Packing Box #2 is complete. Soon the bottom and lid will be assembled, and the box will be done (but unfinished!).
Beautiful work and I like your blog a lot. I have even included it in Blogs I Like on my site (shameless self-promotion). At various points in my life I have done woodworking and even worked with Roy at Colonial Williamsburg in the summer of 1980 as one of those guys who wear the silly uniforms. Roy is an amazing person, maybe the smartest person I have ever known. I learned a tremendous amount.
ReplyDeleteAt any rate one small point that I believe I learned from Roy- never set your plane down with the knife on the bottom. Put it on it's side. If I am wrong about this please correct me. Otherwise keep up the good work. I think it is important to keep alive traditional arts and crafts, and it is great to see the work that Roy has promoted carried on.
Ches- thanks for the kind words. What a treat it must have been to work with Roy. I hope to take a class with him, or at least visit his school, at some point in the next year or two.
ReplyDeleteRegarding bench planes, thats almost a matter of religious debate. I've found that by setting them gently onto the relatively soft workbench, there is no discernible effect on the bench top or the plane iron. When I am finished working for more than a few minutes, I do habitually roll the iron back up inside the plane. I store them at an angle in a till, where the soles are slightly lifted off the surface.
Here's a thread discussing this very topic:
ReplyDeletehttp://www.sawmillcreek.org/showthread.php?6356-Hand-Plane-storage....
Just found your blog yesterday, and I've been working my way though all of your old posts. Nice work!
ReplyDeleteAs an aspiring woodworker, this is just the inspiration that I need. I've recently moved, and had to give up my shop. Wherever I end up next, due to financial constraints, I'll probably not have room for a big, messy, loud shop.... but since I've been interested in learning more about using hand tools, this seems like a good opportunity! Less noise, less dust. Sounds good to my wife :0)
Keep up the good work, and I'll keep being voyeur woodworker...
- Joel, recently of Portland, OR
Grumpy Joel - Thanks for stopping by. I'm not too far from you. If you need inspiration I certainly suggest ordering a copy of The Joiner and Cabinet Maker, or the Anarchist's Toolchest. They will both leave you itching to work with hand tools. The lack of dust has been great, at the end of the day I just sweep the shavings aside, wipe down the tools with oil, and call it a day. Its also excellent to not need ear protection, and even listen to music or horrible talk radio while working. I post sporadically since I have a toddler to raise and "dayjob" work, but hopefully soon I will get these boxes done and move on to more interesting dovetailed schoolboxes.
ReplyDelete