
They were 20' long 2x10s at the lumber yard, but I had them cut into 10' lengths there to make them more manageable. What I actually need are closer to 2x4s, but wider boards are generally straighter and higher-quality wood from older, larger trees. This stuff is not wholly clear of defects or free of knots, but they are indeed fairly straight and should suffice for this purpose.
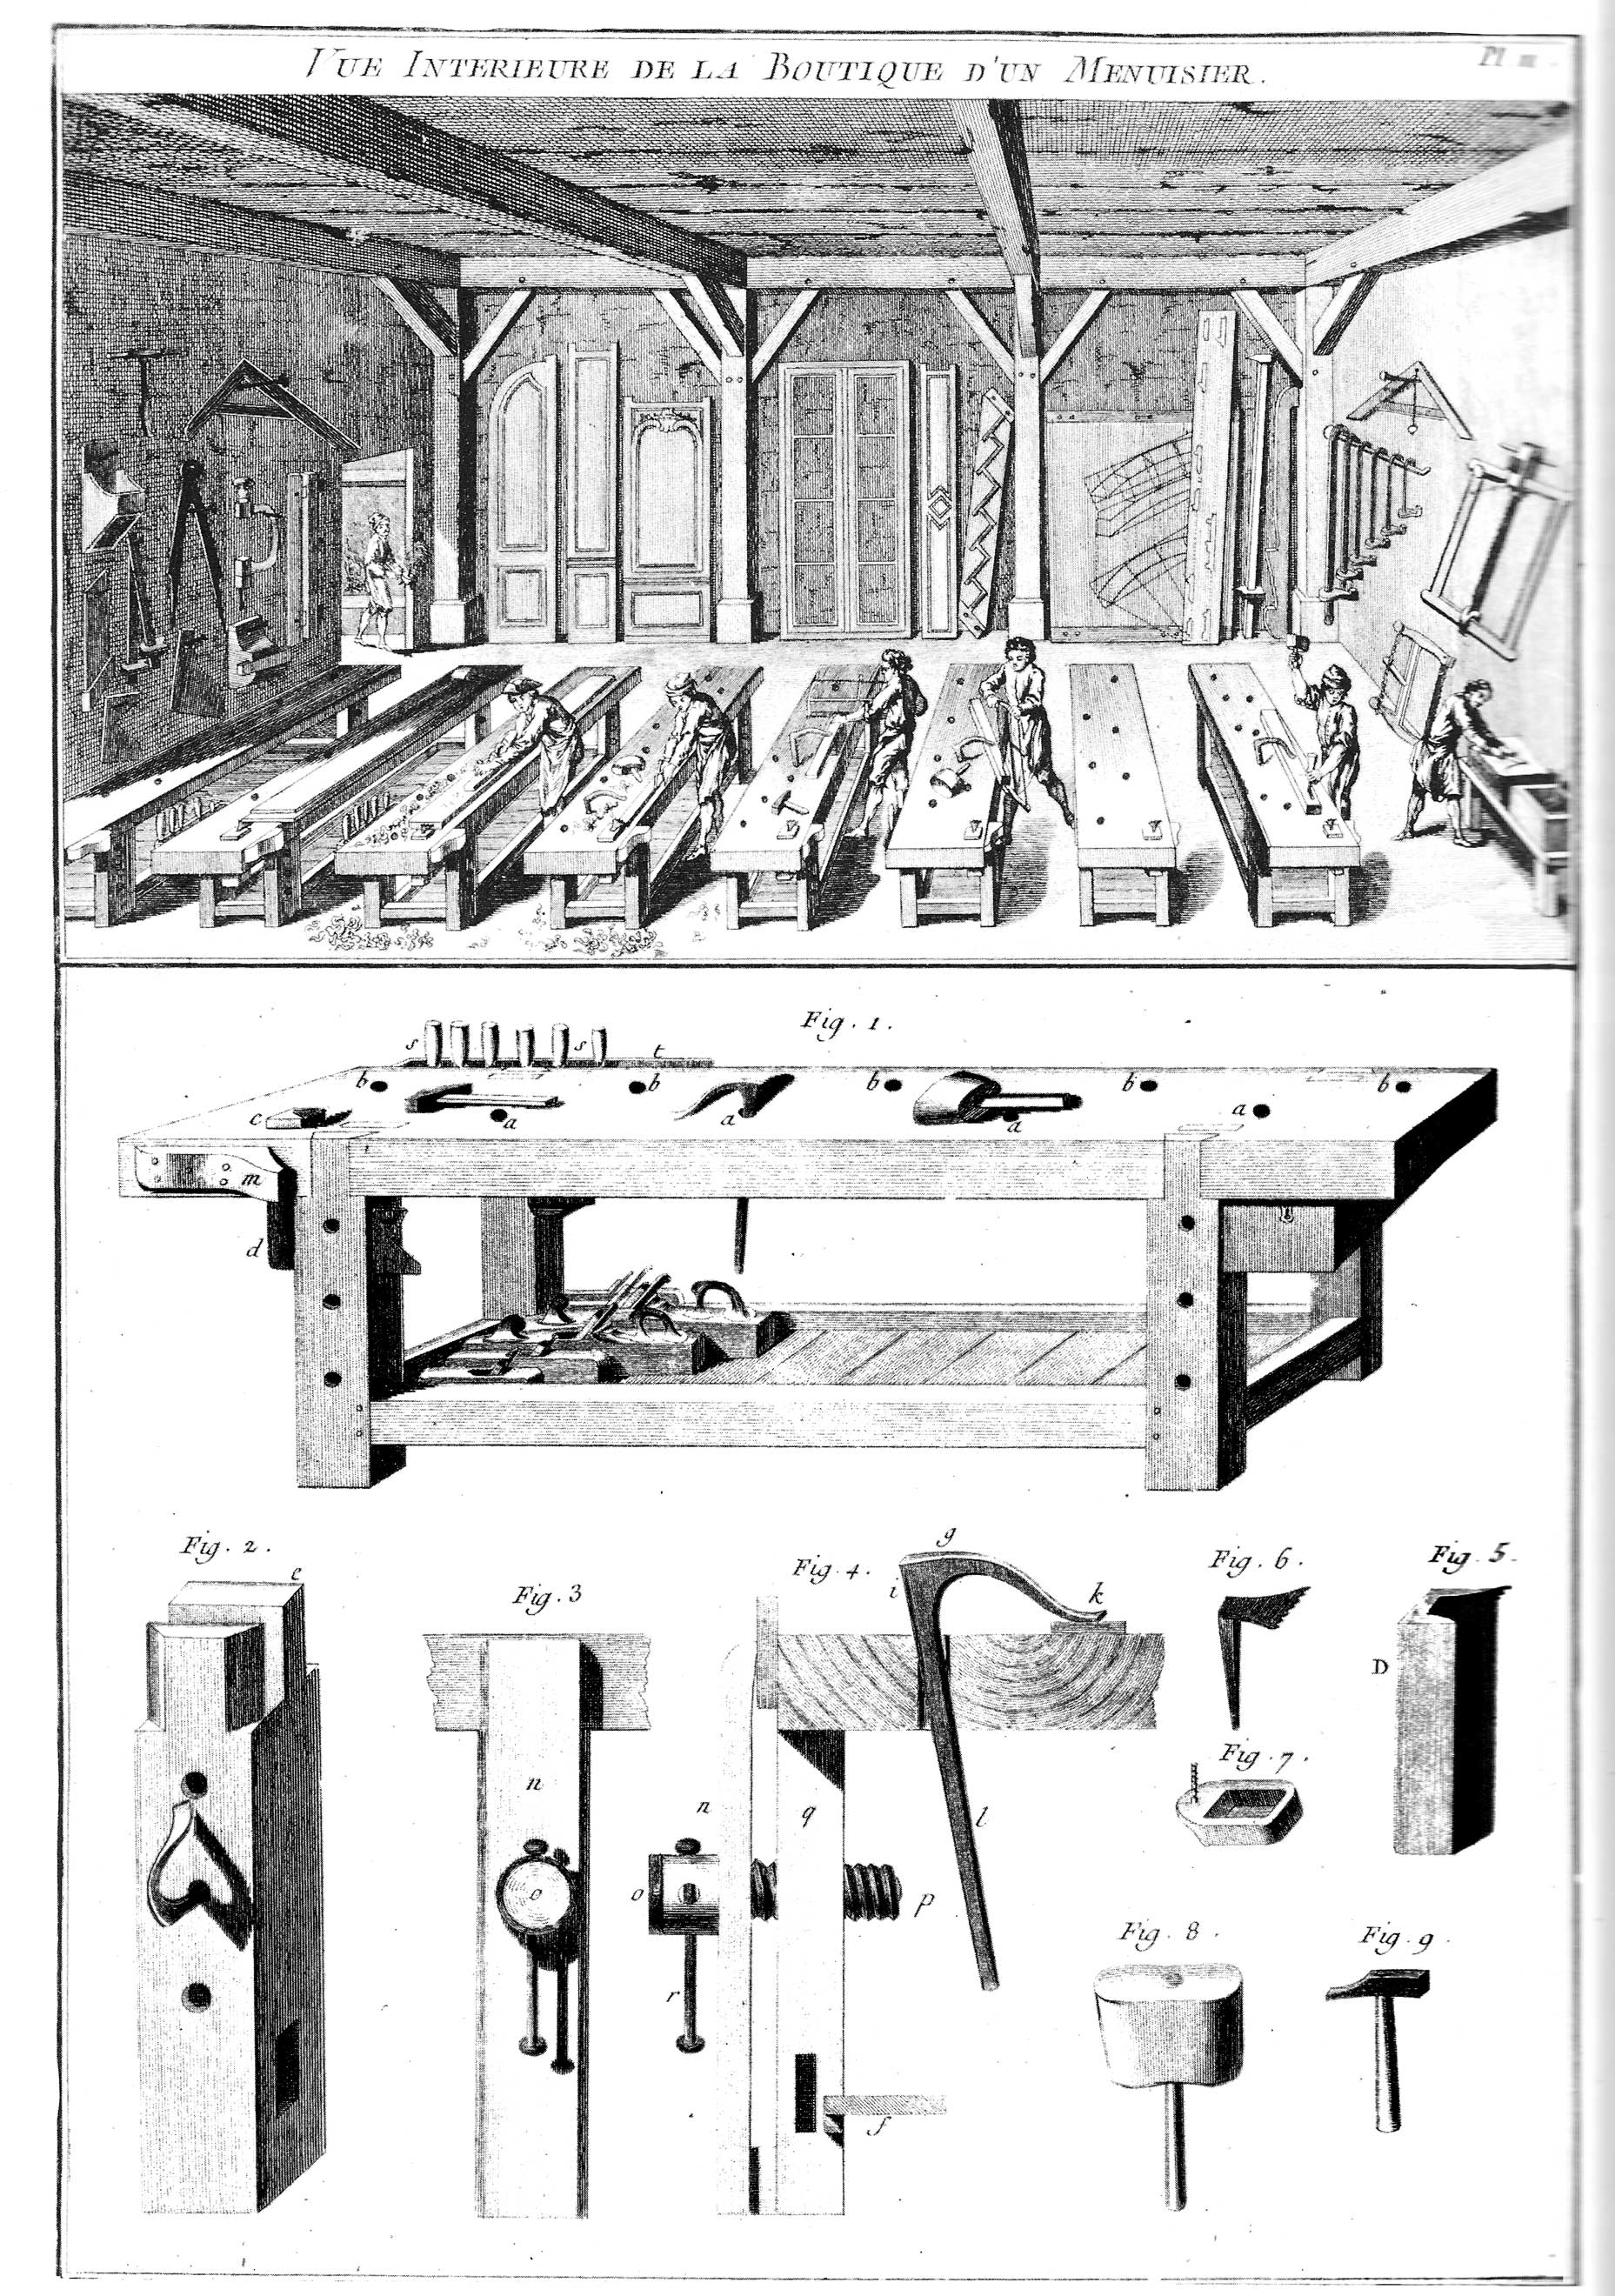
I am planning to build an 18th Century French workbench, commonly known as "The Roubo. It is a fairly popular design (perhaps even trendy) among contemporary woodworkers, but that is not the reason for my choice. After looking at dozens of styles and designs, this is the only one which truly spoke to me. It is simple, clean, as sturdy as possible, and both sensible and flexible. An original looked something like this:
Of note are the overall blocky dimensions, the front legs and stretchers being absolutely flush with the edge of the top, and the holes for holdfasts in the legs. I will likely add a leg vise to the front left leg, and some other workholders. At any rate, this massive table is going to become my main bench with any luck.
I'm starting with the top; this is so that the bench can begin seeing use before the legs are complete. I also plan to build the legs to fit the top, which seems simpler to me than the reverse.
The top will be a 24" (or so) glued-up collection of roughly 4" thick boards, and be about 8' long. Since my boards were 10', that gives me 2 feet to eliminate on each board in case the ends are checked (cracked) or have bad knots.
After cutting the boards to length and ripping them in 2 (I did use a tablesaw, sorry purists), I planed them straight and flat so that they would fit together without gaps.
Here are the boards ready to go, much cleaner than they were from the lumberyard. I am not worried about the rounded edges on one side, since they will be planed dramatically once assembly is complete.

These were slathered in glue (yes, I bought a gallon jug of it) and held together with about every long vise around. There is a vise every foot, and that is maybe still not as many as the ideal.
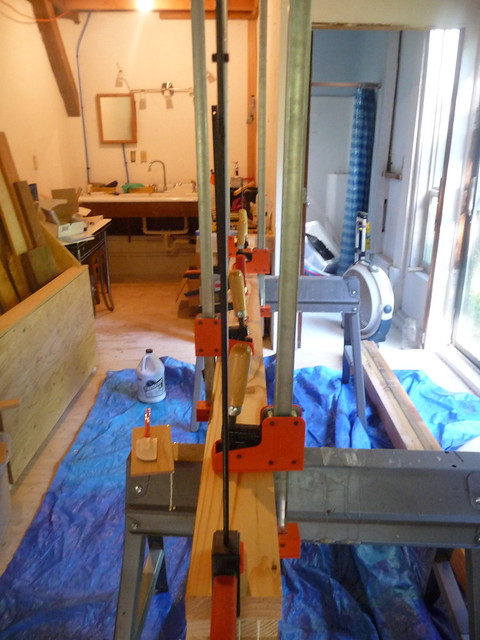
A great deal of glue came out as the vises were tightened. It might seem wasteful but I really wanted to ensure good coverage and adhesion.
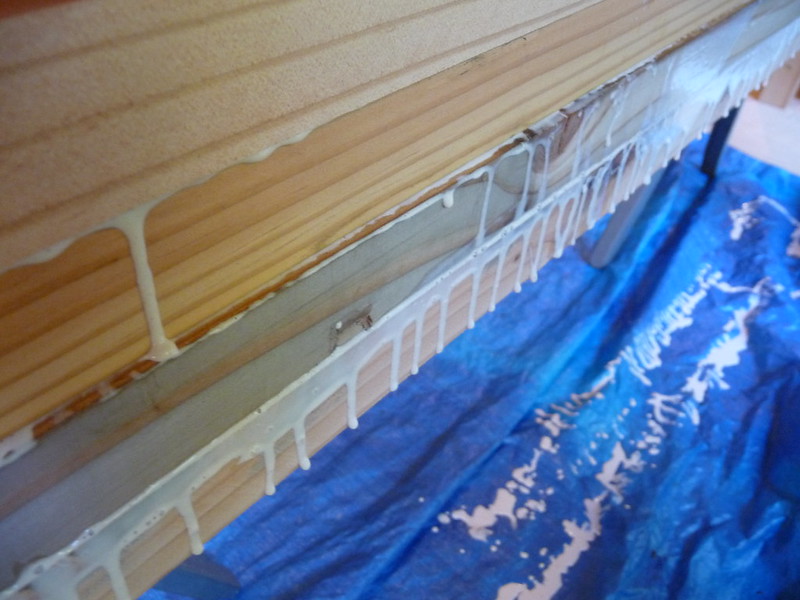
The end result is not at all pretty, yet. The boards are not perfectly aligned, and the rounded edges make humps and shadows where the boards join. Planing the resulting big beam will take care of that in short order. This is the result once the glue has dried, before the planing (which will happen next time).

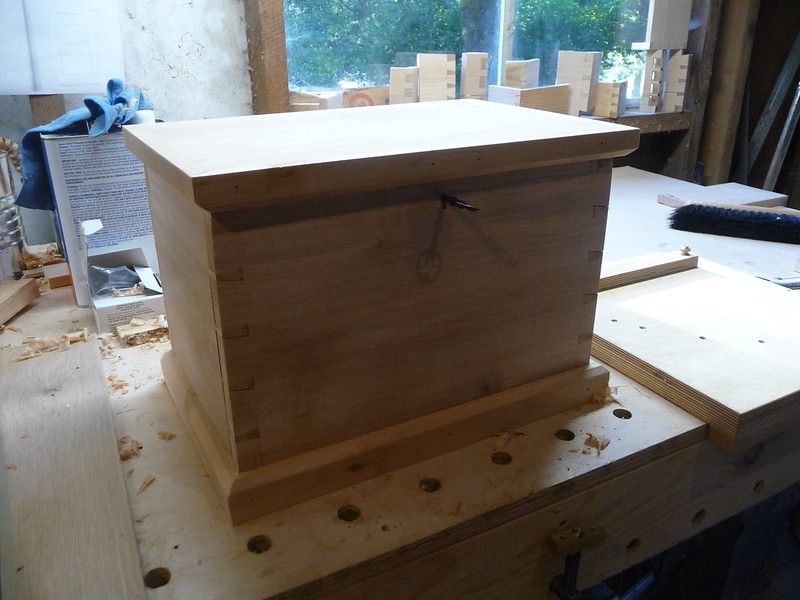
Meanwhile, I attached the moulding to another school box. This one still needs its outside surfaces smoothed (and the dovetails leveled) and then some finish. It went together way faster than the previous ones, just 3 sessions of a couple hours each. I believe the experience gained with the tool chest and its vast array of dovetails was rather valuable. I was also able to make this box completely by memory with no consulting of the text, although I did grab dimensions from an existing box using dividers.
2 of the 4 beams for the top are now glued up. 2 more need to be built, and then all need to be planed and glued to each other, and then planed again. At that point, the legs will be built. Soon a decision needs to be made regarding the vise hardware and how it will be mounted, as these accommodations are much simpler to arrange before the bench is built.
Don't worry about the glue. It's amazing what a little planing will do.
ReplyDelete