Yep it has been a long, strange trip.
The Foundation Course ended up taking all my time and energy, so much that there was none left to talk about it. People would ask me what I was doing and I was unable to say much more than "building things... planing... sharpening".
Nonetheless, I have been getting emails asking what happened and where I have been, am I all right, etc. It is very sweet for folks to check in and I suppose I should have been more proactive in posting updates, even if I had little to update.
All that said, I have not given up woodworking, and quite the opposite. It is now just about all I do!
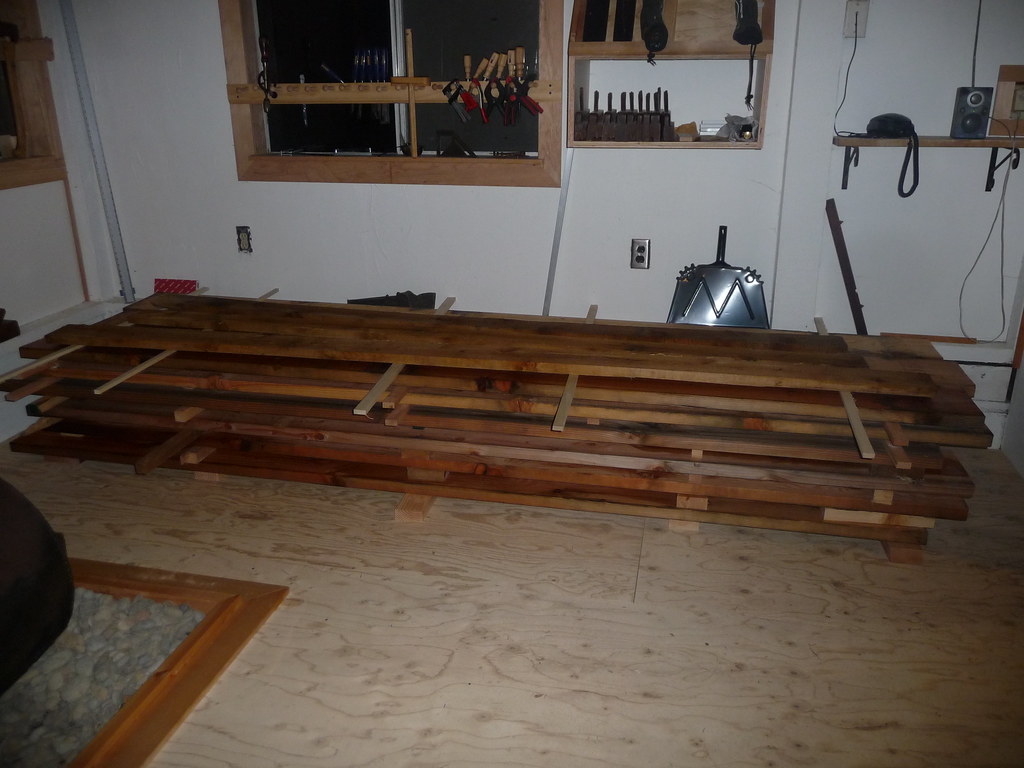
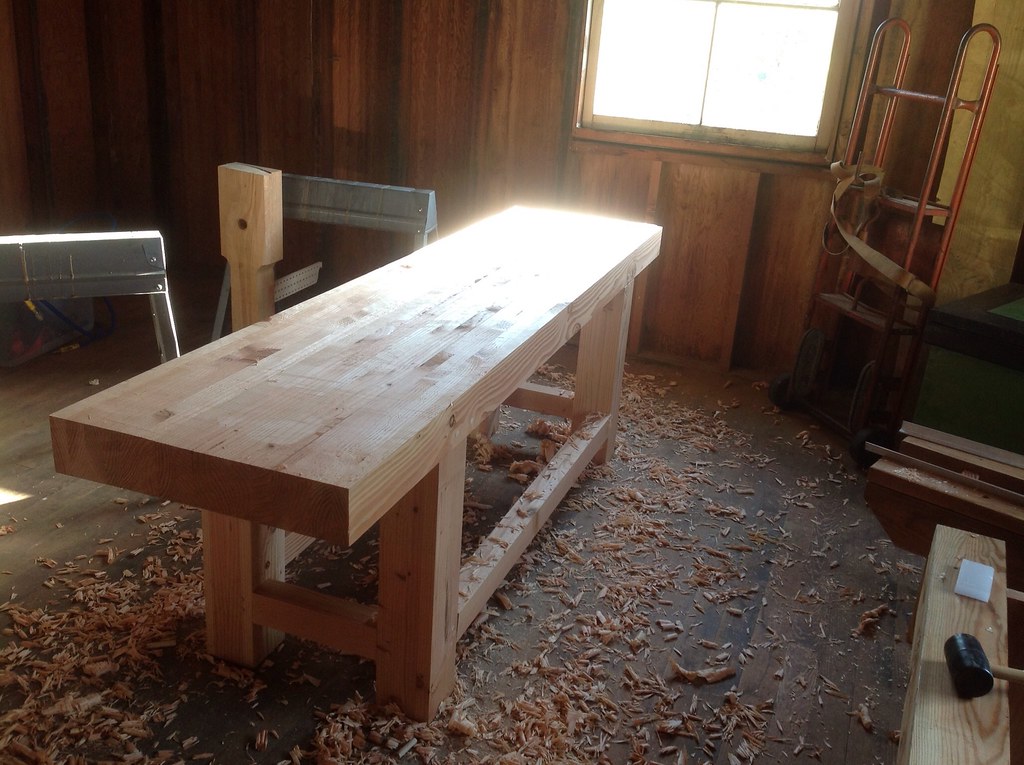
After the foundation course ended, I was asked to stick around and help clean the school, resharpen the tools, and so on. Eventually, I was made an employee of the Port Townsend School of Woodworking. I have served as a teaching assistant for a couple classes, do much of the stock preparation, and of course do a ton of cleaning and other less glamorous work. I have built four new workbenches for the school, and plan to make some tool storage units soon.
I've also started to work on a traditional carpentry project, building a hand tool workshop using hand tools! More on that soon, but here I am on the way home from work one day:
On the back on the bike (this is our "kid carrier" which serves as a minivan) you can see a tool tote I made at the school based on a Jim Tolpin design. It has ended up being very useful for toting construction tools. It is not long enough for my crosscut saw, so I am tempted to add some cleats to the side of it for that purpose. The tote is all designed around tool and human considerations; I have a feeling Jim's upcoming book "By Hand and By Eye" will address this.
So most days when I am not building, I am at the school preparing for classes, helping students with their projects, or cleaning up. Much more on all this soon.
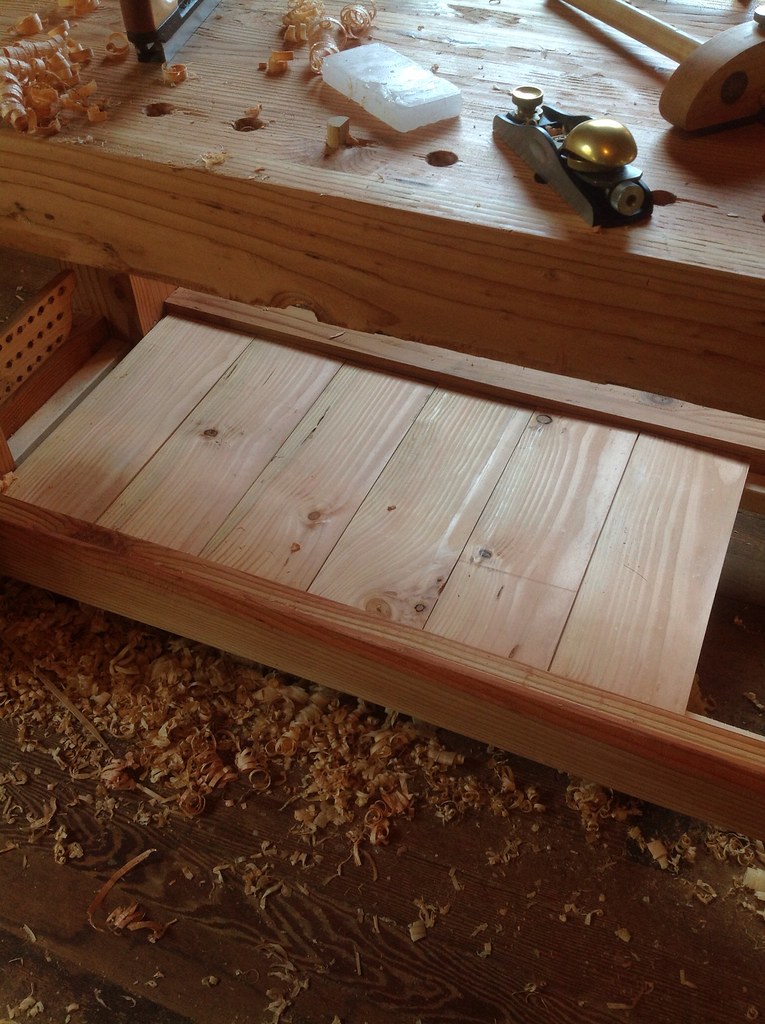
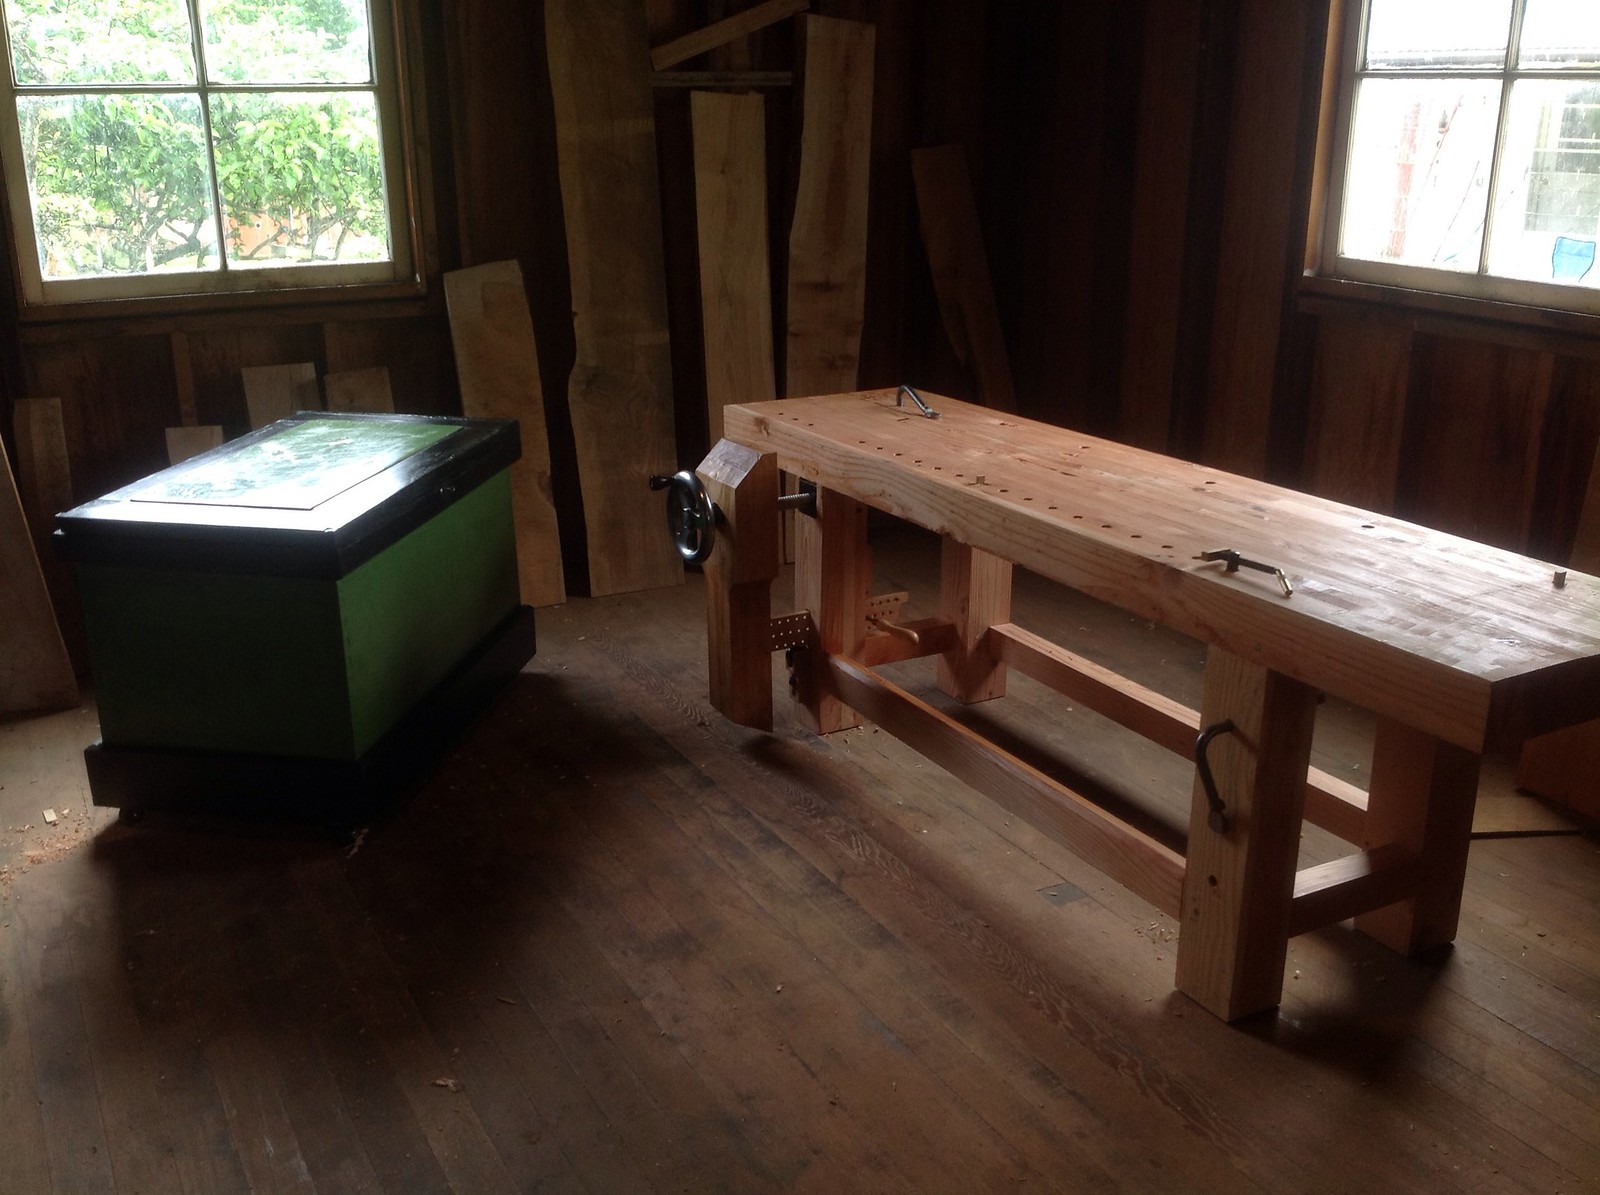
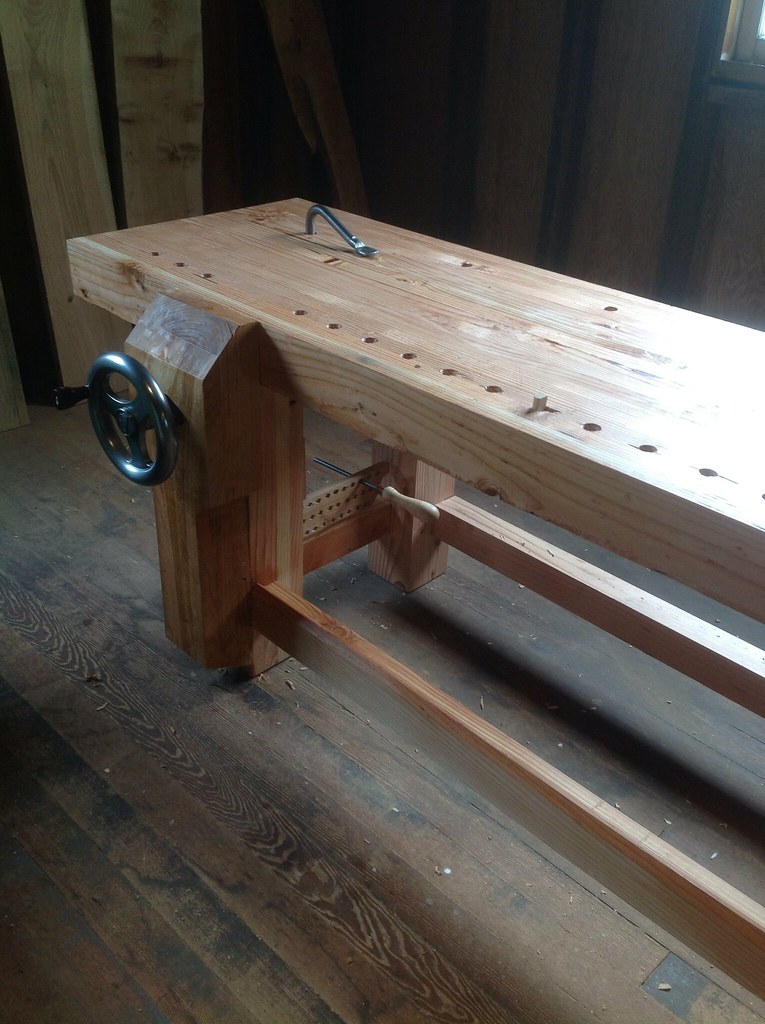
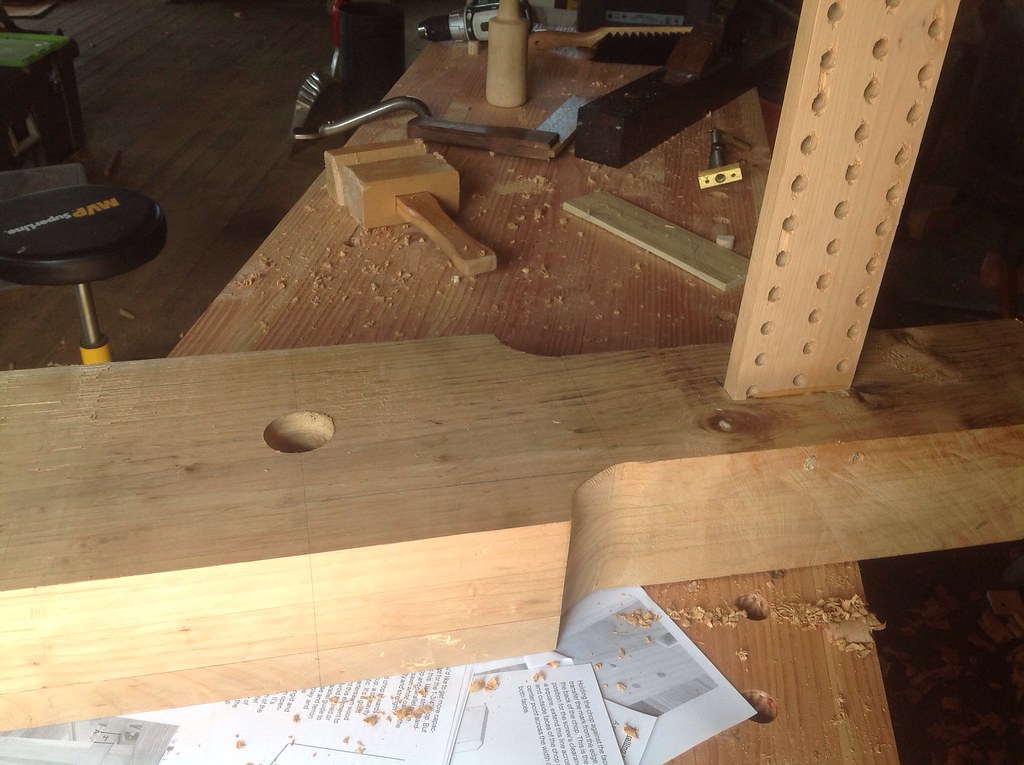
Today was a very rare day where I go to work in my own shop, which is still a new-to-me space. We've decided to stay in Port Townsend and my home does have a unique shop space. It needs a lot of work, but is pretty functional already. My priority in there has been to get my workbench finished.
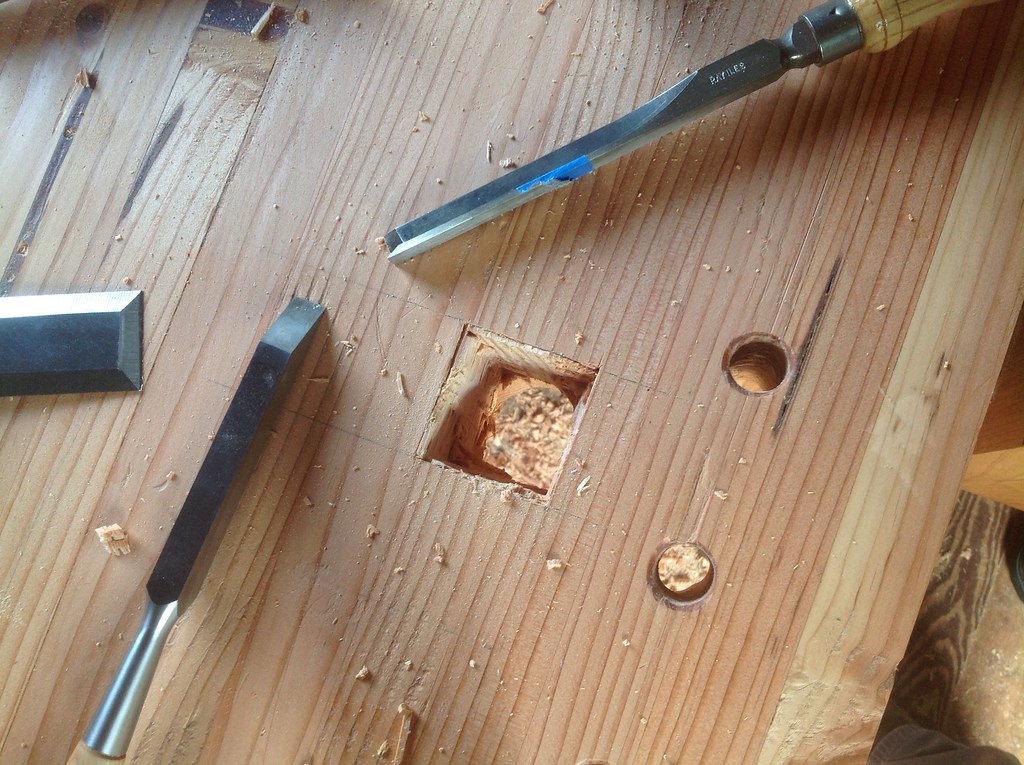
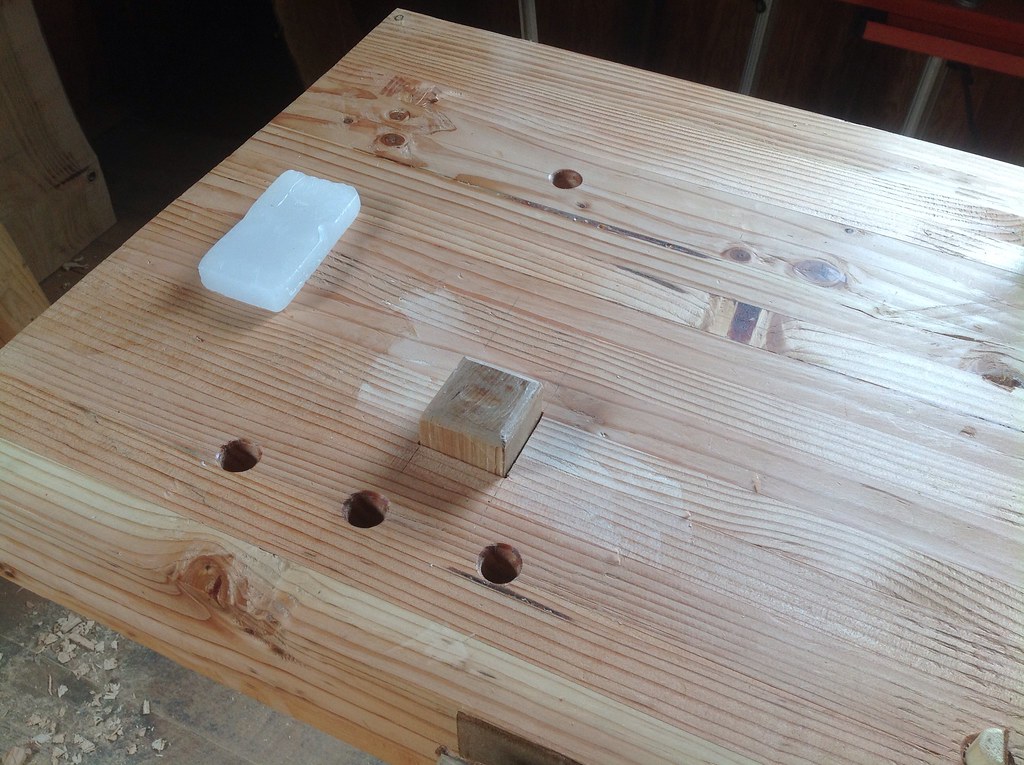
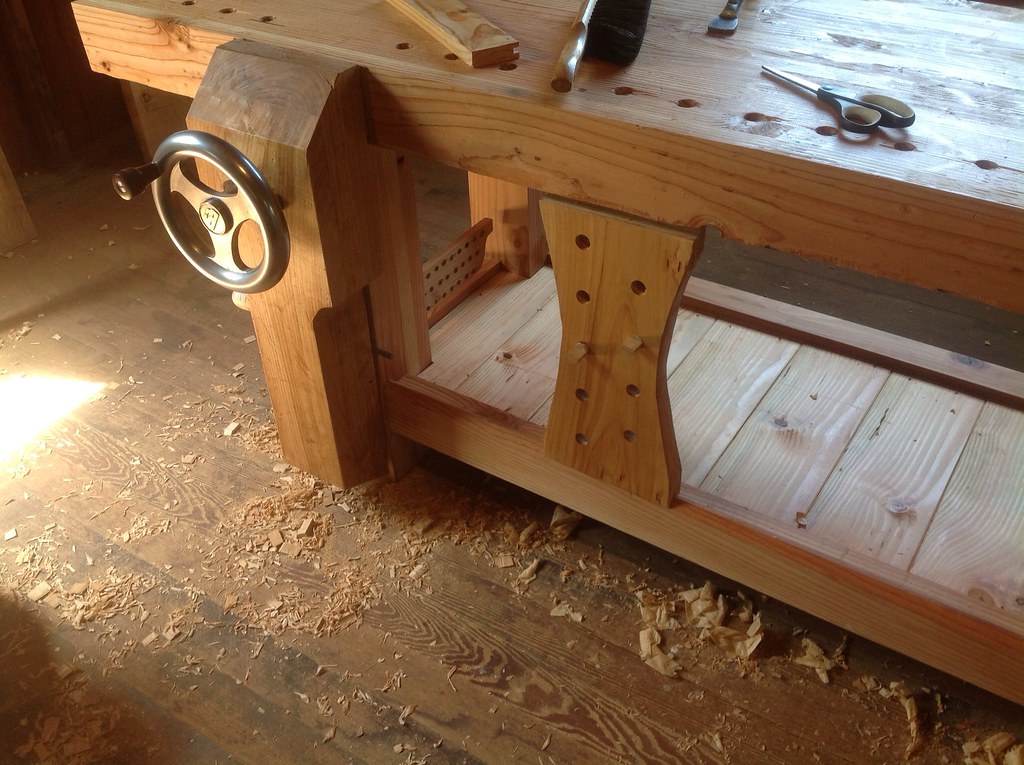
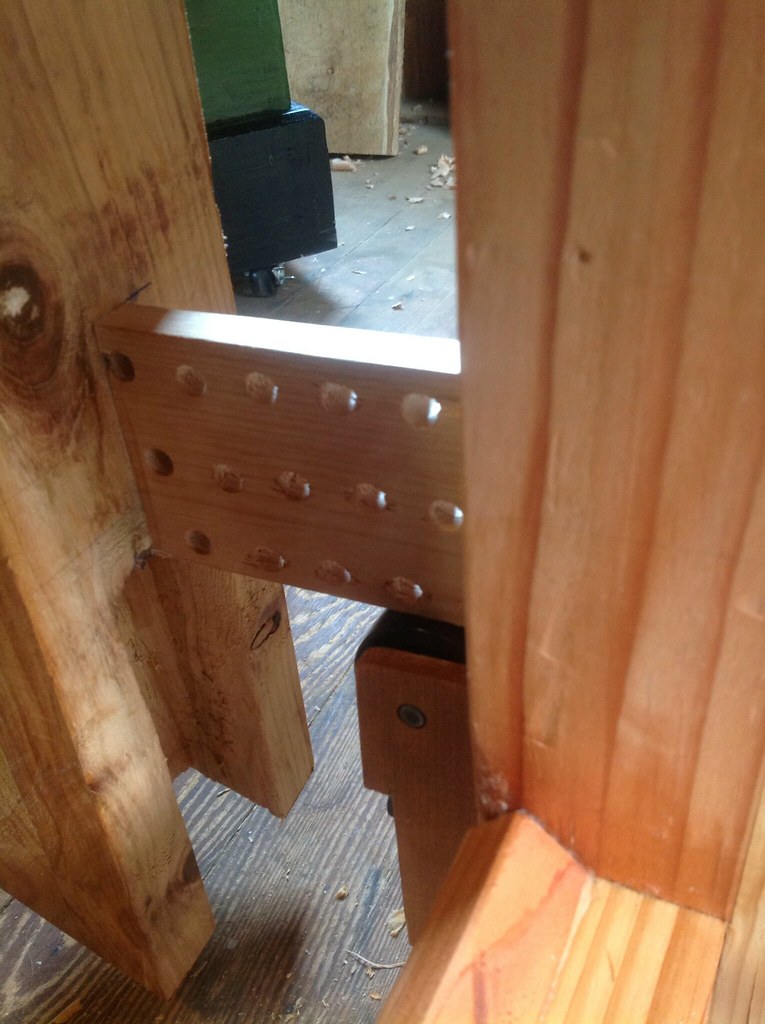
The top is finally joined to the base, I made a groove for the sliding deadman (by hand), and while they are not pictured, I have bored all the dogholes. I intend to build the Roubo planing stop at some point, but who knows. I have skipped the crochet, although I might try that someday, too. I do intend to add shelves to the bottom, but all in good time. As I expected, I started using the bench immediately. The vise still needs some work, and the bench has been useful in getting some of that going.
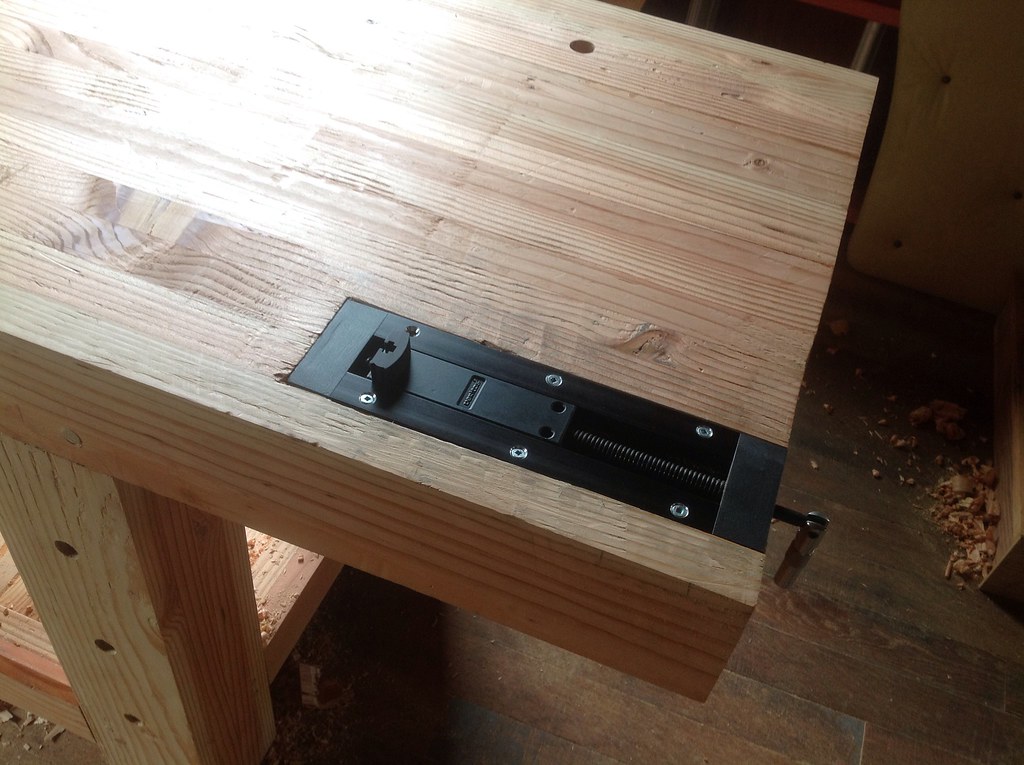
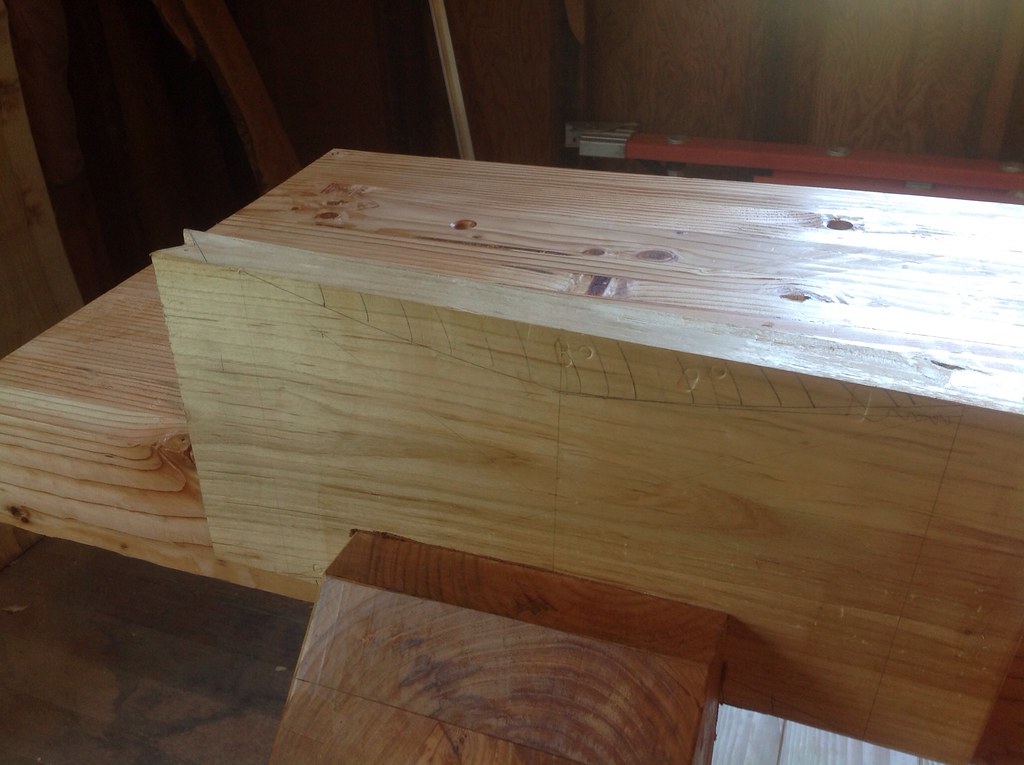
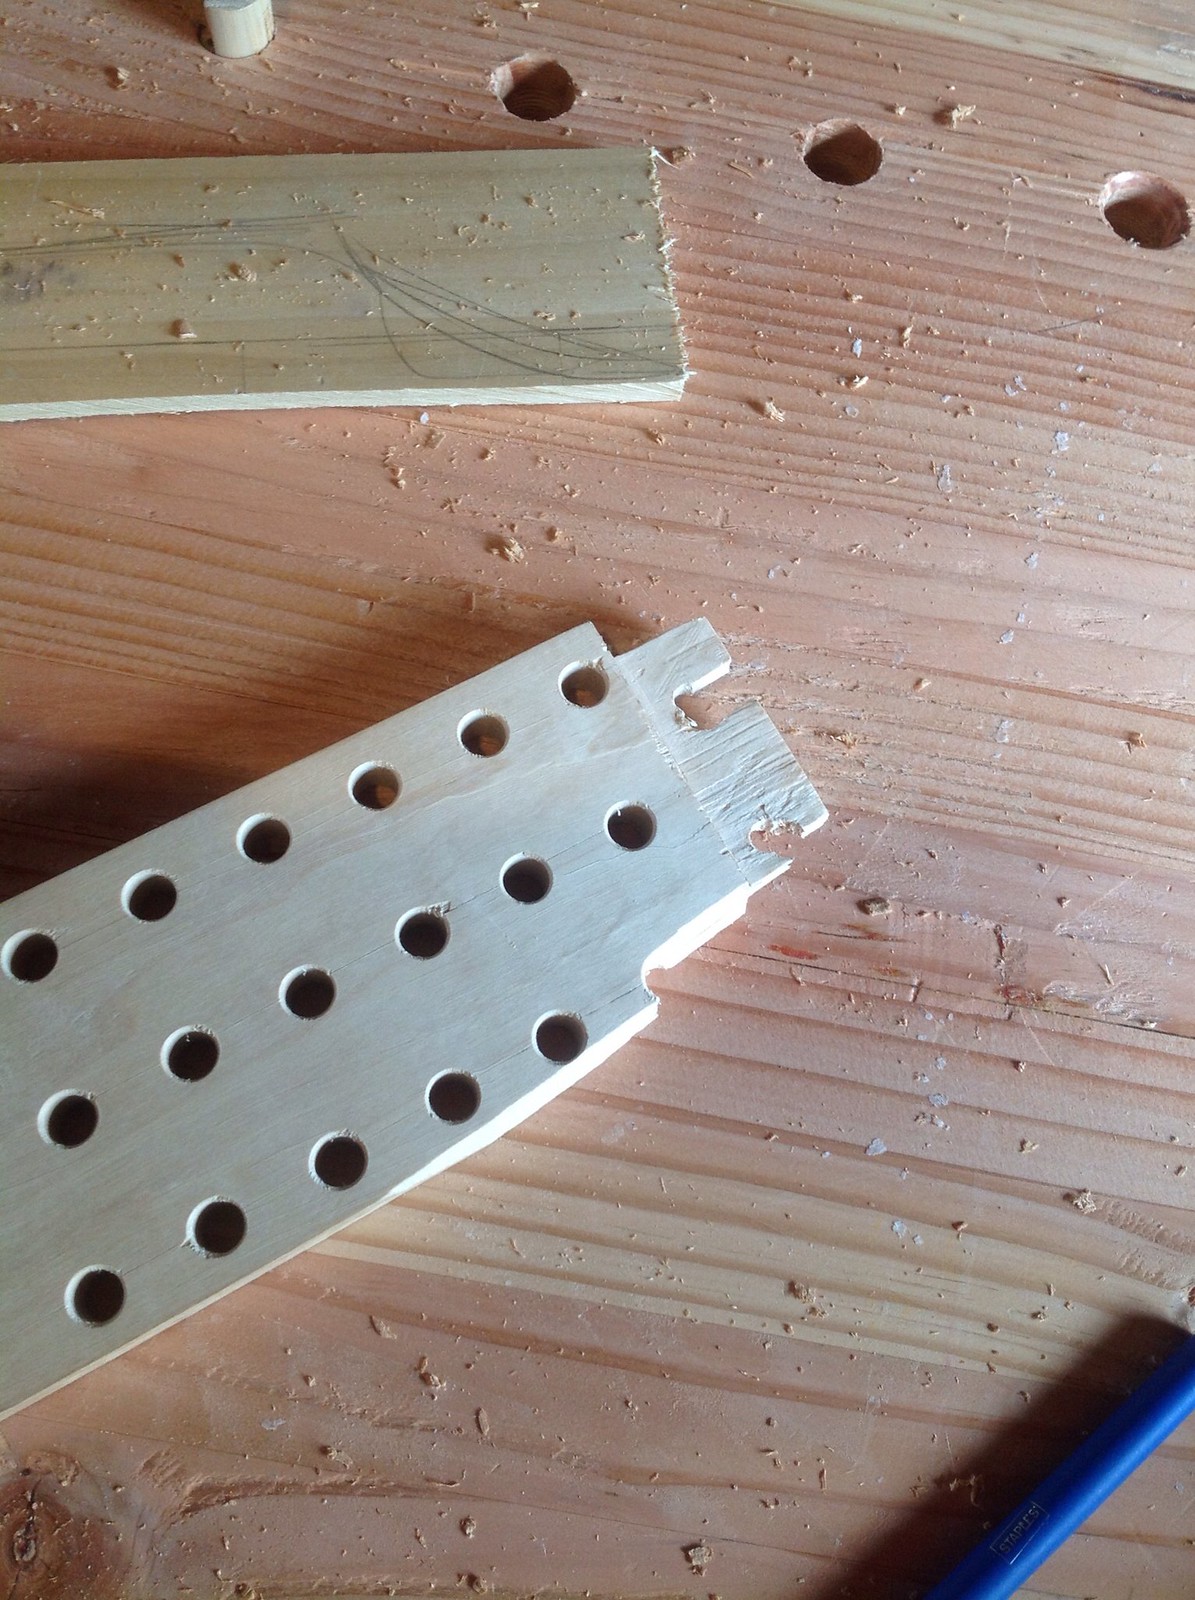
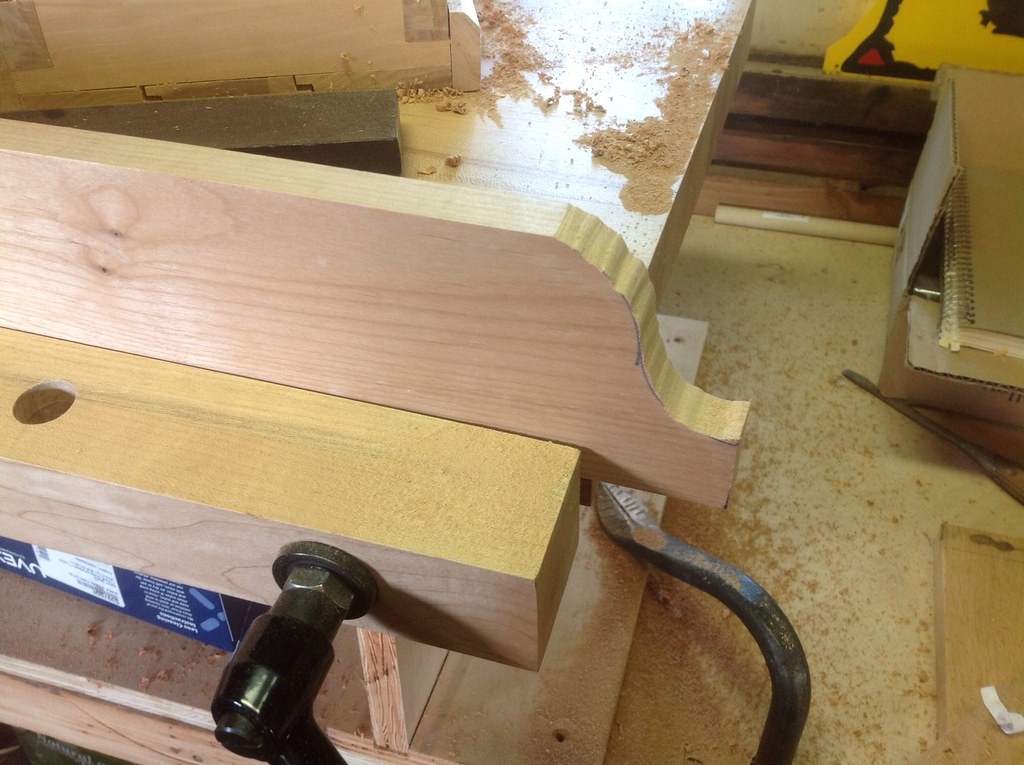
I installed the Glide hardware, and wouldn't you know it, my original parallel guide did not have a sturdy enough tenon:
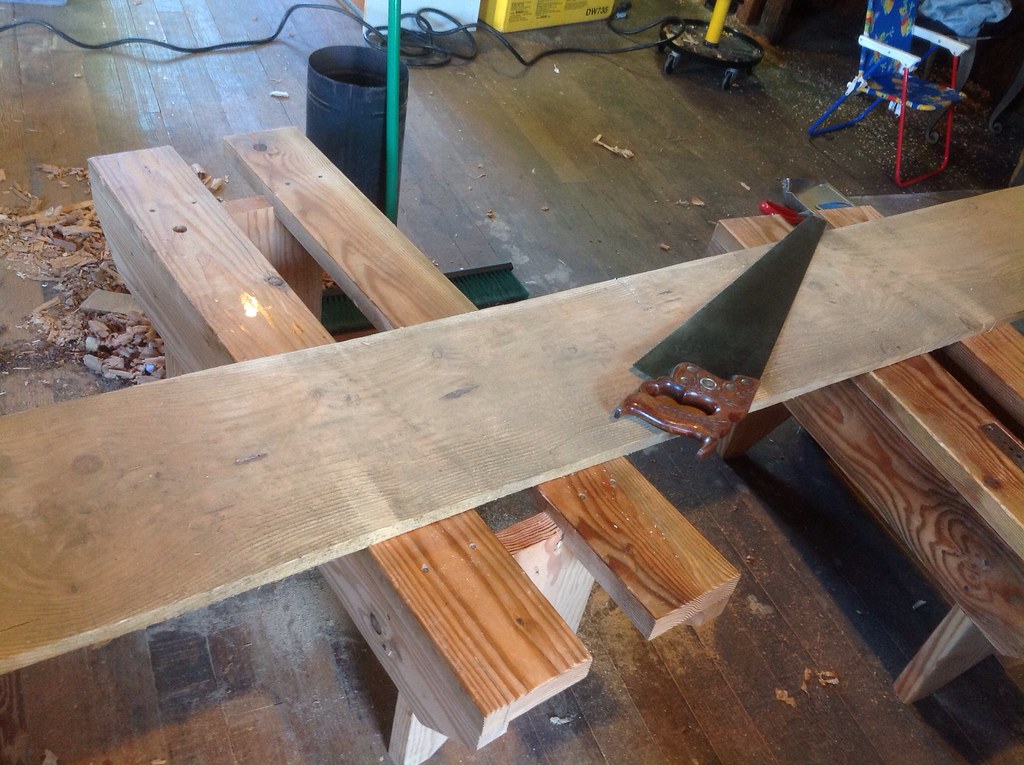
It pulled right out while adjusting the roller bearings. This might reduce an ordinary man to tears, but not I. Quickly selecting a piece of cherry, I planed it rapidly into shape (using a thickness planer, since it was my day off).
When it rains, it pours, and so my mallet broke while I was cleaning out the mortise and prepping it for the new guide:
Dunno if I will bother to fix that thing or not. It has served me well, but we use the same mallets at the school (ubiquitous Crown Tools jobber) and I am not really a fan. They constantly slip down and need to be tightened, and they are pretty uncomfortable in the hand until you make a couple of my patent-pending mods such as rubbing off the slick varnish with coarse sandpaper, and rounding over the too-sharp corners and bottom profile. I've improved many of the school's mallets on the sly but not admitted this until now. Hope the boss is not reading, or is pleased if he is. This thing will probably be even stronger than ever if I glue it back together, but a big part of me would really like to burn it and say good riddance. I've re-flattened the head twice (it gets concave very quickly when mortising, and soon has very sharp, splintery edges as a result).
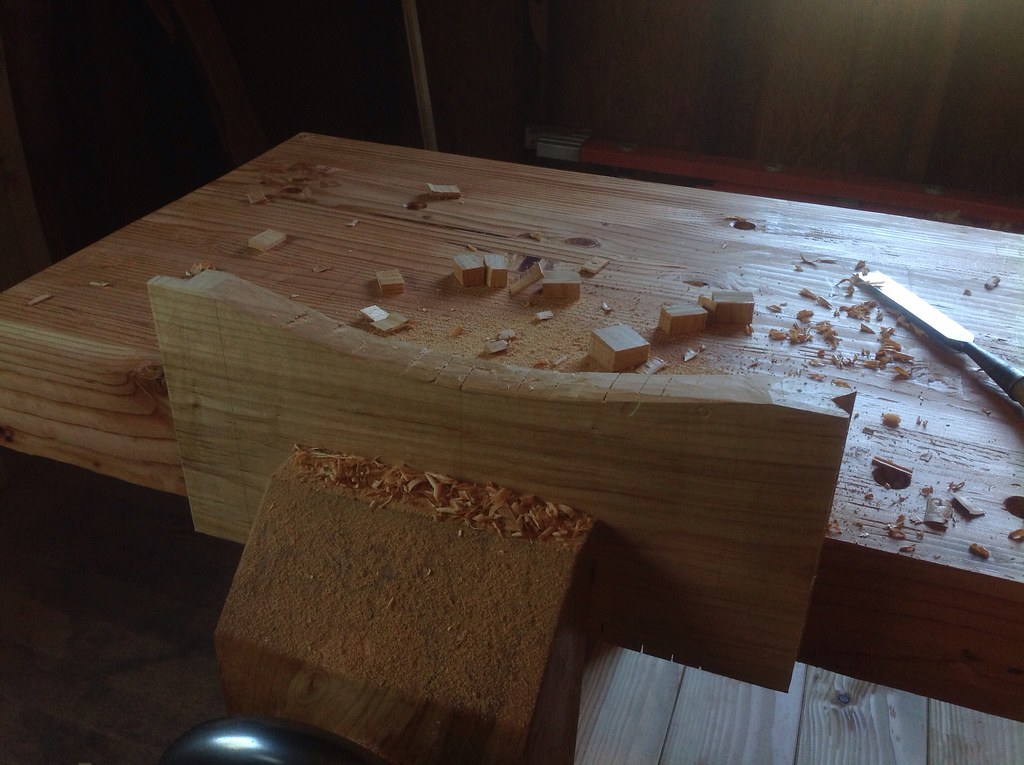
I switched back to my St Louis Cardinals baseball bat mallet, which I quite like. A Flickr user sent it to me on a whim and a good thing! It served not only to finish chopping the mortise, but was also the template for my elegant curves here at the end of the guide:
Sure the thing could be square but what fun is that... a minute or two with the coping saw,
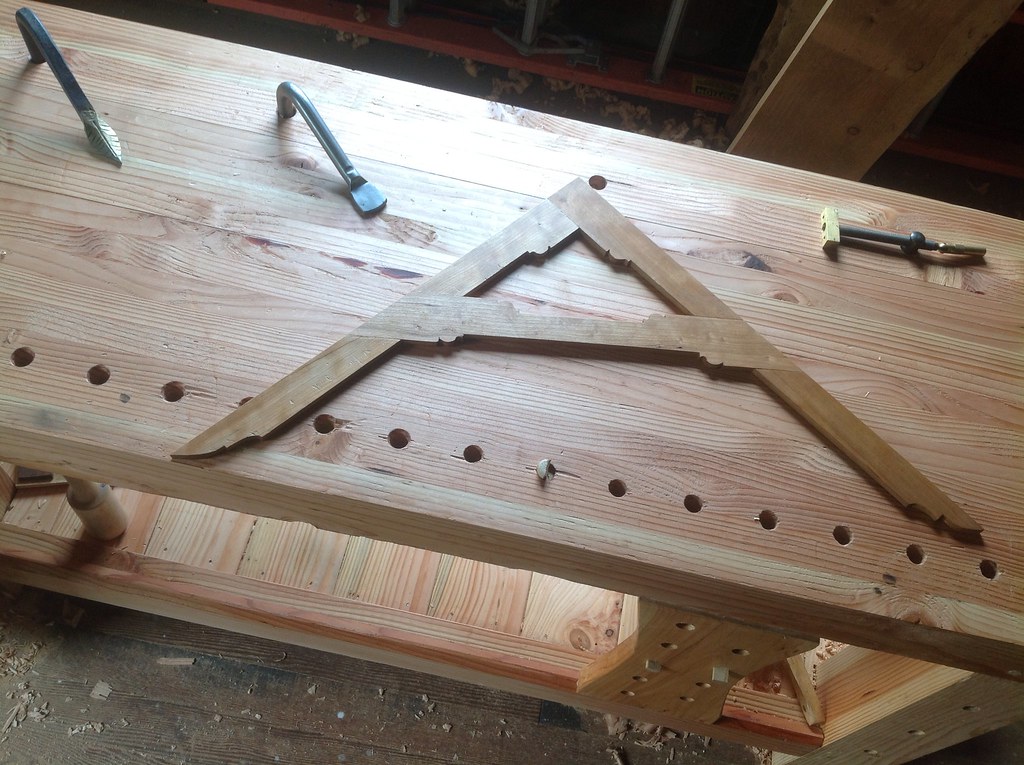
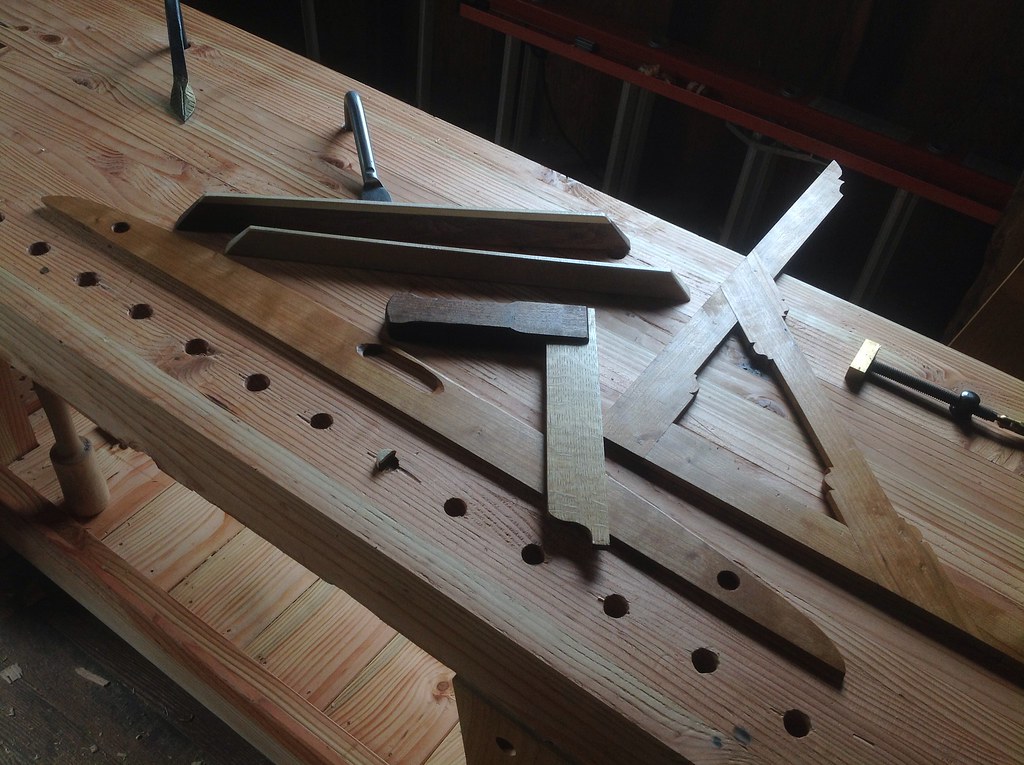
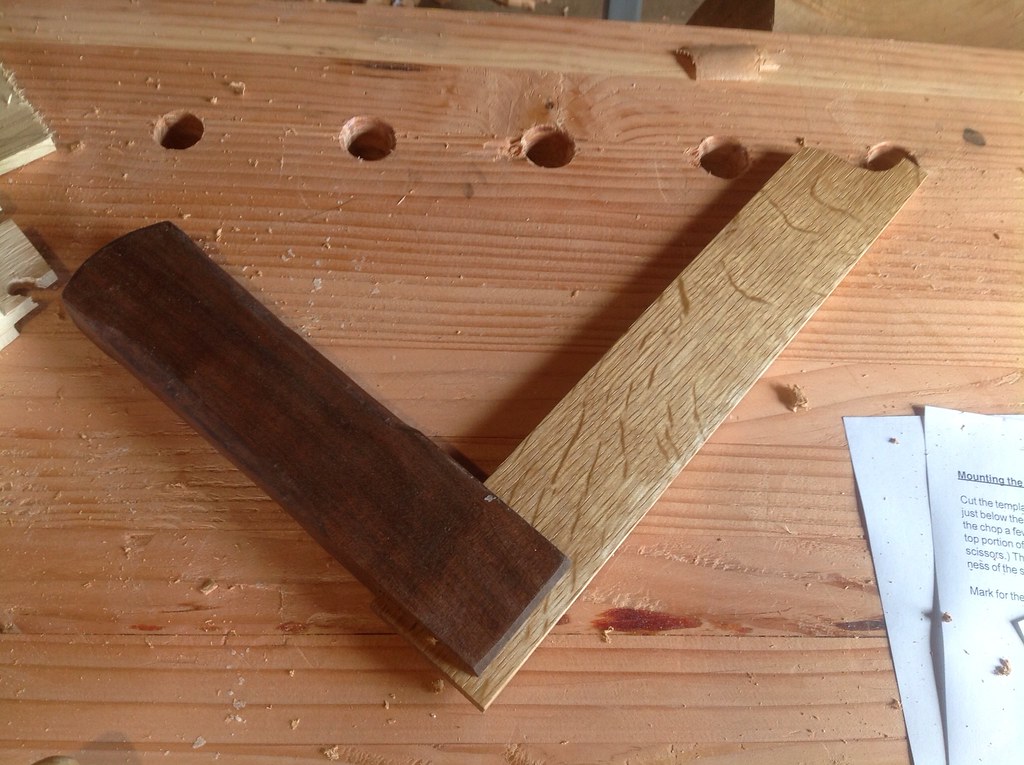
Of course I cleaned it up with rasps (don't have a spokeshave yet, although with fathers day coming up I will still not have one I bet). I got into that mode of working and not taking pictures, so believe me that it is elegant and super nice. That pattern looks familiar! Oh yeah, I made a square also and it has a similar profile. I guess I like tracing round things:
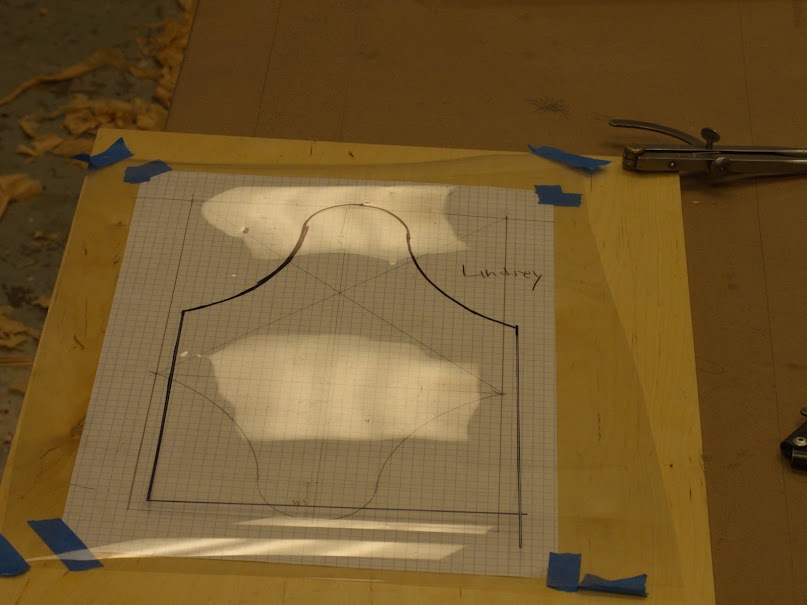
This is another Jim Tolpin design which should look familiar if you have read the New Traditional Woodworker. A big turning point in my life has been to realize that it is actually square, and I totally trust it. Who knew? This precision device was made in walnut and oak. Tung oil finish.
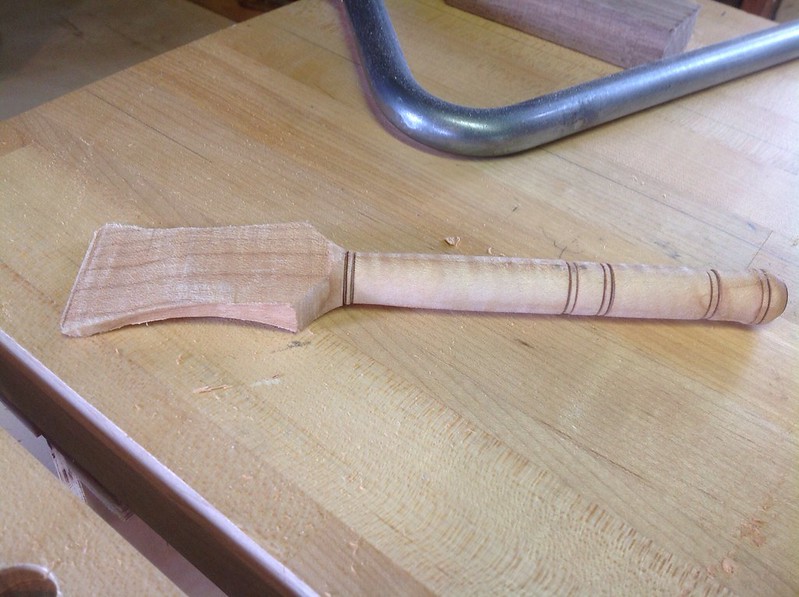
I also took a turning class with Bonnie Klein. Lots of fun and another story. But this little scraper-thing I made was sitting in my shop so here it is:
I want a lathe now, but not really to make little kitchen things. I want to make tool handles, so that I can take junkyard chisels and turn them into fine paring tools!
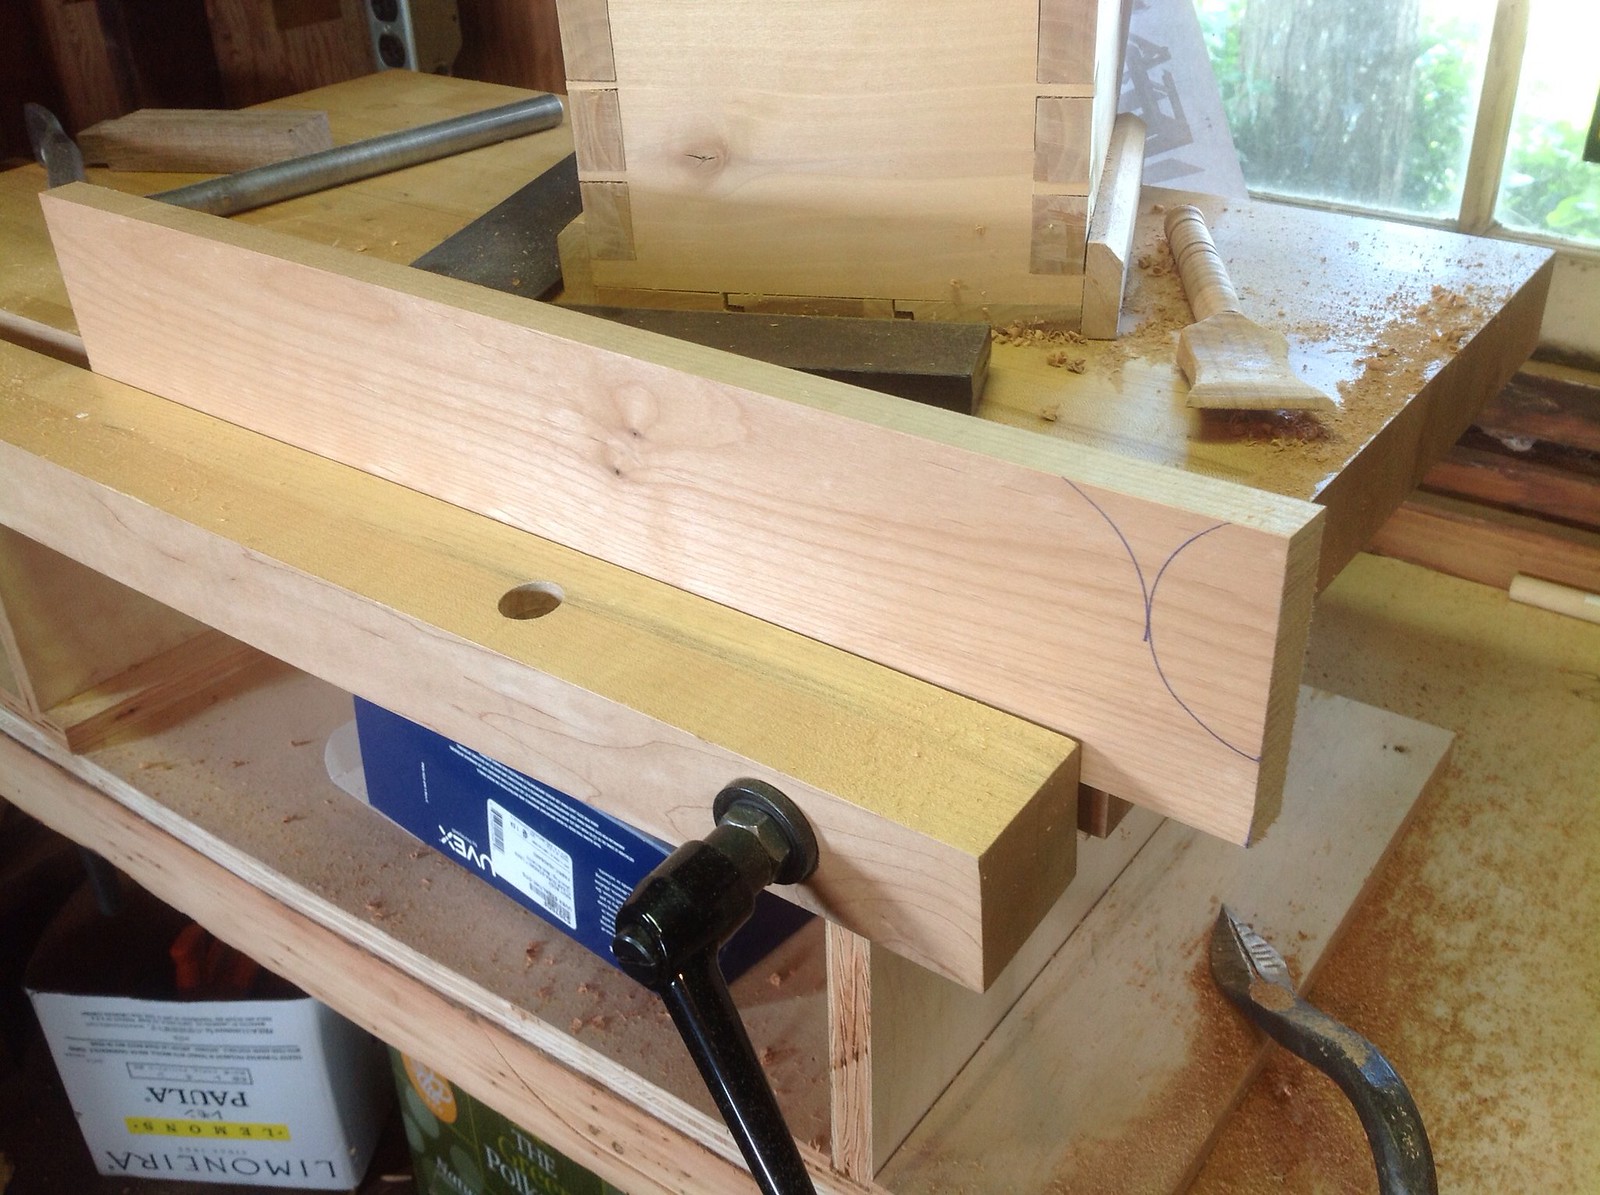
And, finally after cutting a new tenon, drilling new holes, pounding out some trenails and drawboring, I had a new vice chop parallel guide:
It was then time to stop so the fine tuning and satisfaction of spinning that thing in and out will have to wait.
I will be posting more, so dust off your old Joiners Apprentice feed and get ready, I'm back!
PS:
Best wishes to Kari Hultman of
The Village Carpenter! Just as I am going to start writing again, she is stepping away. Her blog has been one of my favorites and her work has been super inspiring. Check out the carved plane she just completed. Best wishes, Kari!