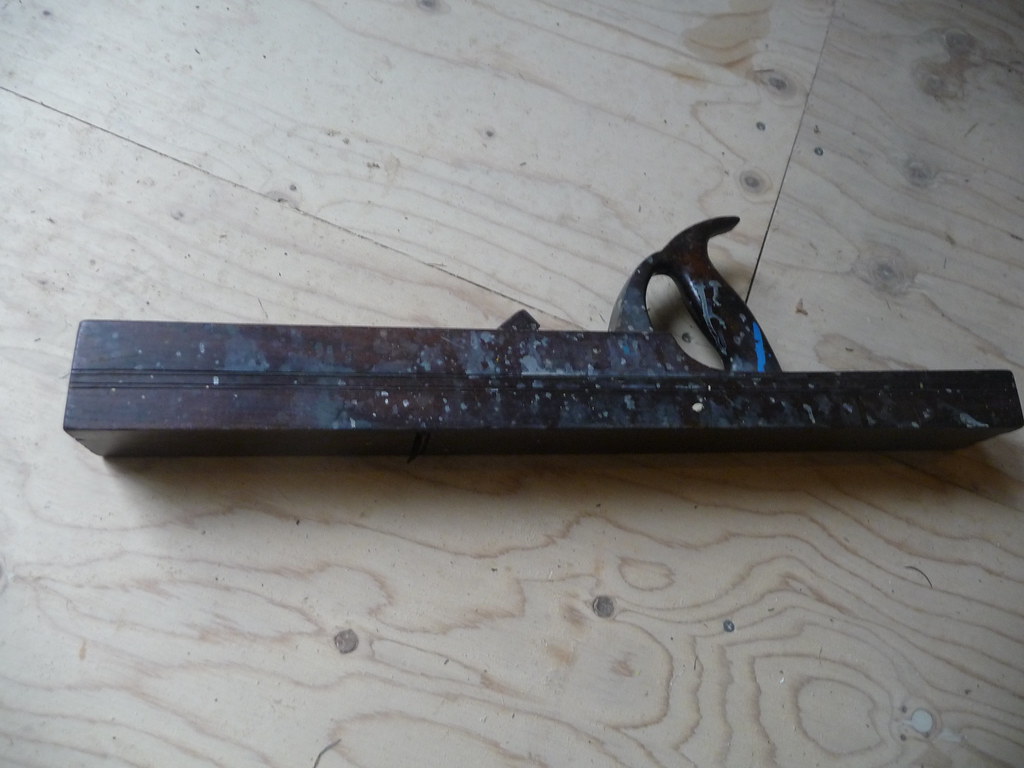
And after a bit of elbow grease:
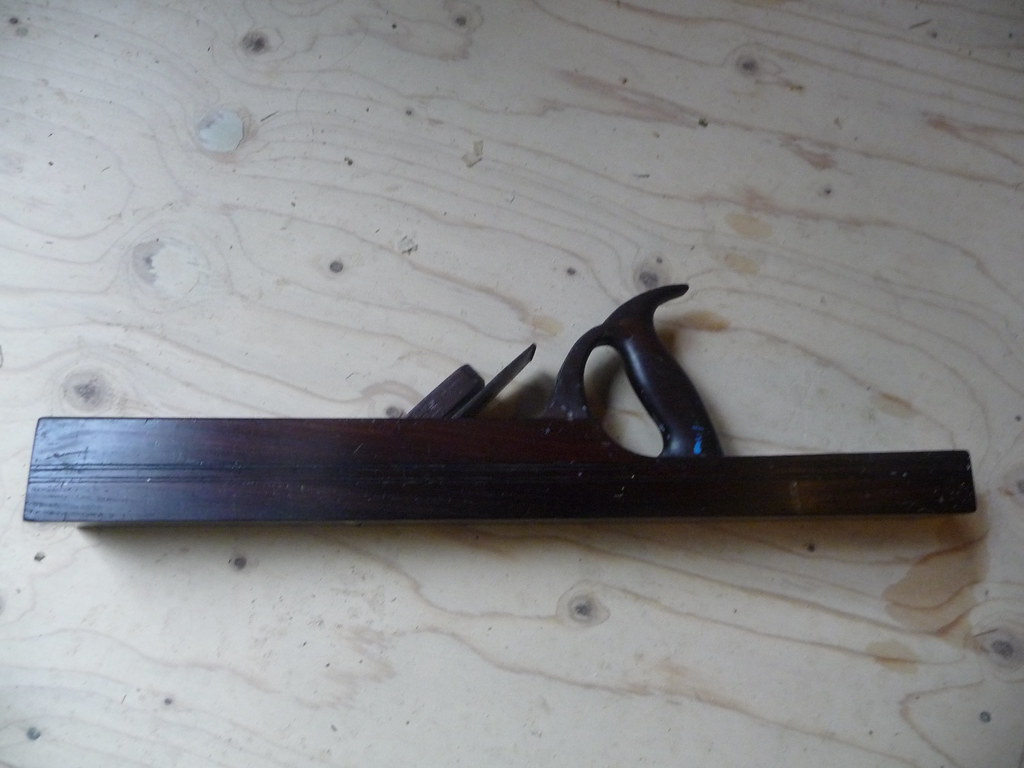
Much nicer, wouldn't you say? The sole was actually fairly clean so I just gave it a wipe with mineral spirits, and then waxed the whole thing. Of course I also flattened and sharpened the iron. This plane works very well! It will be interesting to give it a try over the course of a project. It is possible that it is a bit easier to push on edges than the metal plane is, but it also seemed a little more difficult to plane face grain with it. It does take a different technique, so after some practice it will be more useful to compare.
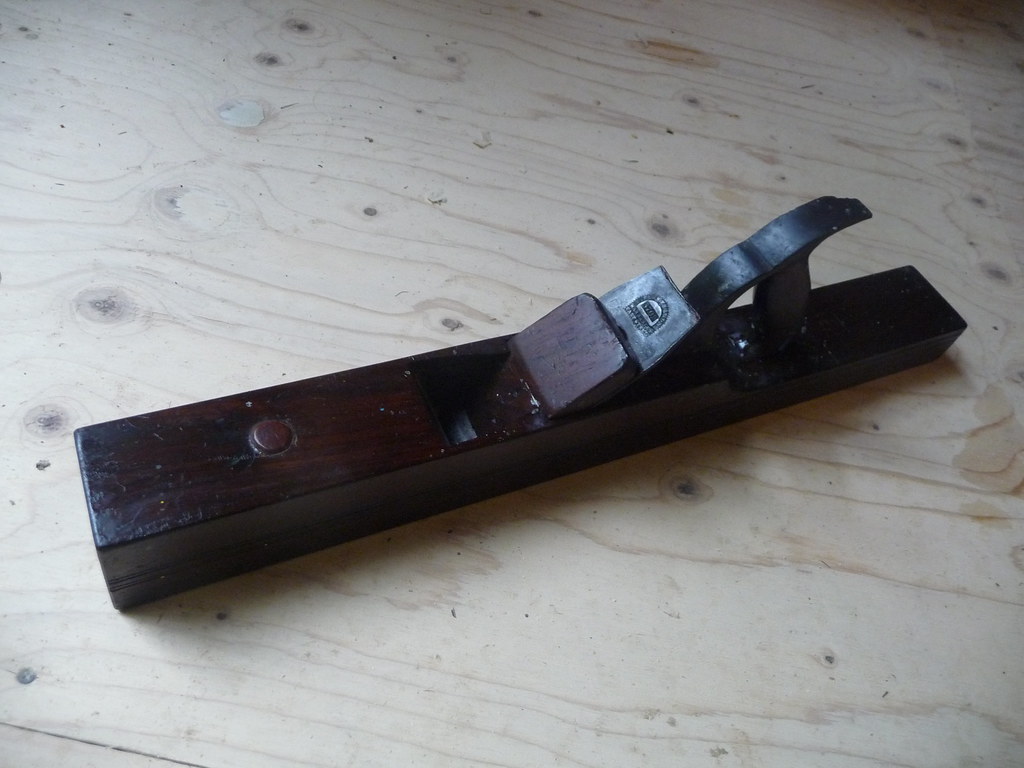
There is no maker's mark on the body of the plane that I can find. The iron, however, had one:
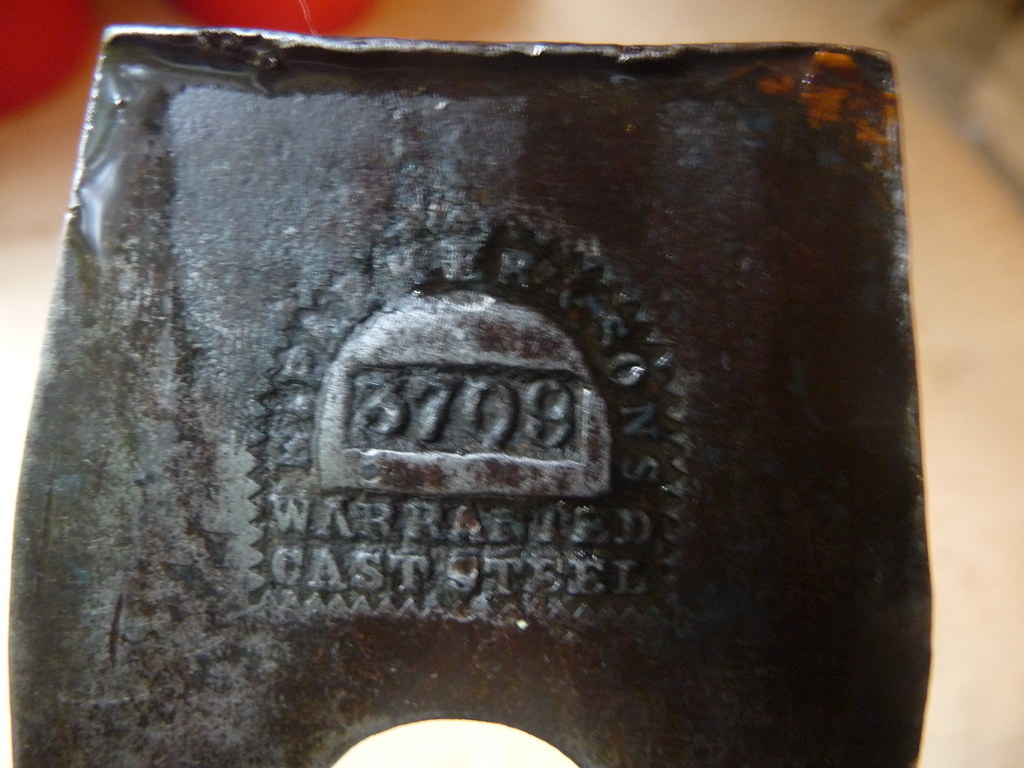
Looks like F, K or R Parker & Sons. Quick websearches don't reveal anything. I'll do a little hunting.
I then honed my jack and smoothing plane. The smoothing plane has been leaving track marks, despite having filed the corners of the iron. I did a little more filing and fine-tuning of the blade projection. I -think- its improved, but time will tell. I am really looking forward to my plane workshop at the end of this month, where I can get some expert feedback on the condition of my tools.
I ripped the cross-strengtheners for the lid of the final packing box, chamfered their sides, and nailed them onto the lid.
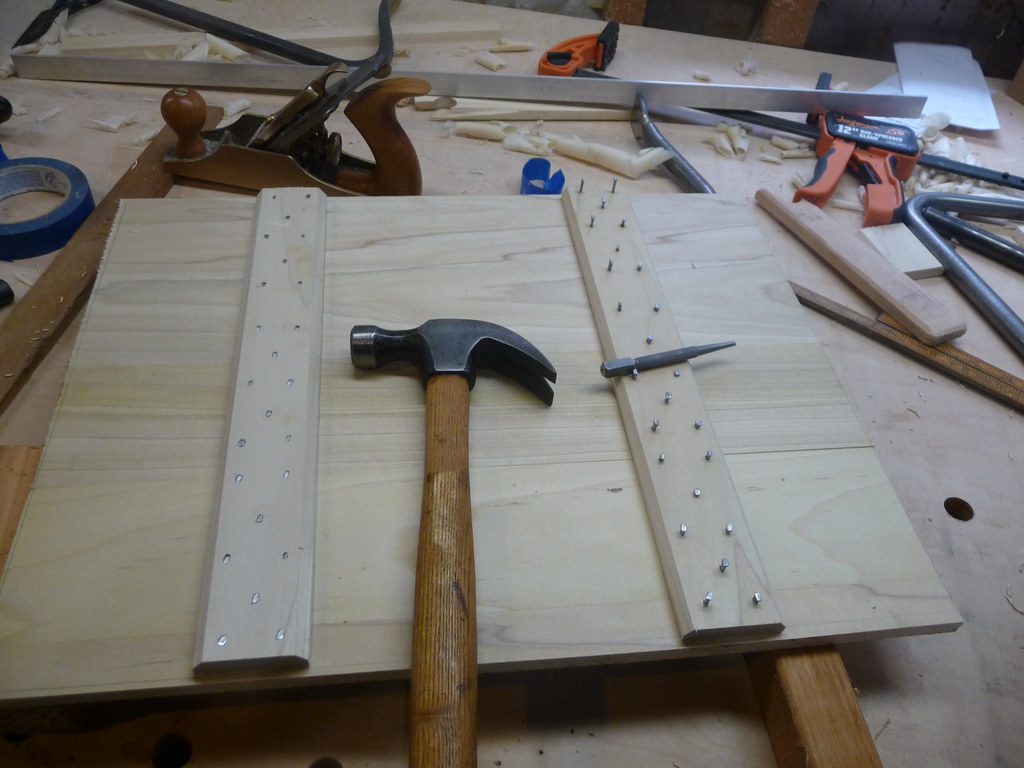
Those nails then needed clinching, which has become my least-favorite part of this box's construction. I believe I am using nails that are too thick; I should be using brads instead of finish nails. On paper, the clinching operation looks like a lot of fun, but it is not. This could also have something to do with my choice of relatively hard wood (poplar) since Eastern White Pine was not available locally.
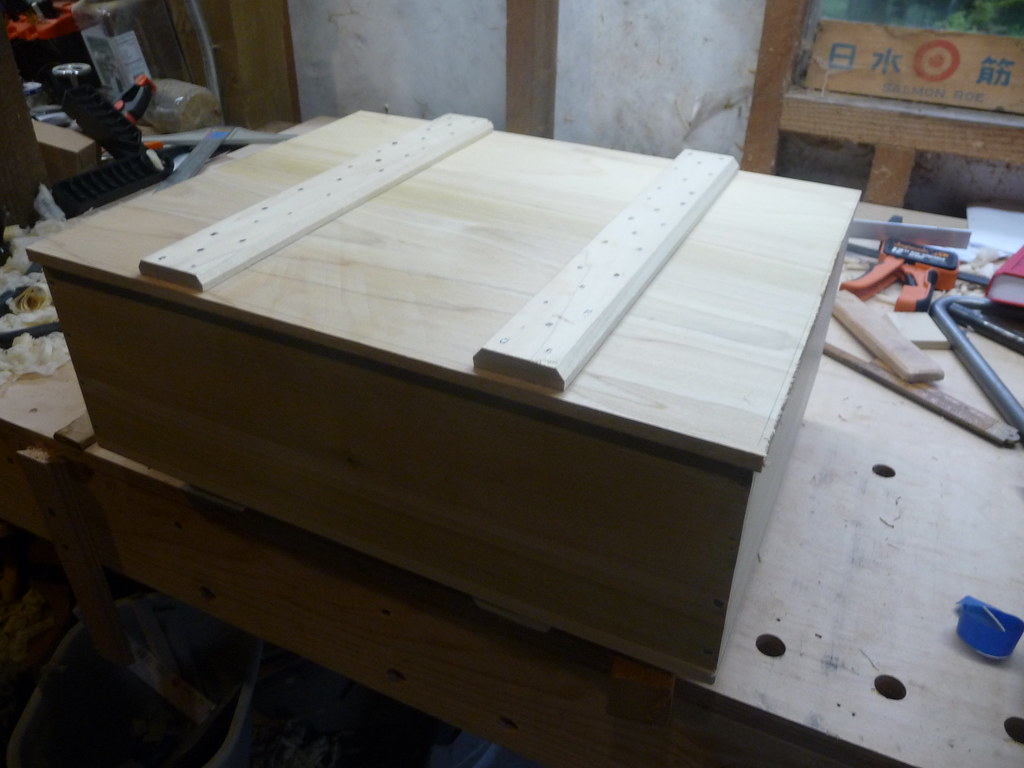
With the boards smoothed and the battens clinched, the lid is almost complete. It still needs final trimming, and after a few coats of oil, it will be completed and finished!
I have a few lingering questions which I will try to have answered for a post-mortem post on The Packing Box. I am excited for the next phase: The Schoolbox, which will feature tons of dovetail joints, chisel work, and installing hardware like locks and hinges.
No comments:
Post a Comment