Wednesday, January 8, 2014

Upcoming things, and thanks to the Christophers!


This weekend, Jan 10 and 11, I will be in Victoria, BC to assist at the Lie-Nielsen Tool Event. If you have never been to one, it is a fantastic opportunity to not only try most of the product range out in person, but also receive guidance on selecting the proper tool for the type of work you are interested in. For someone just getting started, the opportunity to use a truly sharp tool (as well as witness sharpening demos) is priceless, and well worth the cost of admission, which is free, so, really, you can't lose. This one will be at West Wind Hardwood (which is actually in Sidney). If you are in the region, please stop by and say hello. I'll be working alongside Jeremy Tomlinson, whom I had the pleasure of getting to know at the Port Townsend Wooden Boat Festival this summer.


Another exciting event coming up in this area is George Walker's visit and design course. If you have read By Hand and Eye (or even if you haven't), this is an amazing chance to delve deep into the design system that nature uses, and which has informed craft since the beginning of history. Only recently has it been derailed by machine-thinking. Once you understand these principles, designs almost generate themselves, and the artisan is freed up to consider personal embellishments and style. Truly liberating stuff. There are still spaces in George's course at the Port Townsend School of Woodworking. George and Jim Tolpin will also host a smaller exploration into the By Hand and Eye concepts via a course of the same name. This two-day seminar is full of mind-expanding ideas and examples to get you out of the ruler mindset and into the harmonic relationships which turn furniture design into something like musical arrangement. I highly recommend this class.
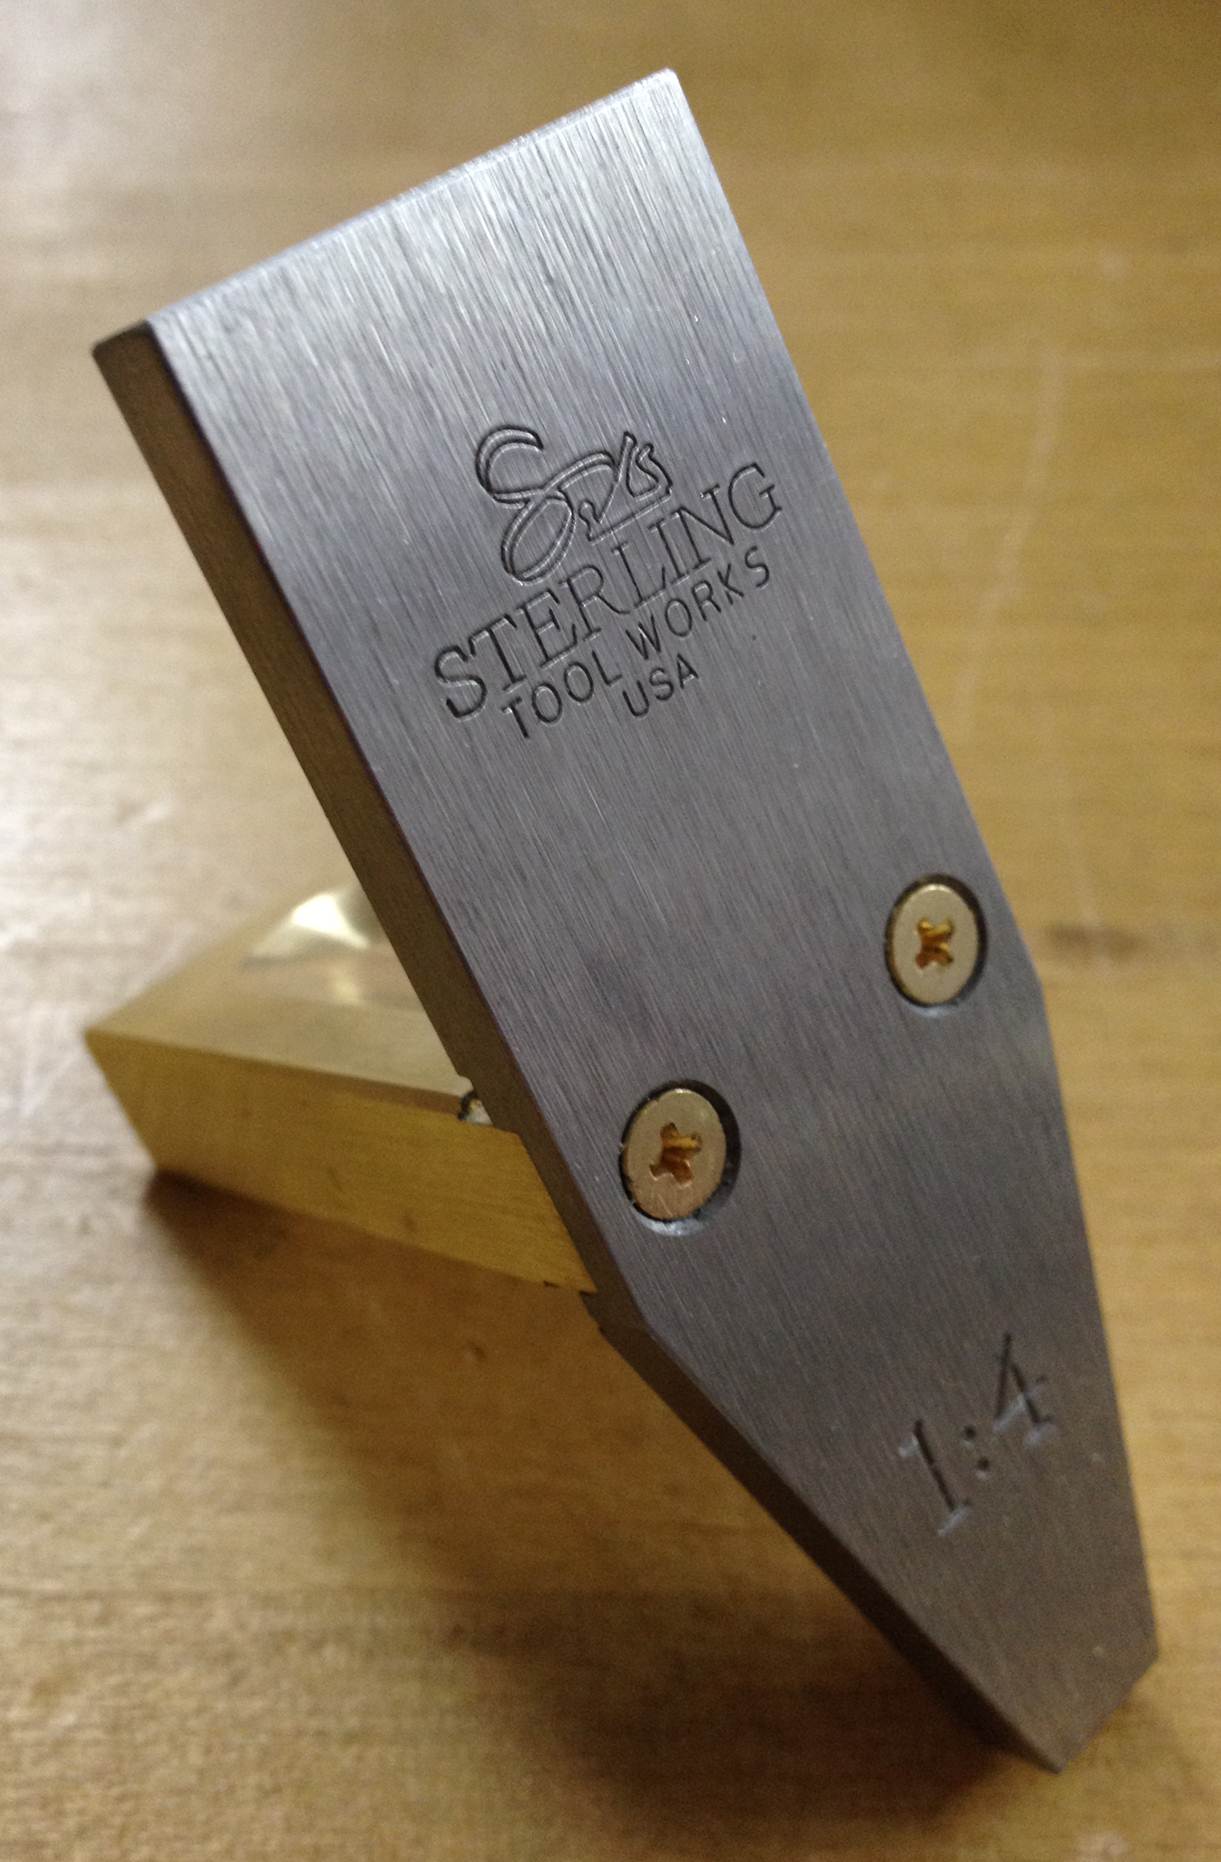


Finally, I wanted to thank Christopher Kuehn of Sterling Toolworks for conspiring with my wife this holiday season. She had been poring over Christopher Schwarz's gift list, knowing that I don't actually need any tools. I received a beautiful saddle gauge, and I love it. Many will balk at how it is over-engineered and that one really does not need a dovetail marker anyway. I don't tend to use them, myself. However, once this thing is felt in the hand, the naysayer's tune may in fact change. It is substantially heavy, crisp, and is larger than it looks. The back half of the tool is a fantastic small try and layout square. I might just start to prefer this for small squaring tasks. Above all, supporting a small toolmaker is a gift that keeps giving to everybody involved in the craft, as well as their families. For those who ogle the handmade planes, chisels, and other marking tools out there but cannot afford them, this tool is a great way to sip from the chalice of fine tools without breaking the bank. Thanks to all who made this happen.


Saturday, January 4, 2014

New Year, New Sale!

Don't worry, this blog is not slowly becoming a tool marketplace. In fact, this is the end of the sale, and by sale I do mean sale. Last chance to get the leftover items at 20% off.

There will indeed be more woodworking content when this is all wrapped up... lately the weather has been so cold that my uninsulated shop is just not a reasonable place to work.

And so here are the sale tools, how it works at the bottom:


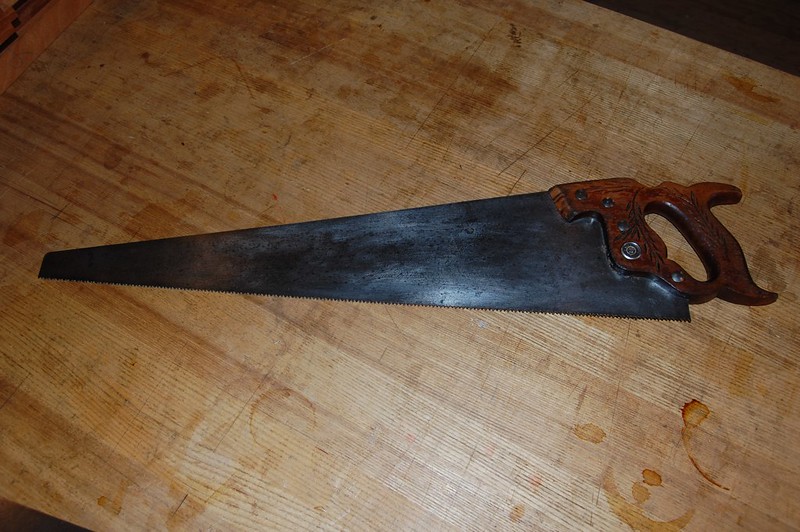
Disston D42 "Victory" crosscut handsaw:


A wartime saw made of steel which sings nicely. 8 tpi, 26" length. This has a large "Victory" etching, perhaps hinting at the war effort, but it is faint and does not photograph well. There is a very minor bend (not kink) in the blade which could be addressed but the saw cuts well as is. A fine user saw, it will become a staple in your nest.
$100   $80


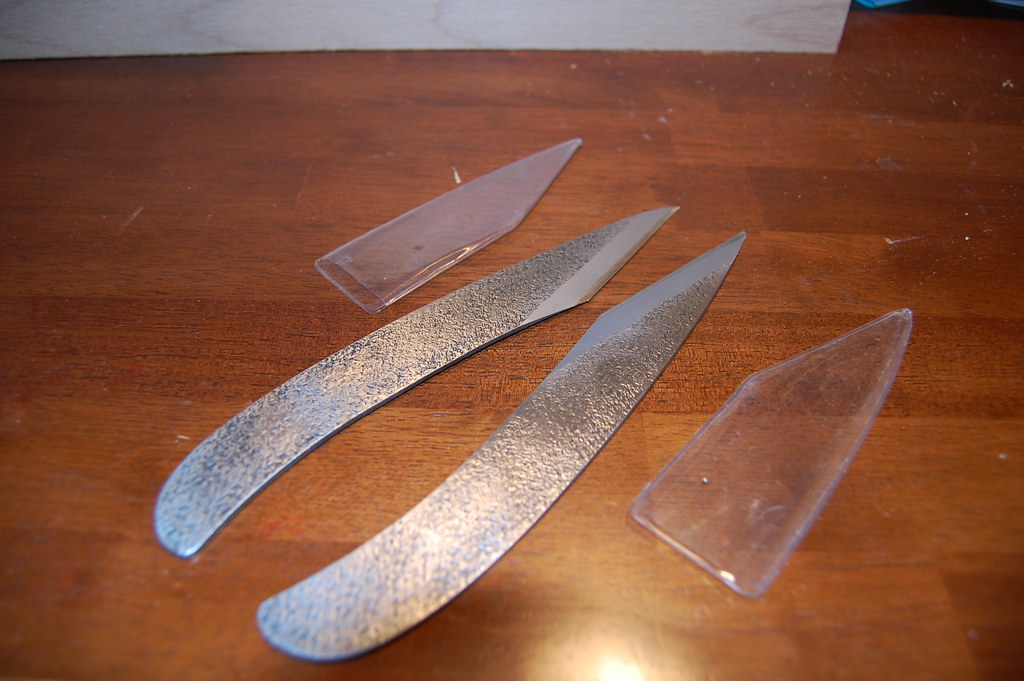
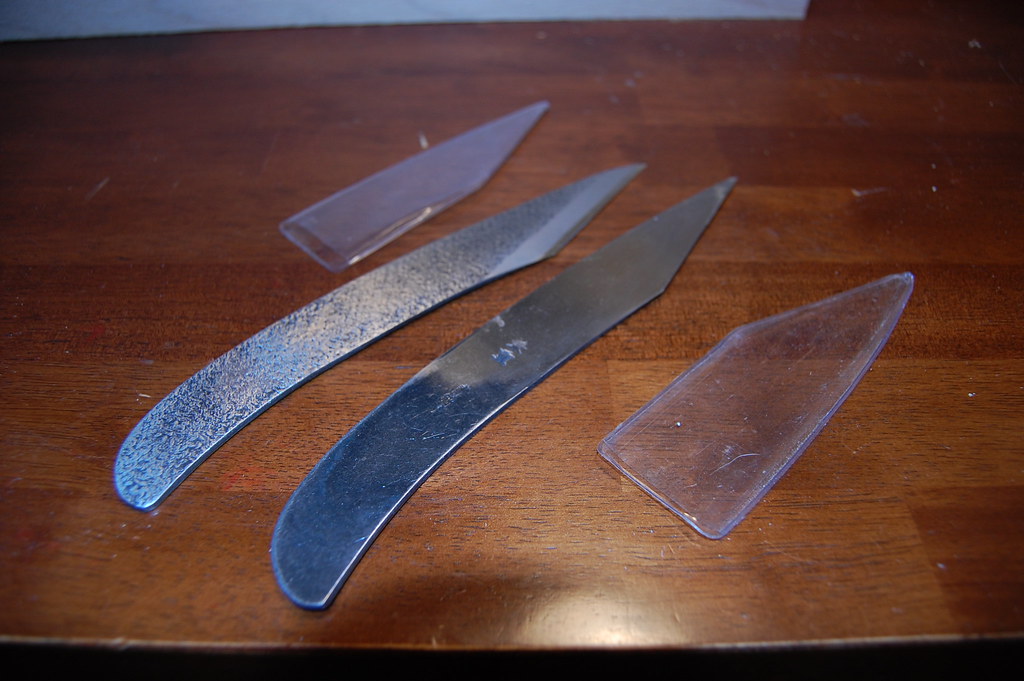
Japanese Marking Knives:


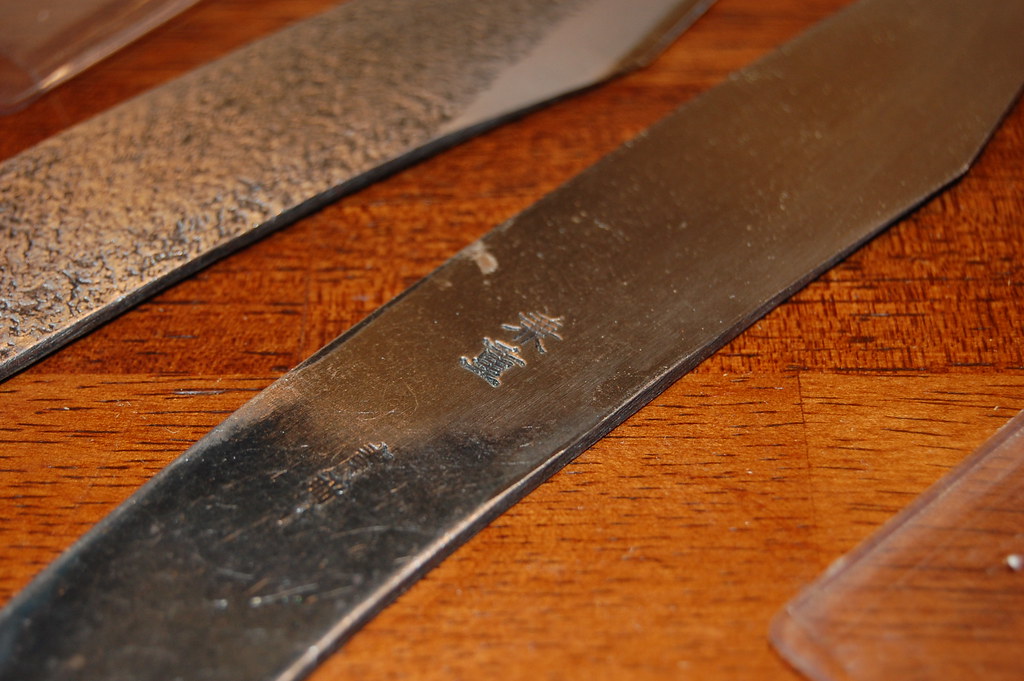
A set of steel Japanese marking knives. Single bevel, so one is for cutting on the left and the other on the right. Sharp and ready for work.
$45/pair $36/pair   SOLD THANK YOU!!


Record Compass Plane


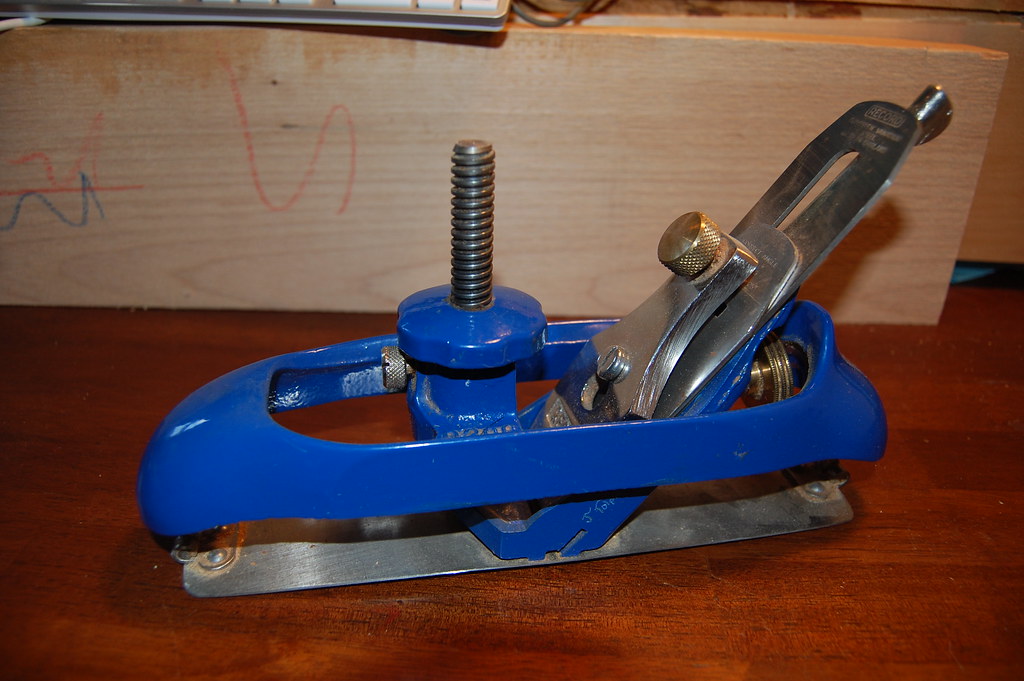
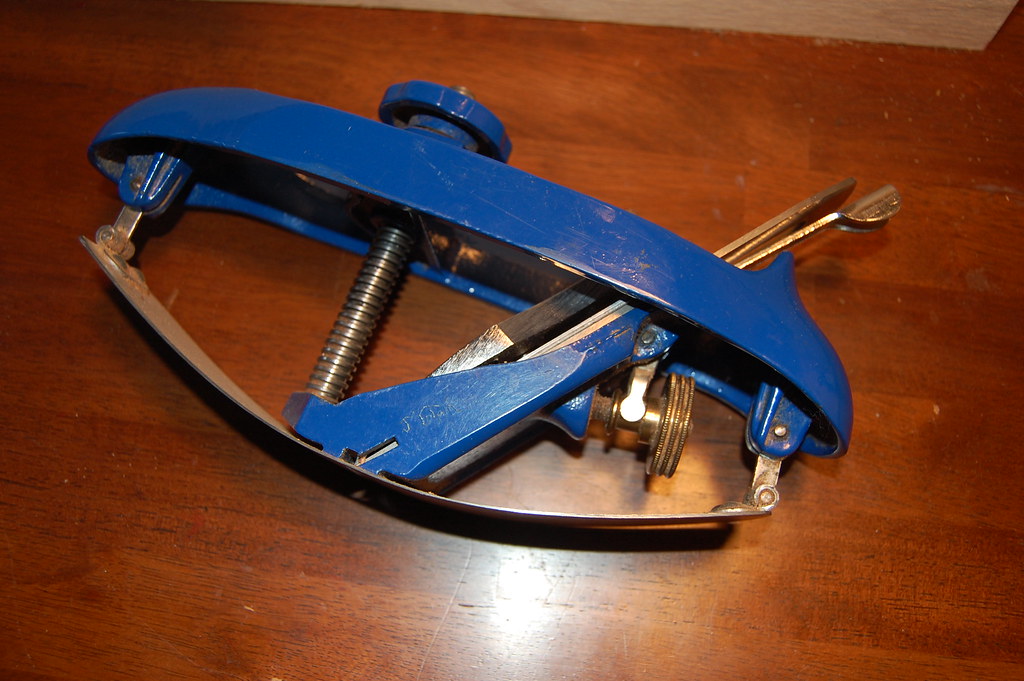
A rare tool that not everyone needs, but when you do need it, there are not many other options. This is in great shape. Was purchased by Jim 20 years ago, and has his name etched on it, so you will always know who's it was. Add your name, too, just as was done on the old wooden planes.
$175  $140 SOLD THANK YOU!!

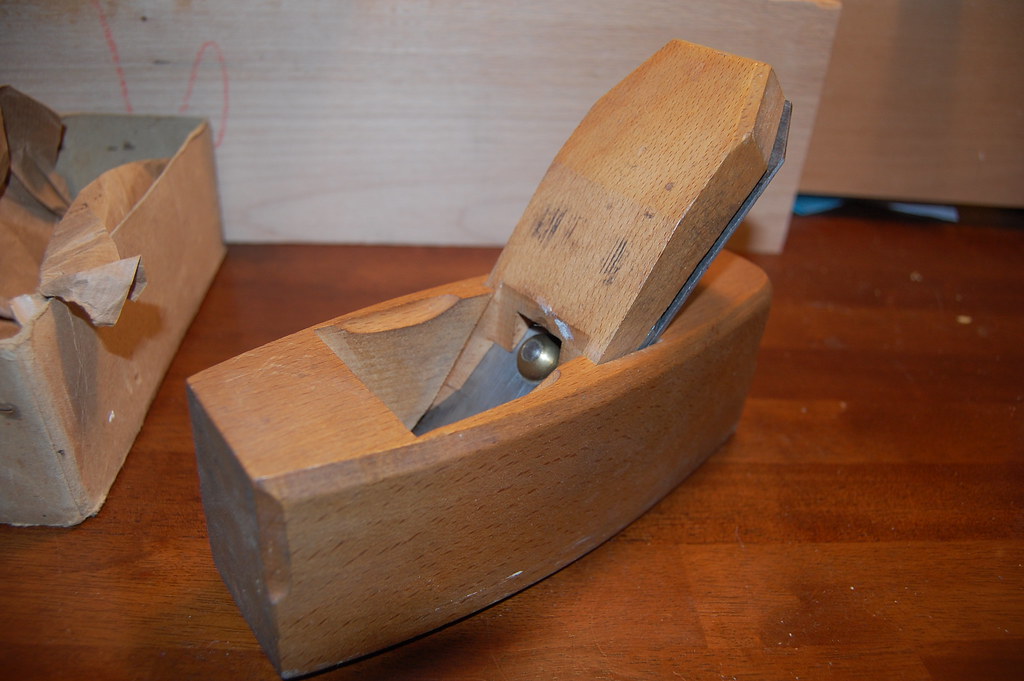
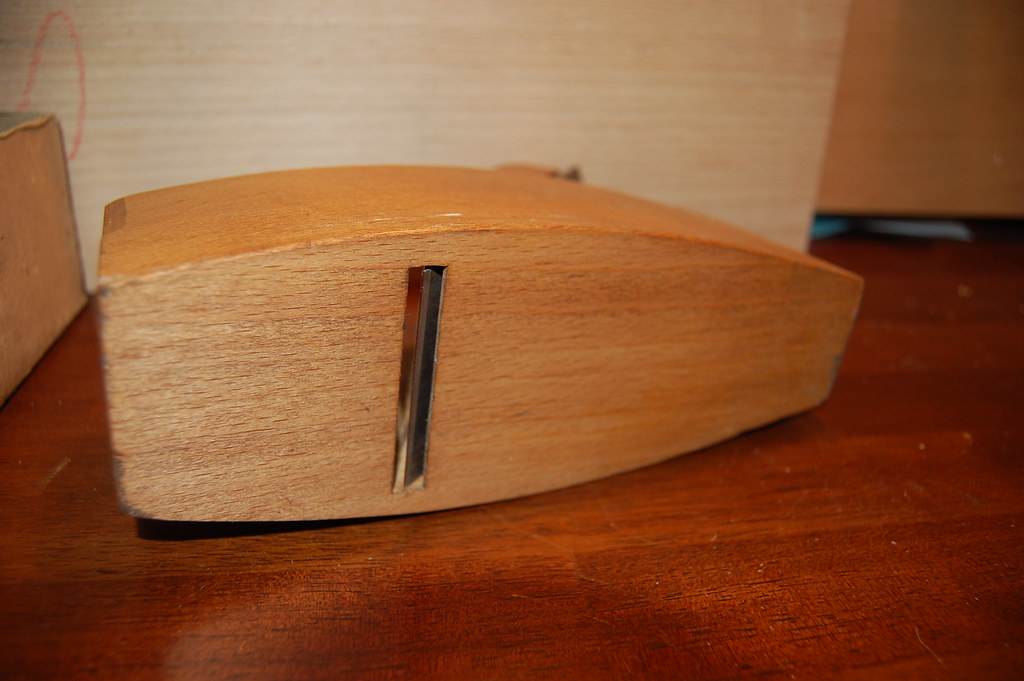
Emir #245 Wooden Smoothing Plane:


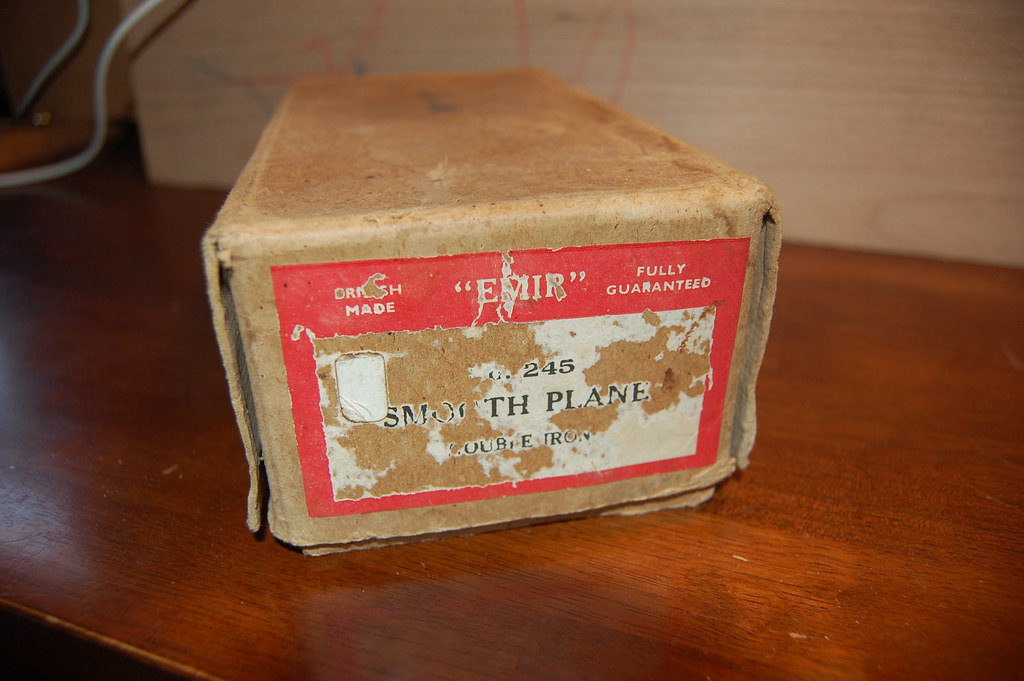
A great tool and a great price, especially with the original box and label intact.  Would be a good choice for someone wanting to get into green woodworking without worrying about rust on their steel planes.
$100 $80


HOW IT WORKS:

Send me (rob dot campbell at gmail dot com) any questions you have about the items. Jim and I will work with you to answer to your satisfaction. Once you want an item, send me an email claiming your intent to purchase, and I will send you payment instructions. Cash, personal check, money order, and paypal are all acceptable. Shipping in the continental US is $12 for all items; some items will be more and some will be less but this is simplest for us. Pickup in Port Townsend, WA, will waive shipping charges. Items will be shipped upon receipt of payment. If an item is delisted but payment is not received, it will be relisted. All items are sold as-is so please ask any questions before purchase. That said, if you truly feel an item was misrepresented and you return it undamaged, we will be reasonable.

Prices are firm although you will likely receive a break on shipping for multiple items.


Wednesday, December 4, 2013

Tuesday, December 3, 2013

[Review] Cool Tools


I am just old enough to have grown up with the Whole Earth Review/Co-Evolution Quarterly, although many of the copies I was rooting through at the libraries were already a few years old. Nonetheless, these tomes were deeply formative. I am fairly sure that is how I discovered Lloyd Kahn, Eric Sloan, and Zome tools.

This type of writing is sorely missing in today's tech-obsessed publishing world. Even hand-tool woodworkers are constantly clamoring over the newest redesign of an old standard rather than simply delving deep and discovering what in themselves can be improved or optimized.

The Whole Earth Review spirit, on the other hand, would often look backwards towards simpler tools and techniques while judiciously admitting newer innovations as well. A type of responsible futurism, perhaps it could be called. Kevin Kelly, Stewart Brand, Jay Baldwin, and others helped shape the ecotopian visions of a bright green future in the 1970s, and we need that type of vision now more than ever.

Kevin Kelly has kept the spirit alive in his Cool Tools weblog. It is essentially reviews, but they are not as worshippy as other tech/tool sites. They tend to be sober, dry, and straightforward. You will find that  there is a strong element of "good enough" rather than an obsession for the best. It is not uncommon to see reviews stating something like "don't get the premium one, the basic model is just fine and 1/3 the price".

I've subscribed to the Cool Tools newsletter since the beginning. In fact, it used to be called Recommendo. My desires for more and more "cool tools" have continued to fade, but I still scan it, looking for those lifetime quality tools and novel ways of handling problems like carrying plywood alone, cleaning up drywall dust, hacking open products sealed with special "security" bolts, etc.

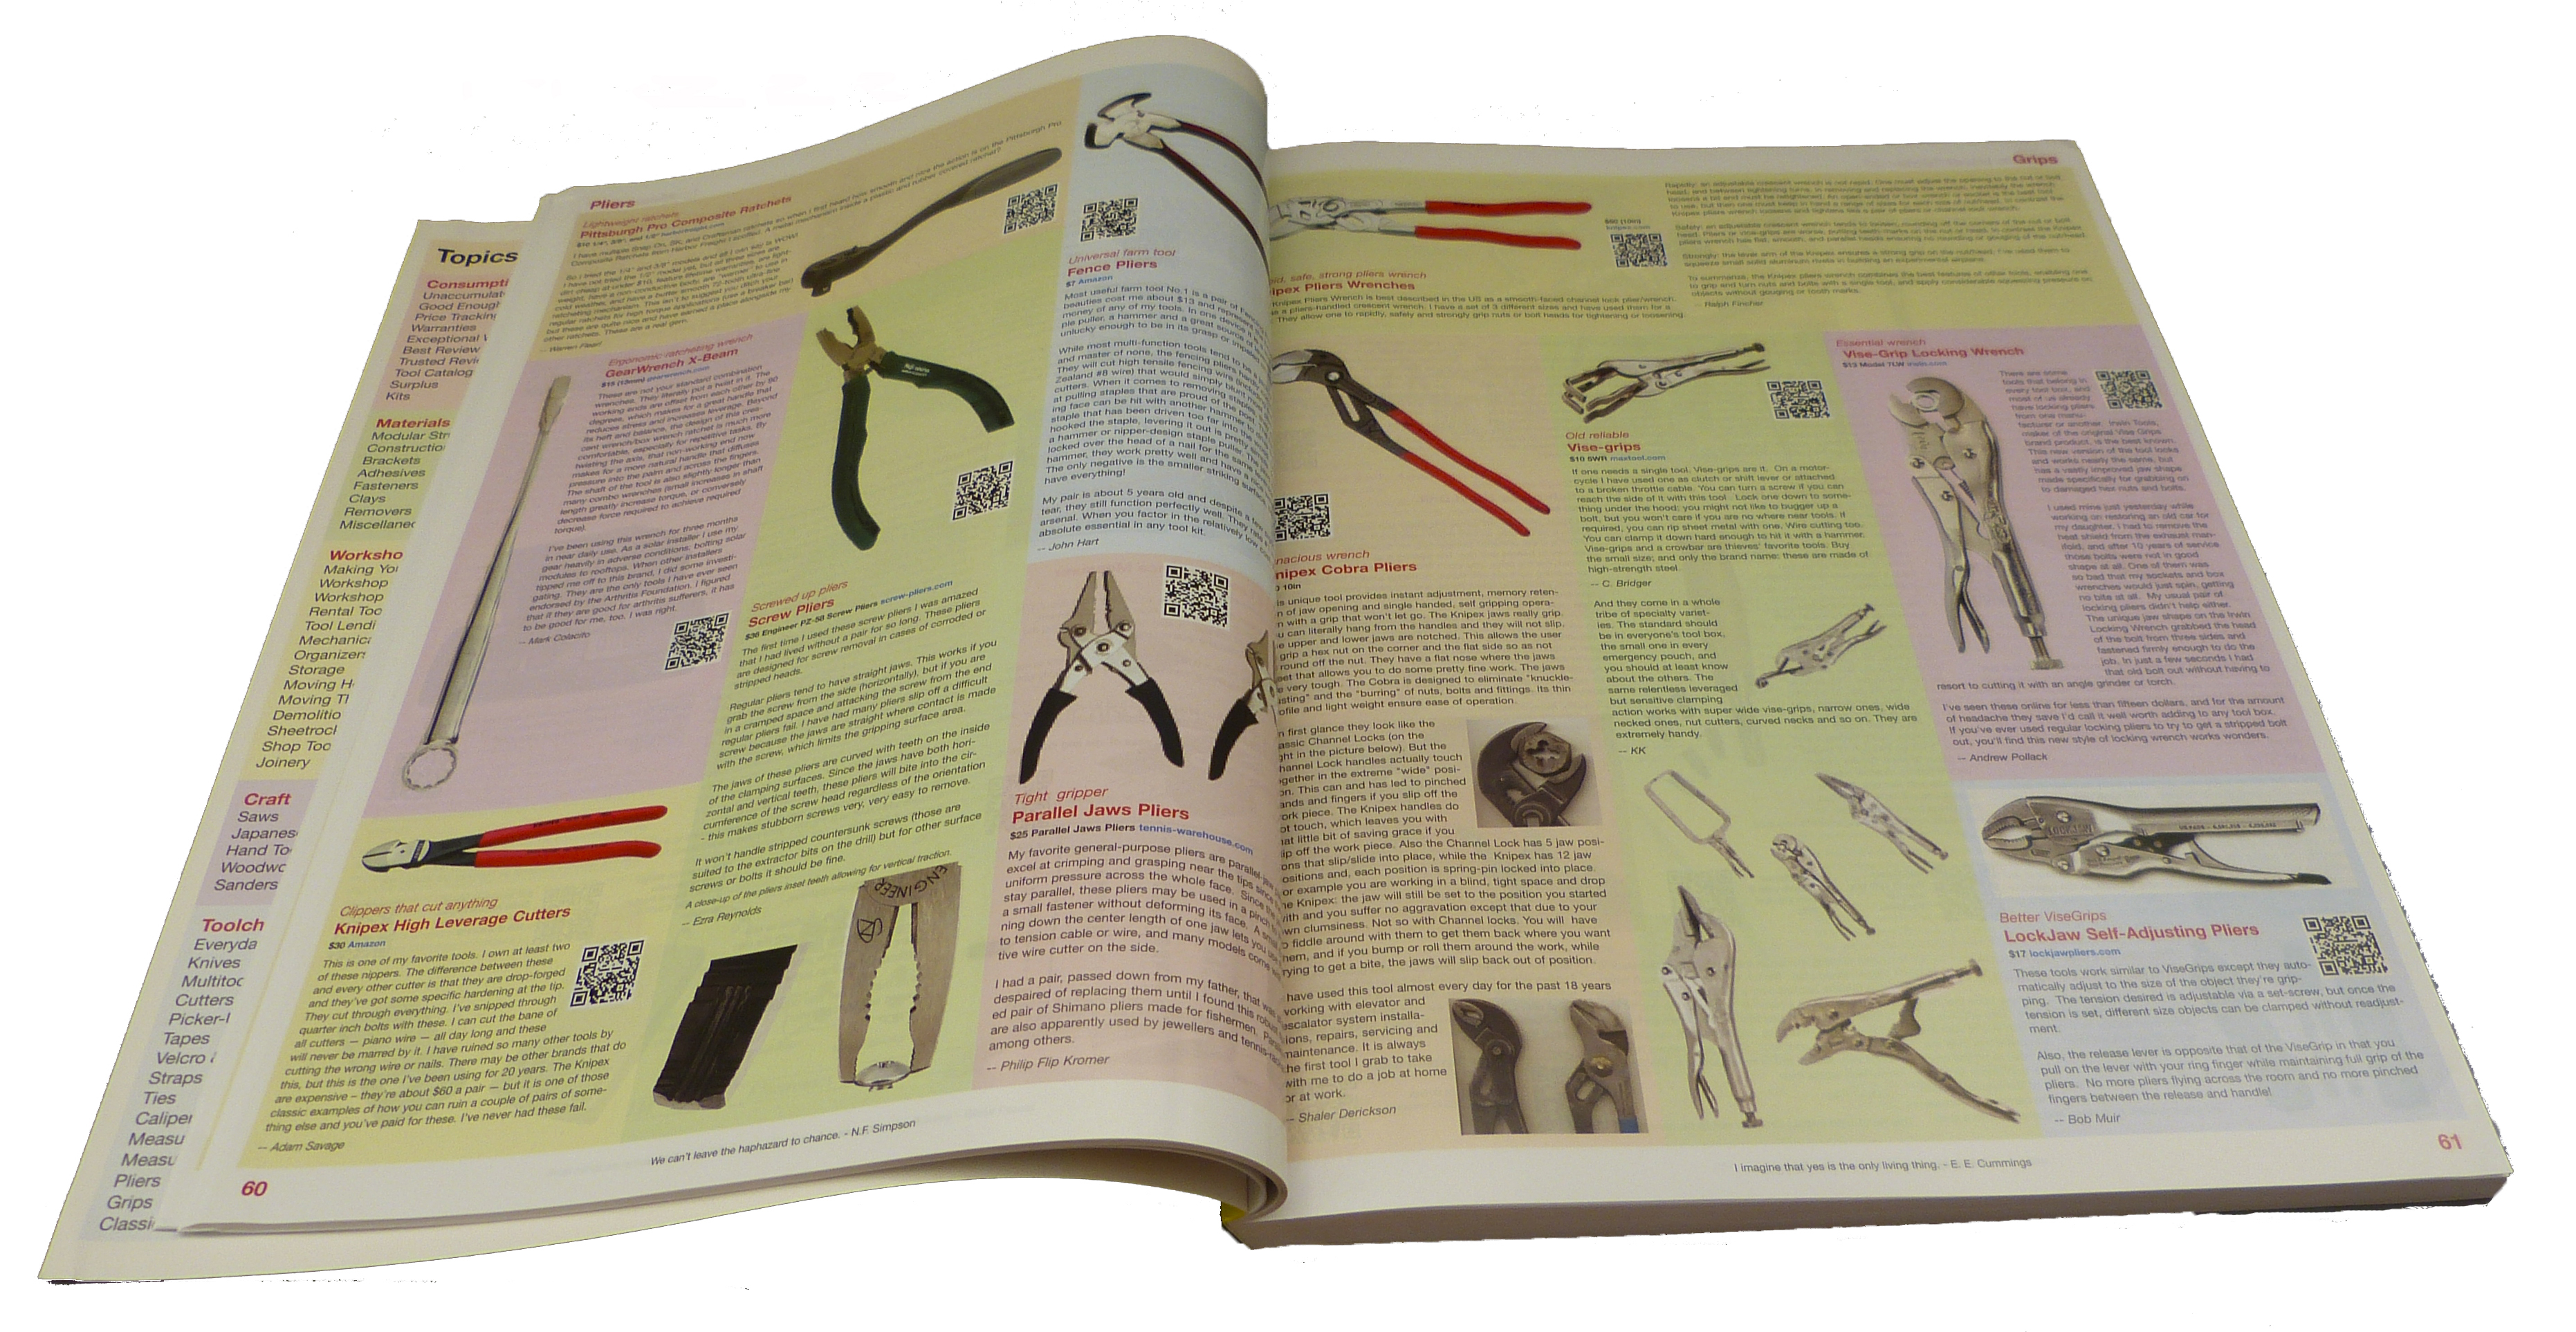
It was pleasing to see, recently, that Cool Tools has been released in a large book format. Like the original Whole Earth Catalog, it needs to be seen in person to appreciate. It is like sitting with the old Sunday funnies, slowly poring over the colorful illustrations and finding surprises on every page.

It is mentioned here because there is a woodworking section, and several related tools throughout. Full disclaimer - I do have a review published in it and so received a contributor's copy, but I would have certainly purchased it for full price.

The book is also a terrific example of self-publishing. Kelly knew traditional publishing venues would not allow him the type of control he wanted, and so he skipped right over them, using freelancers as needed. He has a writeup on the process at his blog.

As consumerism continues to bother me more than ever, I felt some reluctance to even mention this grown-ups toy catalog. However, after sharing it with some equally cynical (ok, almost) family members who expressed pure delight, I figured I should share it with my public.


Monday, November 4, 2013

NW Adze making with Steve Brown

While assisting with courses at the school, I generally end up coaching students with their tool set up, technique, and use. This weekend, though, I have to admit that other than some grinder basics, I was there just to take care of loose ends. The topics covered in Making Northwest Style Adzes  were largely foreign to me. What a treat, though, to learn something utterly new and fascinating. In just a day, I was able to take a blank of 1099 steel, forge it into a flared shape on an anvil, shape hollows along and across the blade, grind proper bevels, and then the next day convert a tree branch into a handle and mount the blade. I now have a fully-functional carving adze. I suppose next I should learn to carve.

Here is the tool:


The blade is held onto the handle with skein-line, very strong line used to attach fishing nets to floats and that sort of thing. There is a rawhide pad covering part of the line, which was wet when applied so that it will shrink into form-fitting place. This pad protects the line from abrasion in use. I then wrapped the handle with old-school cloth handlebar tape (for bicycles), finished with twine, and then coated in oil and beeswax. I feel a layer of shellac on top of that will provide a little more grip so hope to do that.

The blade needs a final bit of honing on curved stones, and the outiside of it could use some polish to remove the scale from the heat treating and reduce friction. Some quick test chops show that this thing is pretty sharp as it is though!

It would be quite easy to walk away from woodworking and get into blacksmithing. I'll try to hold that urge at bay, for now, and slowly continue to build some metalworking skills as they apply to woodworking.

Steve Brown  is a gifted instructor and a living treasure. His knowledge of NW culture and artistry is vast, and he has the ability to translate and share this lore with ease. All of the students had a great time and were reluctant to leave. Skill levels ranked from utter novices to some master carvers. Three of the students were down from Alaska in order to build more adzes for their six-year project building a longhouse by hand at Glacier Bay!

This class is highly recommended, and it was a total pleasure to be a part of.

Thursday, October 24, 2013

[Workbench] Mechanical Joints

The workbench I am currently building relies heavily upon mechanical joints. In other words, the joints themselves provide the strength, not glue nor screws. The term might be especially useful in this case because I ended up using machines to create bits of them (more below).

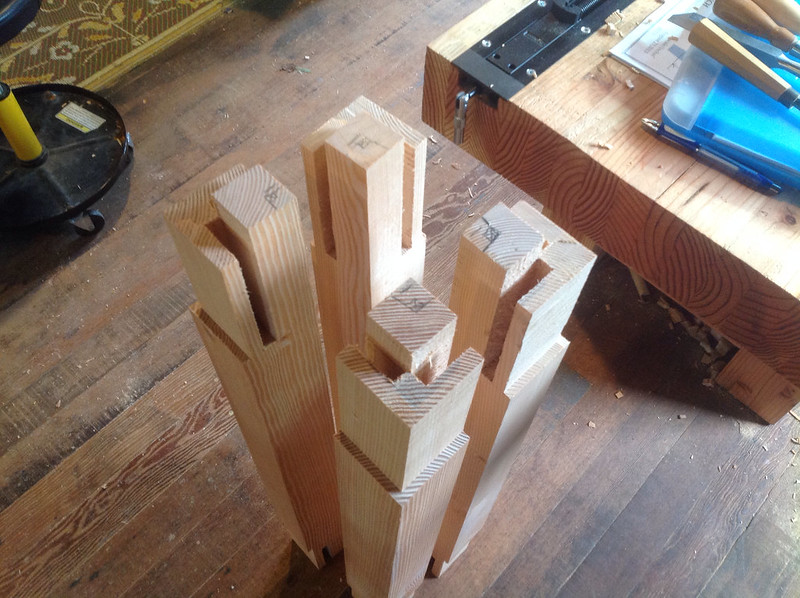
Here are some of the legs ready to receive the stretchers:


You can see from the number of cuts and shoulders that the layout was involved. Not to say difficult, but it took a few hours for all the members.

Here's the stretchers and rails, a bit simpler although the lower set are now also rabbeted to hold shelves. I would have cheated and tacked on a ledger for that, but it is not my design:


You can see that some of the joints are cut out, and some have the waste remaining. I did use a bandsaw to speed up the scoring process.

I also used this to trim many of the members:


Is Roubo spinning in his grave? I doubt it. He'd understand I have a deadline to meet. I also used a drill press for the mortises, although my test joints were made entirely by hand and came out a bit neater. Go figure.

P.S. - The first batch of Jim's tools have been photographed and as soon as I have the prices and descriptions written up, they'll be listed here.

Friday, October 11, 2013

Current and coming projects: workbench and anarchist's school box

First of all, thanks for all the interest in the Wenzloff tenon saw and the upcoming listing of Jim Tolpin's tools. Jim is still sorting his tools, so patience will pay off here. Regarding my tenon saw, it has already found a new home with one of the students of the recent Handsaw Essentials courses at the school. I hate to disappoint any readers, but I couldn't pass up the chance to bypass packing and shipping the thing. I will be listing some other tools in coming months, I suspect.

Speaking of the school, I am building another workbench, a prototype for an upcoming class in bench construction. This one will be made of construction-grade douglas fir (like my own Roubo) but will be smaller.

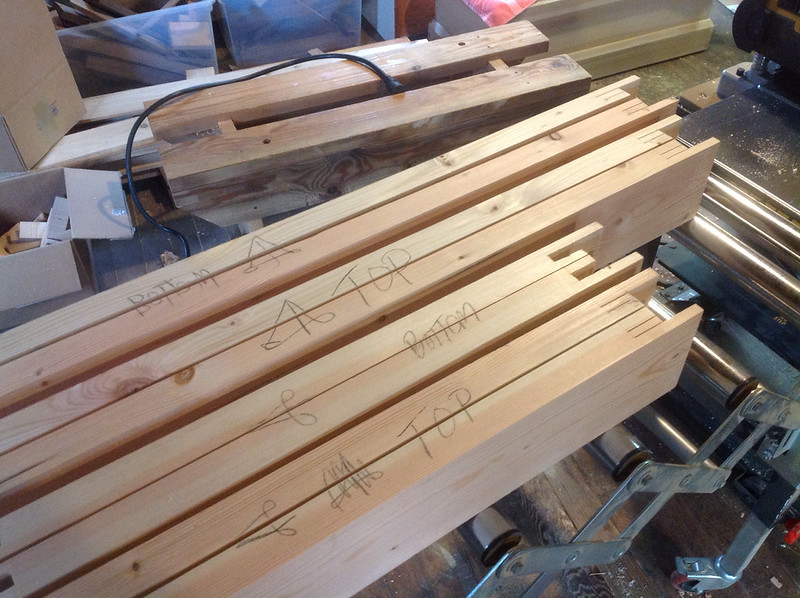
Here's some of the lumber stacked up and ready:


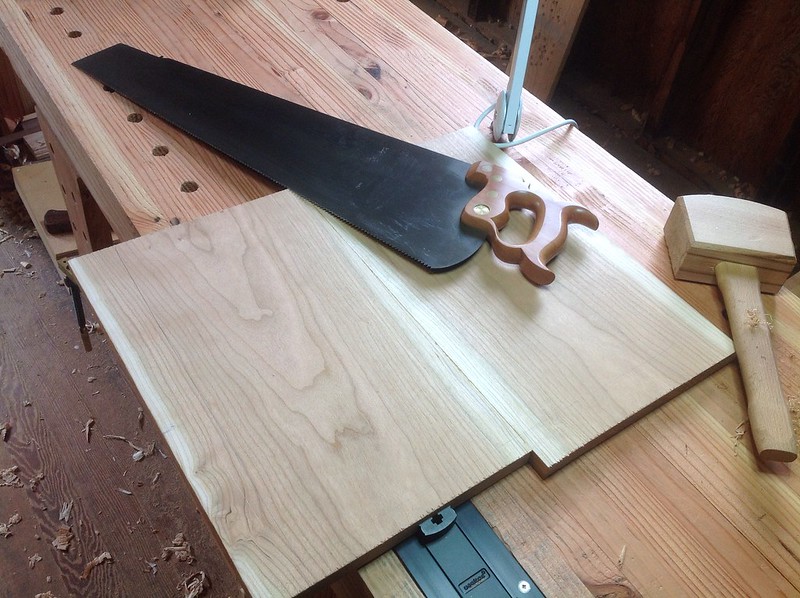
In the interest of speed and in part due to the scale of the work, I will most likely end up using some power tools to create some of the joints. I did, however, crosscut all the members by hand:


On my own time, I have been keepin' it real with pure hand tool projects. If you are familiar with the work I have done through Lost Art Press designs, you'll find this weirdly familiar:


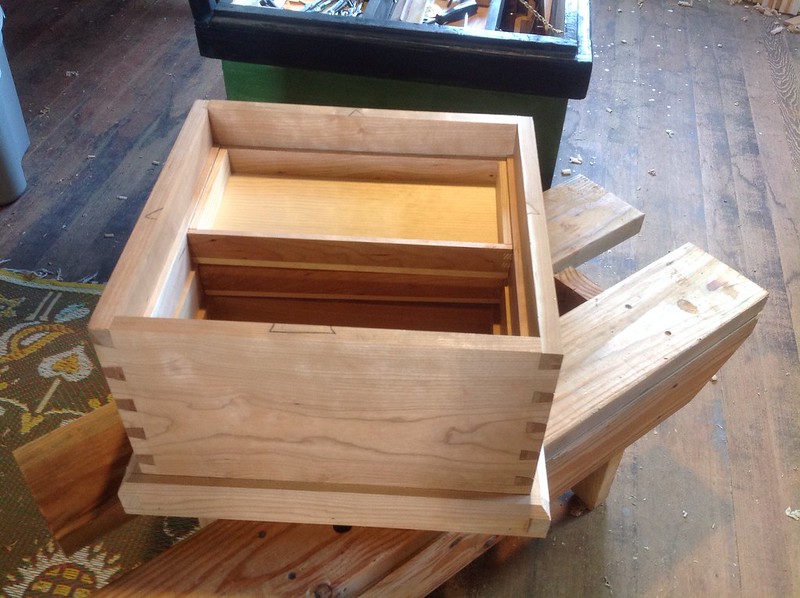
Yes, that is a "school box" a la Joiner and Cabinet Maker, but it has moulding and tills right out of the Anarchist's Tool Chest. This is a pen and pen supply chest for a fountain pen collector. It will have 3 tills to hold about 36 pens, with deep wells on the bottom to store repair tools, ink, and notebooks. It is always deeply satisfying to design a piece with such specific needs and specifications in mind, and then let the layout unfold around those modules and parameters.

I've covered dovetails before, but I thought to snap a photo of my layout kit:


That little steel square is from my Grampa's days as an engineer at Ford. I always love seeing his initials stamped on it. The dividers were his, too. The Tite-Mark gauge, however, is pretty new.

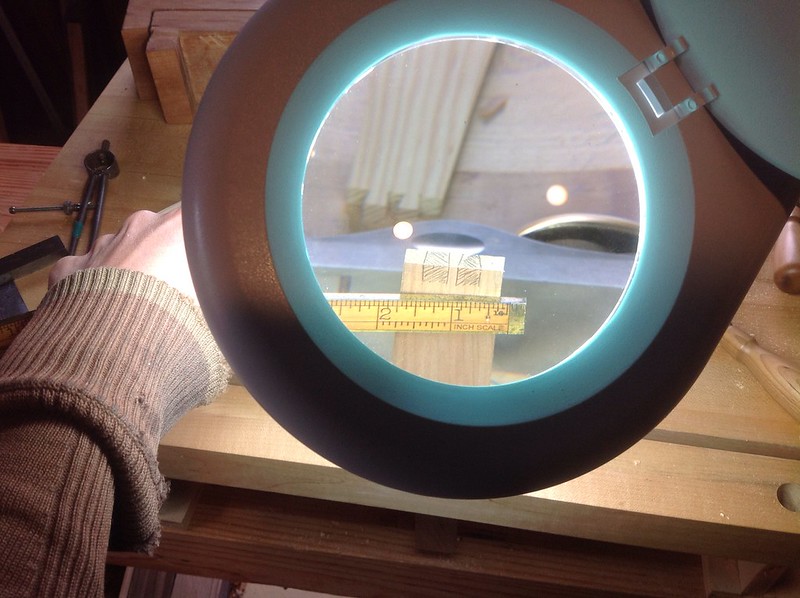
Since these tills are pretty shallow, the joinery is miniature. In this autumn light, it can get hard to see some of the lines, so I have been making use of my magnifying lamp for marking:


Hopefully, next week I will get new glasses and maybe then all of my joinery will miraculously perfect itself. In the meantime, light helps a lot.

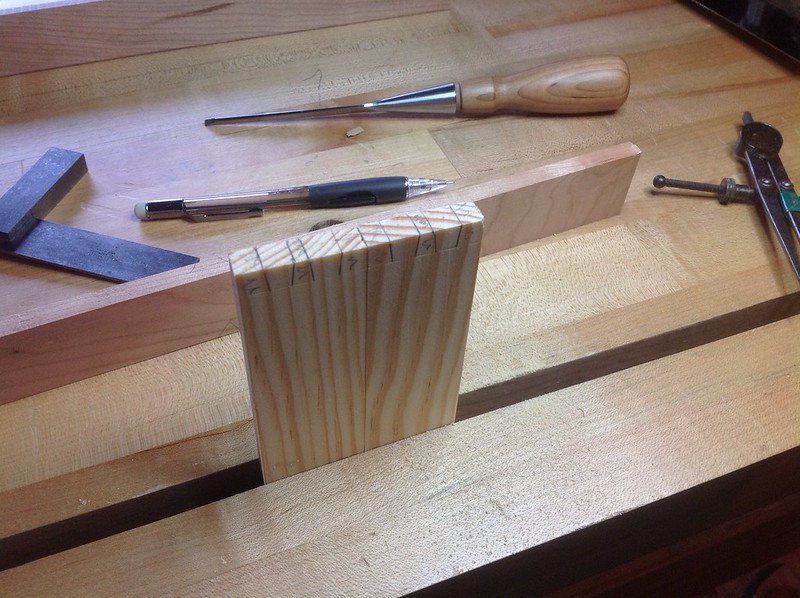
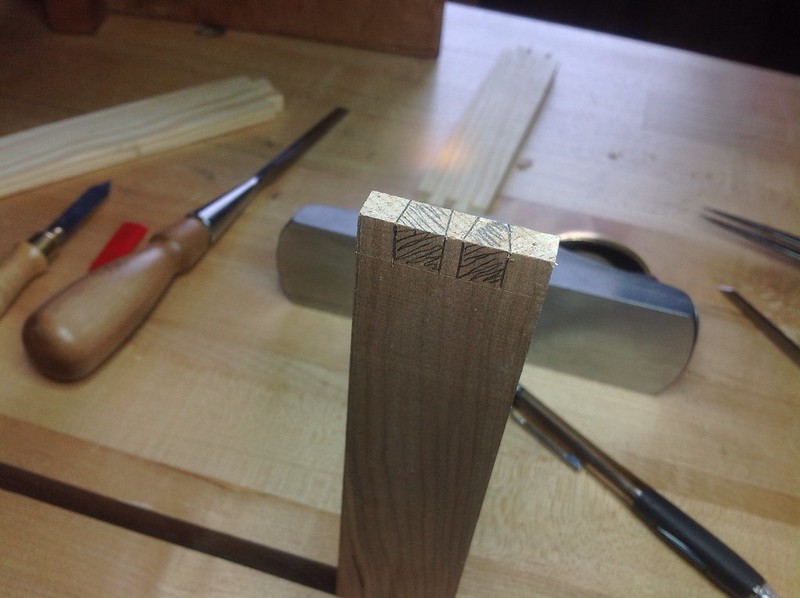
Here's 2 of the tailboards ganged up for rapid marking and cutting. The tails are all (in theory) the same size so layout is fast. Since there were only 2 tails, I simply set the divider to find the middle of the shoulders, and used my narrowest chisel (1/8th inch) to determine the gap.


and a pinboard, this is cherry:


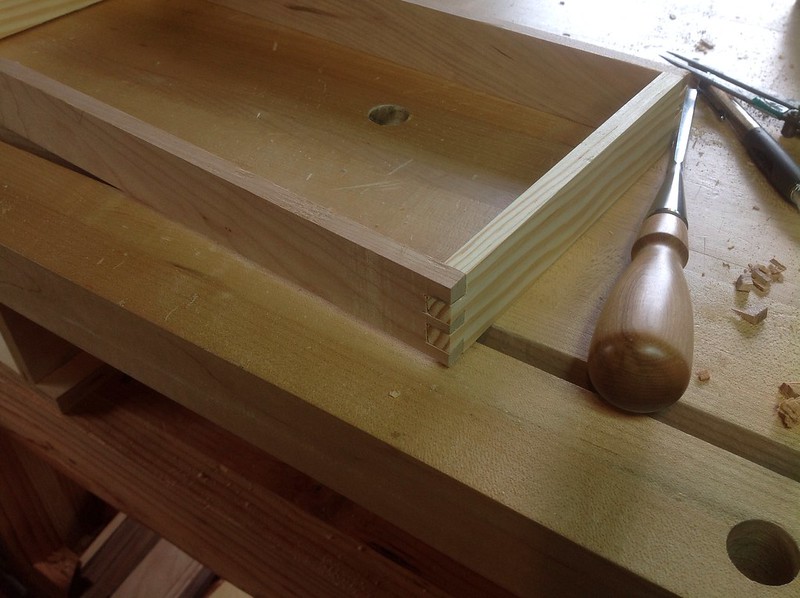
Chop 'n' pare as usual:


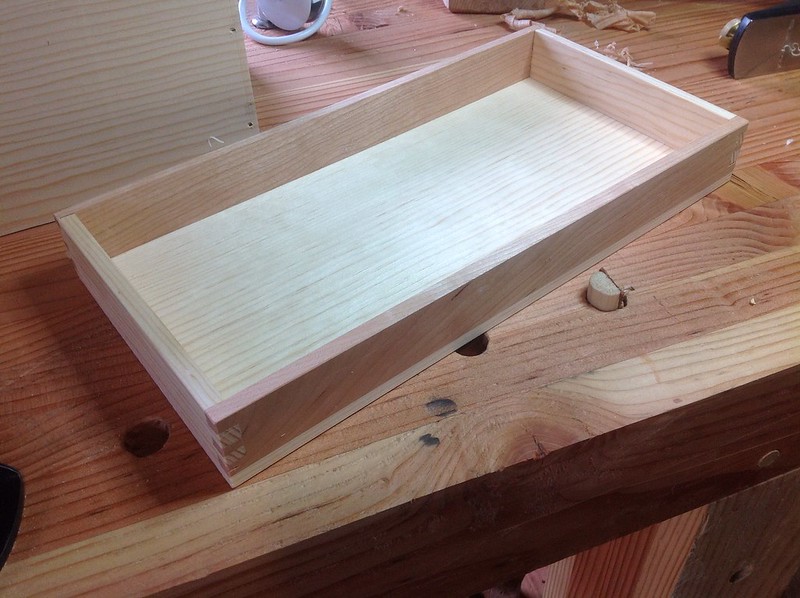
aaand, we have a frame:


tack on some pine and it's a till:


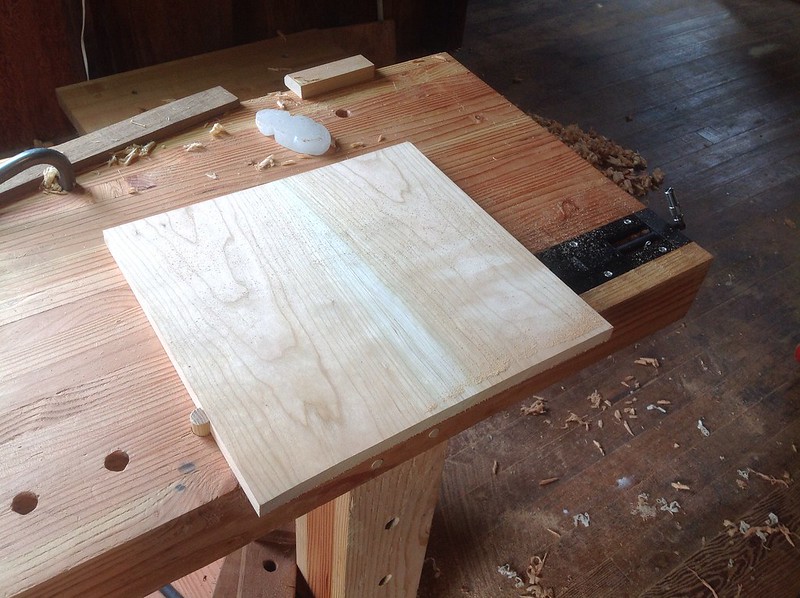
While the glue dries on the 3rd till, work on the lid:


The chest-box will hopefully be wrapped up soon, and then onto that workbench. This weekend, however, I will be at the school helping with the Handplane Essentials class. Hope to see some of you there!